Crochet Ear Warmer: Easy Gift to Make in 56 Rows
This crochet ear warmer is a plain, stretchy ribbed band that covers your ears and keeps your forehead warm. It is made from a chain of 17 and one repeating row of 16 stitches, so you never count a pattern after the first two rows. Below you get all 56 rows of the band, a photo for each stage, and the step that most crochet ear warmer patterns skip: how many rows your own head needs.

The correction up front: the yarn here is bulky, category 5, worked on a 6.0 mm hook. The Craft Yarn Council lists 6.5 to 9 mm for that weight, so the hook is half a millimetre under the floor. It is deliberate, because a tight fabric holds the heat in, and it is also the reason the 17 chain only makes a band 4.5 in (11.5 cm) wide. Change the yarn or the hook and the chain count changes with it.
After the steps you get our own rows-per-head-size table, the yardage we can and cannot say, the three places a crochet ear warmer goes wrong, a baby safety note, and five more free crochet ear warmer patterns to compare. Where a page leaves a number out, we say so. The band also makes an easy gift, because one ball of yarn is enough and the size table lets you match any child or adult.
- Crochet Ear Warmer at a Glance
- What You Need for This Crochet Ear Warmer
- Crochet Ear Warmer: Step by Step
- Crochet Ear Warmer Rows for Every Head Size
- Where a Crochet Ear Warmer Goes Wrong
- Crochet Ear Warmer Safety for Babies
- Five More Free Crochet Ear Warmer Patterns
- Crochet Ear Warmer FAQ
- A Head Scarf or Scarf to Match
Crochet Ear Warmer at a Glance
The crochet ear warmer is one flat strip, worked back and forth in rows and then joined into a ring with a slip stitch seam. Every row has the same 16 stitches in the same order, so the whole pattern fits in a few lines.
| Part | What you work | Stitches |
|---|---|---|
| Foundation | A chain, then row 1 worked into the back of it | 17 chain |
| Row 1 | 3 single crochet, 10 half double crochet, 3 single crochet | 16 |
| Rows 2 to 56 | First stitch in both loops, back loop only for the middle, last stitch in both loops | 16 each row |
| Size | About 17 in (44 cm) long and 4.5 in (11.5 cm) wide before stretching | 56 rows |
| Seam | Slip stitch the two short ends together, knot, weave in the end | 1 seam |
The numbers behind it: by our count the whole band holds 896 stitches, which is 560 half double crochet and 336 single crochet. The tutorial’s own measurements give a gauge of about 14 stitches and 13 rows to 4 in (10 cm). The Loopy Lamb ear warmer prints 16 stitches by 10 rows to 4 in, so this ribbed band packs about a third more rows into the same length.
What You Need for This Crochet Ear Warmer
The kit is short: one ball of bulky yarn, a 6.0 mm hook, a darning needle and scissors. You do not need stitch markers, buttons or a sewing machine.
| Item | What to use |
|---|---|
| Yarn | Bulky (category 5) yarn; the tutorial uses Paintbox Simply Chunky in colour SC61 |
| Hook | 6.0 mm (letter size J) |
| Tools | Darning needle, scissors |
| Ball size | 100 g holds 149 yd (136 m) of Paintbox Simply Chunky |
| Yardage | Not printed in the tutorial; see the estimate below |
| Skill level | Beginner: chain, single crochet, half double crochet, working in the back loop only, slip stitch |
How much to buy: the tutorial gives no yardage and we will not pretend it does. What we can do is compare. The Susie ear warmer prints 70.6 yd for a band 4 in by 19 in, which is 0.93 yd per square inch. The Hope earwarmer prints 120 yd for 4.5 in by 21 in, which is 1.27. The Twisted Shells ear warmer prints a range of about 84 to 96 yd for a 4 in by 20 in band, which is 1.05 to 1.20.
Our band is 17 in by 4.5 in flat, or 76.5 square inches. At 0.93 to 1.27 yd per square inch that comes to about 71 to 97 yd. One ball of 149 yd covers every figure in that range and leaves 52 to 78 yd spare. This is arithmetic from other designers’ bands, not a weighed result, and a bulky yarn may behave differently from the yarns they used, so treat it as a guide and keep your receipt.
Hook and yarn: the Paintbox Simply Chunky label calls the yarn bulky and recommends a J (6.0 mm) hook, and the Craft Yarn Council gives 6.5 to 9 mm for category 5. A 6.0 mm hook is a tighter choice than the council’s range, which is what gives the ribbing its body. The Loopy Lamb pattern does the same thing: it pairs worsted yarn with a 5.0 mm hook, half a millimetre under the 5.5 mm floor for category 4.
Stitches and abbreviations
Crochet has two naming conventions, so here are both. The band uses only the first four rows of this table.
| Abbreviation | Name used here | Other naming convention |
|---|---|---|
| ch | Chain | Chain |
| sc | Single crochet | Double crochet |
| hdc | Half double crochet | Half treble crochet |
| sl st | Slip stitch | Slip stitch |
| BLO | Back loop only: the loop of the V that is farther from you | Same |
A blanket is chained to a stitch multiple, but this crochet ear warmer has none in the usual sense. Row 1 is 3 single crochet, 10 half double crochet and 3 single crochet, so the 16 stitches are fixed by the pattern, and every later row repeats the same 16. If you want a wider band, add a chain and extra half double crochet in the middle, and keep the 3 single crochet at each end.
Crochet Ear Warmer: Step by Step
Work every step in order with your 6.0 mm hook. Row 1 is different from the rest, and the last stitch of each row is different from the stitches before it, so read those two steps twice.
Step 1: Make a slip knot
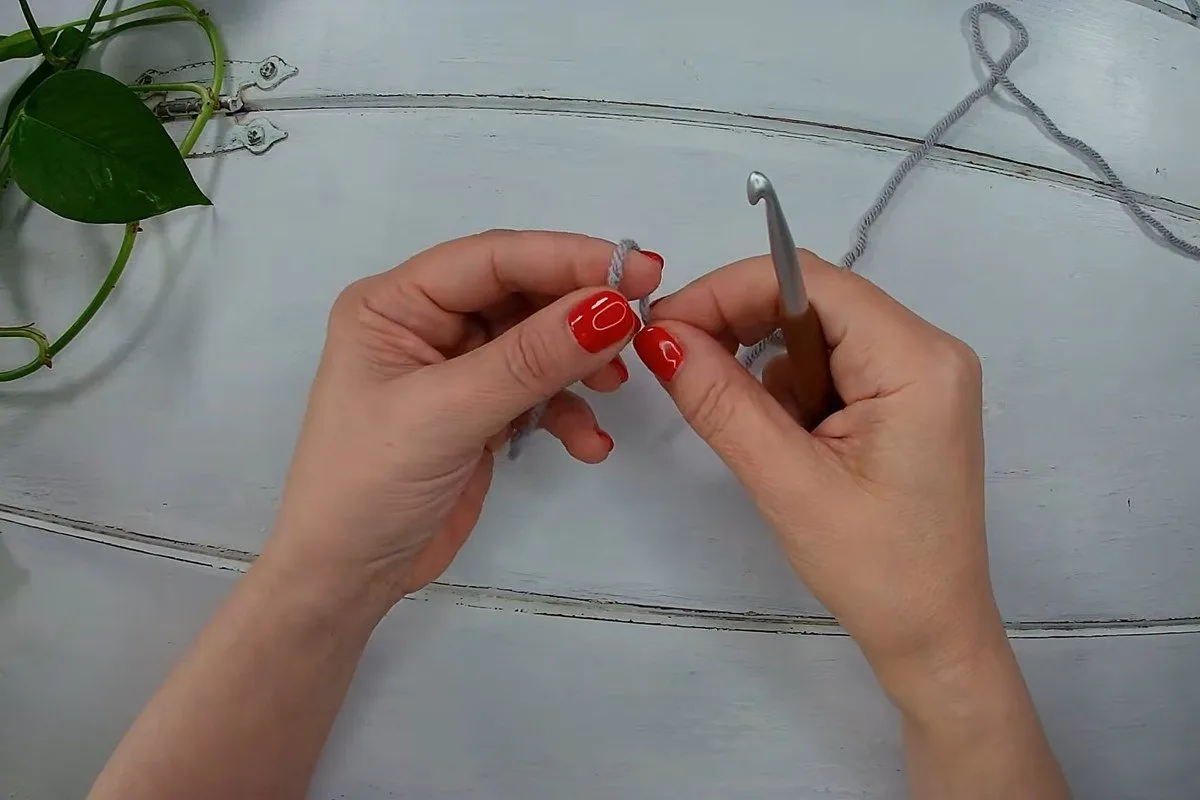
Start your crochet ear warmer with a slip knot on the hook, and leave a tail long enough to weave in later.
Step 2: Chain 17

Chain 17. This number sets the width: 17 chains with this yarn and hook make a band 4.5 in (11.5 cm) wide, which fits a teenager or an adult.
Step 3: Turn the chain over to find the back bumps
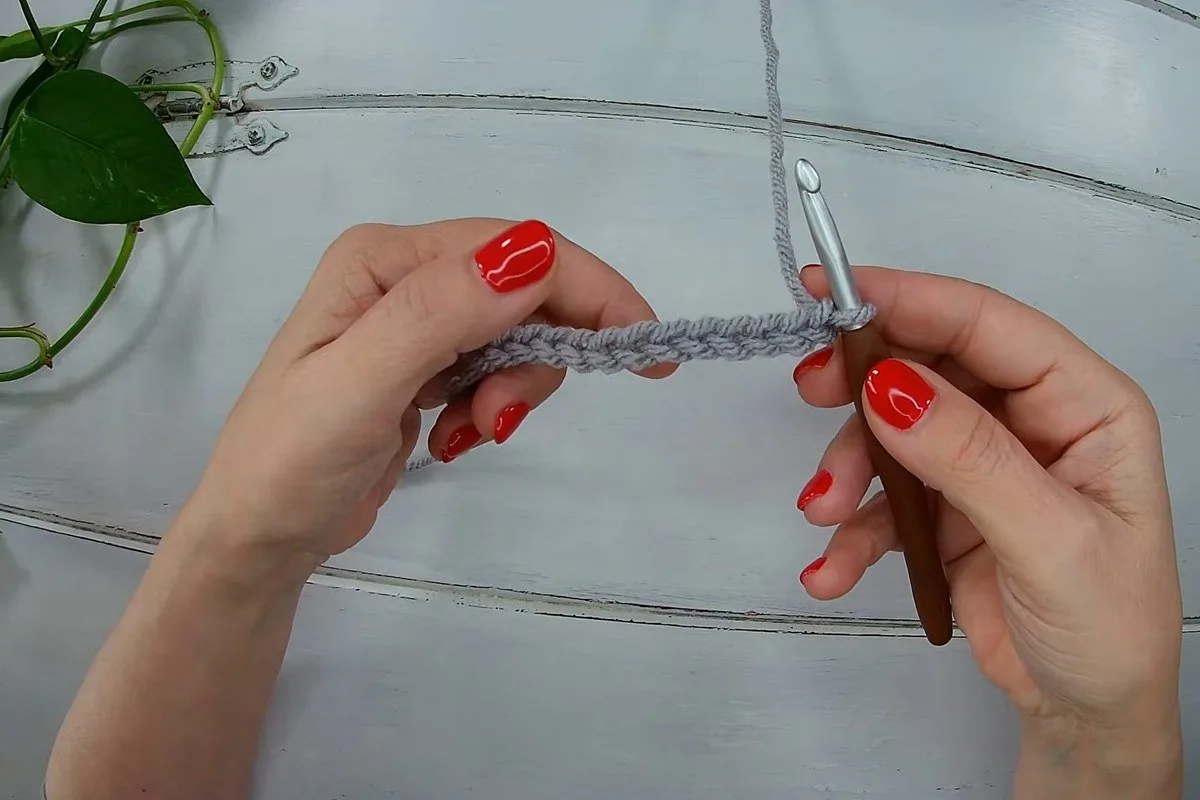
Flip the chain so the back faces you. The small bars you see there, the back bumps, are where row 1 goes. Working into them leaves a neat edge on the front.
Step 4: Work the first single crochet into the second chain

Insert the hook into the second chain from the hook, through the back bump, and make a single crochet. Make two more single crochet, so the row starts with three.
Step 5: Work 10 half double crochet, then 3 single crochet
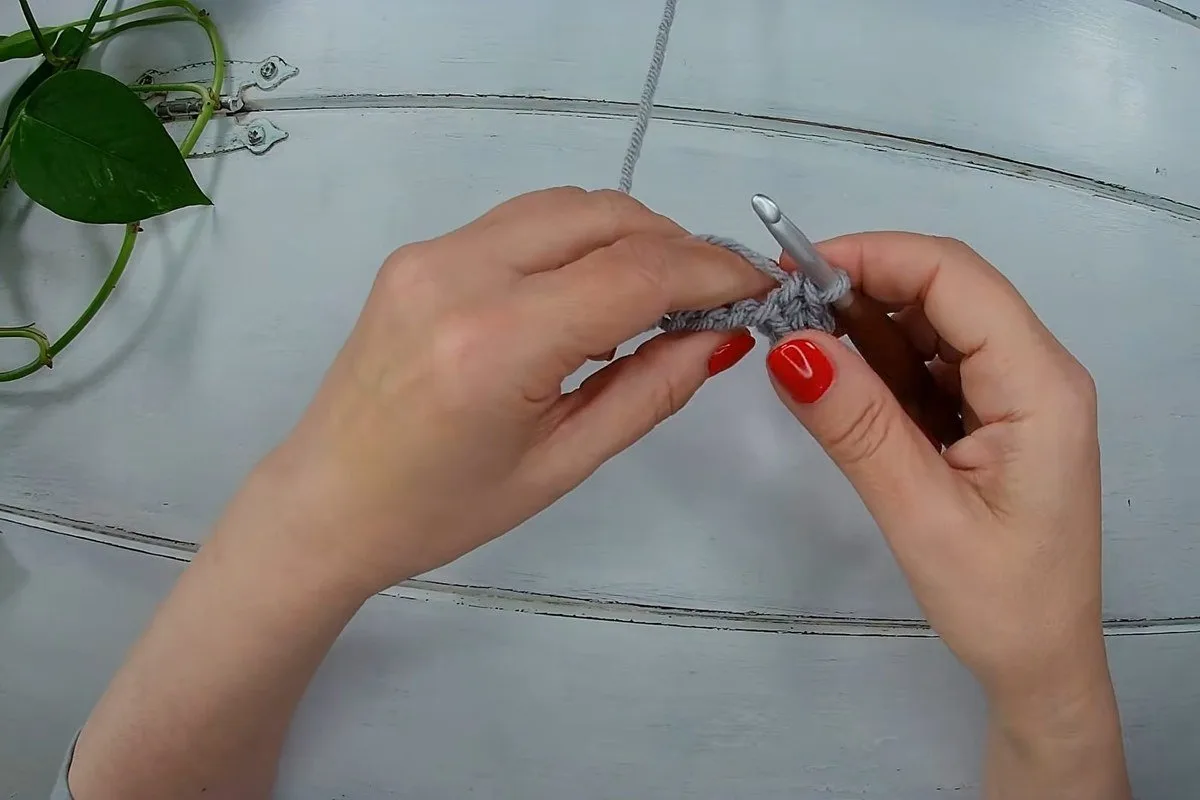
Now work 10 half double crochet, one in each of the next 10 chains. Finish the row with 3 single crochet in the last 3 chains. Row 1 reads: 3 single crochet, 10 half double crochet, 3 single crochet.
Step 6: Check that row 1 has 16 stitches
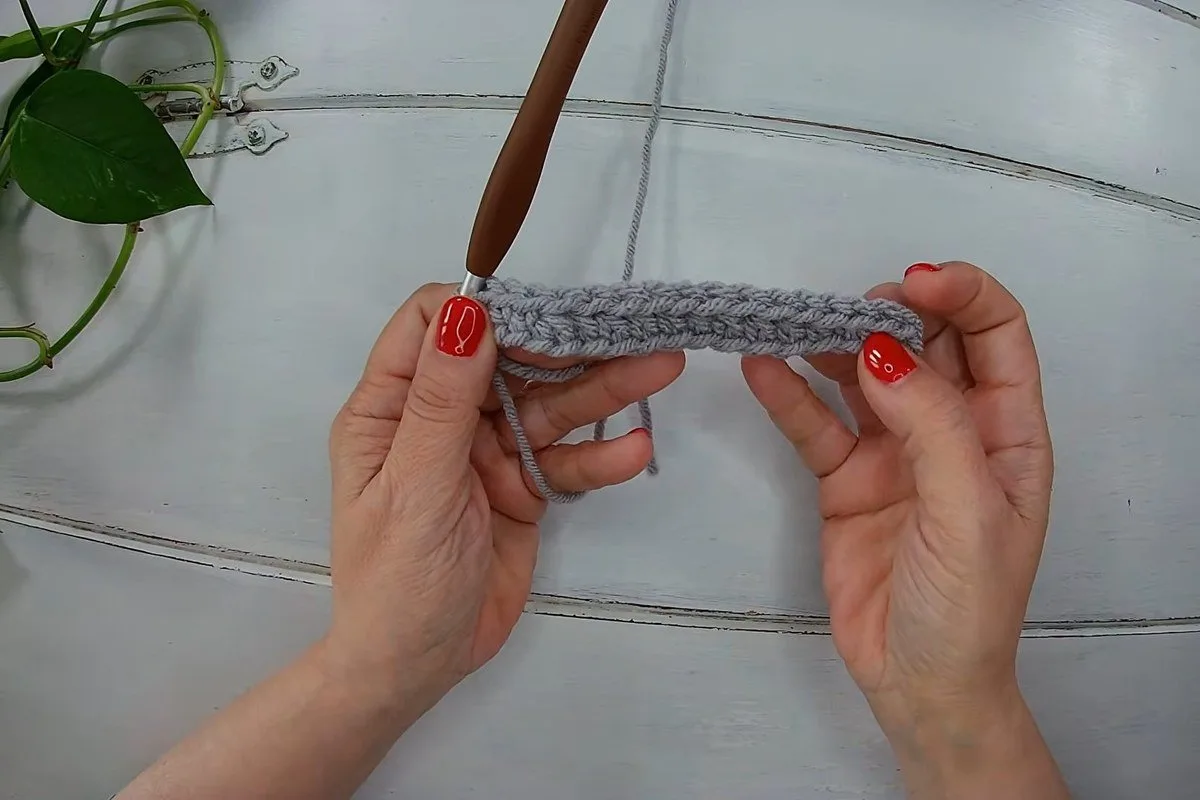
Count 3 + 10 + 3 = 16 stitches. If you have 15 or 17, pull out the row and work it again now; a wrong first row follows you for the next 55.
Step 7: Chain 1 and turn
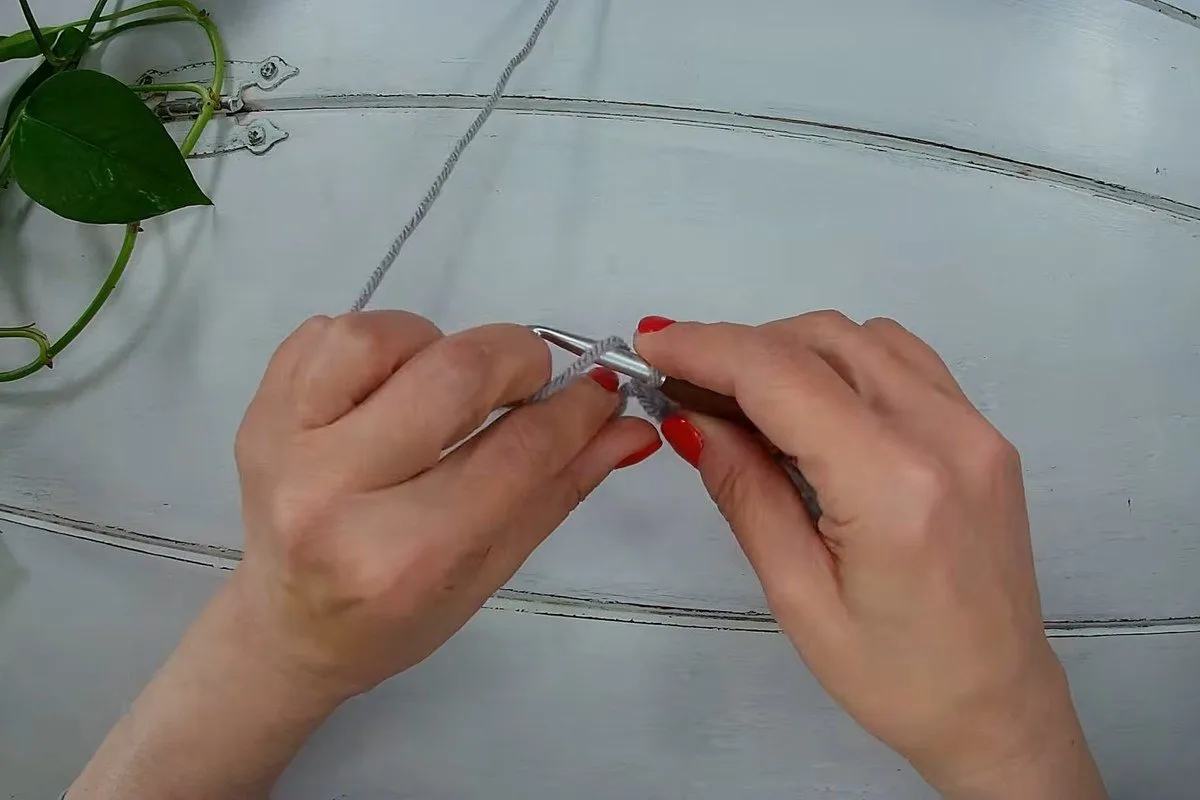
Chain 1 and turn your work. The chain does not count as a stitch, so your first stitch of row 2 goes into the first stitch of row 1.
Step 8: Switch to the back loop only
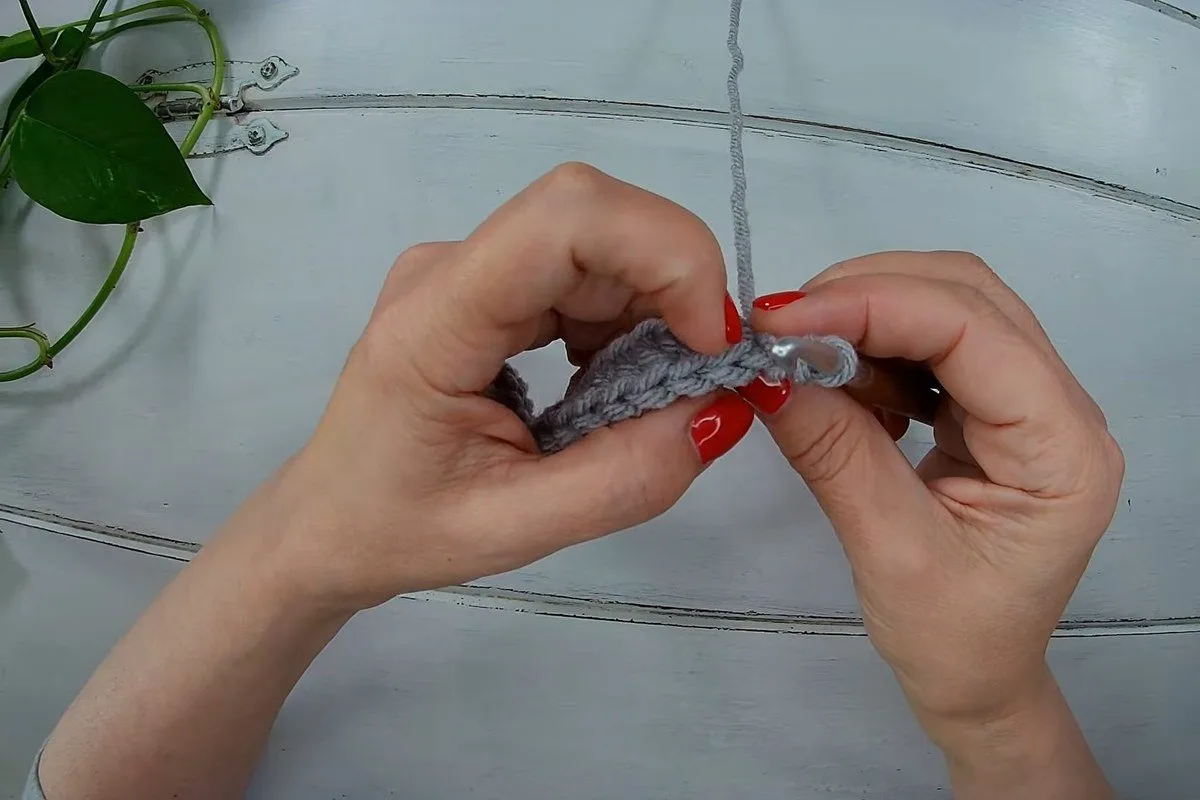
Make the first single crochet in both loops, the normal way, to keep the edge firm. Then work the next two single crochet in the back loop only, the loop farther from you. Those small V shapes are what you work into from here on.
Step 9: Work the 10 half double crochet in the back loop
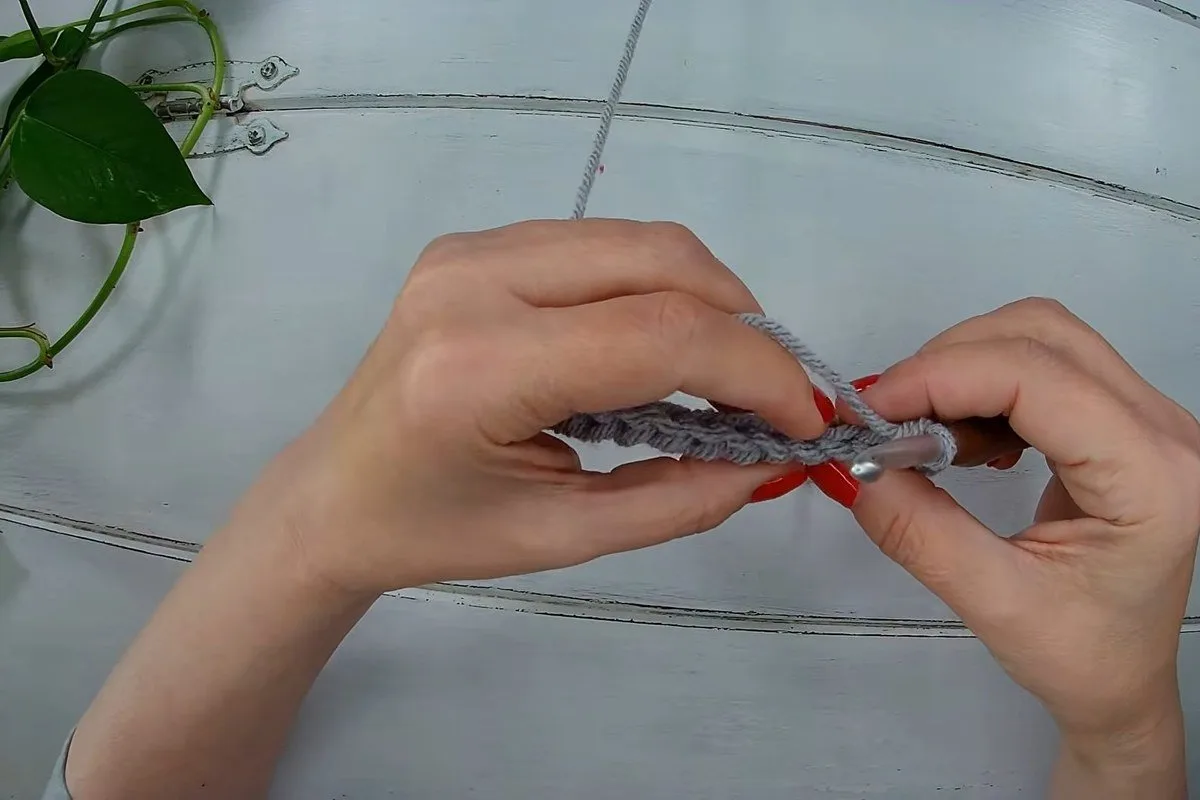
Make 10 half double crochet, each in the back loop only, then 2 single crochet in the back loop only. That leaves one stitch.
Step 10: Make the last stitch the normal way
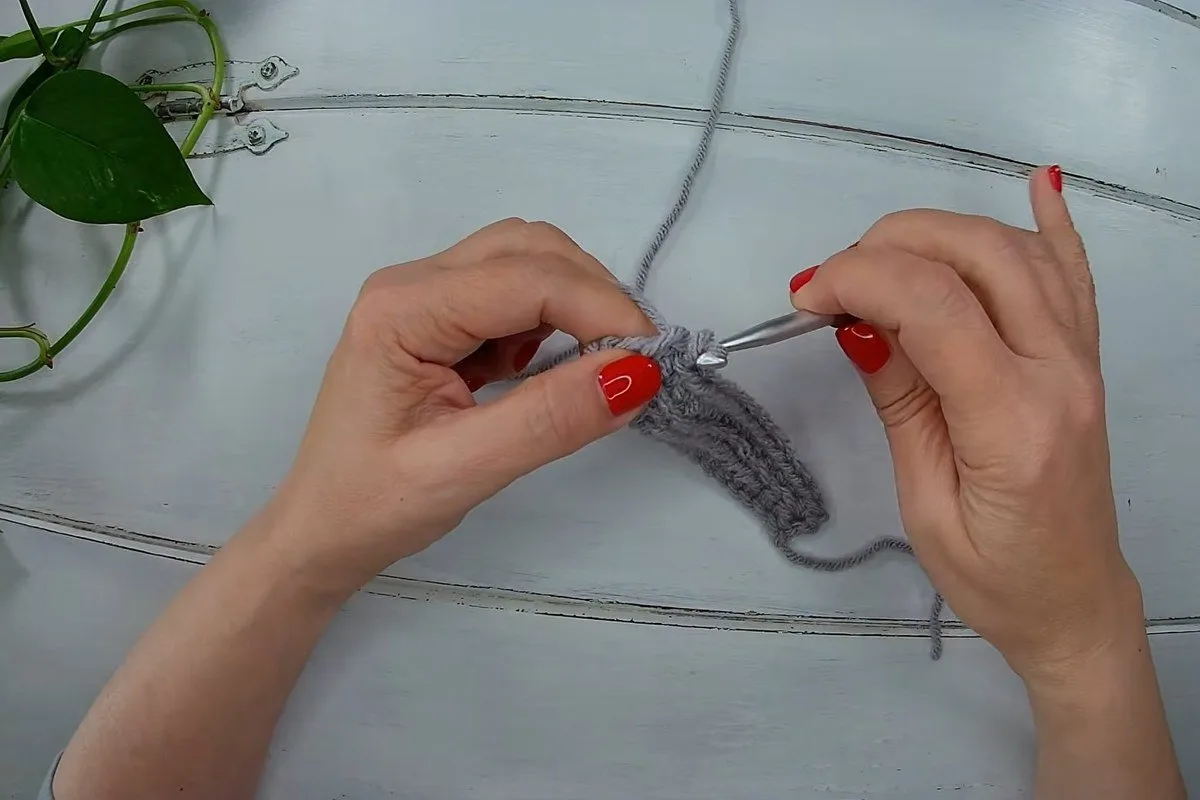
Work the last single crochet of the row in both loops, the same way you worked the first one. This keeps both edges of your ear warmer straight and firm.
Step 11: Check row 2
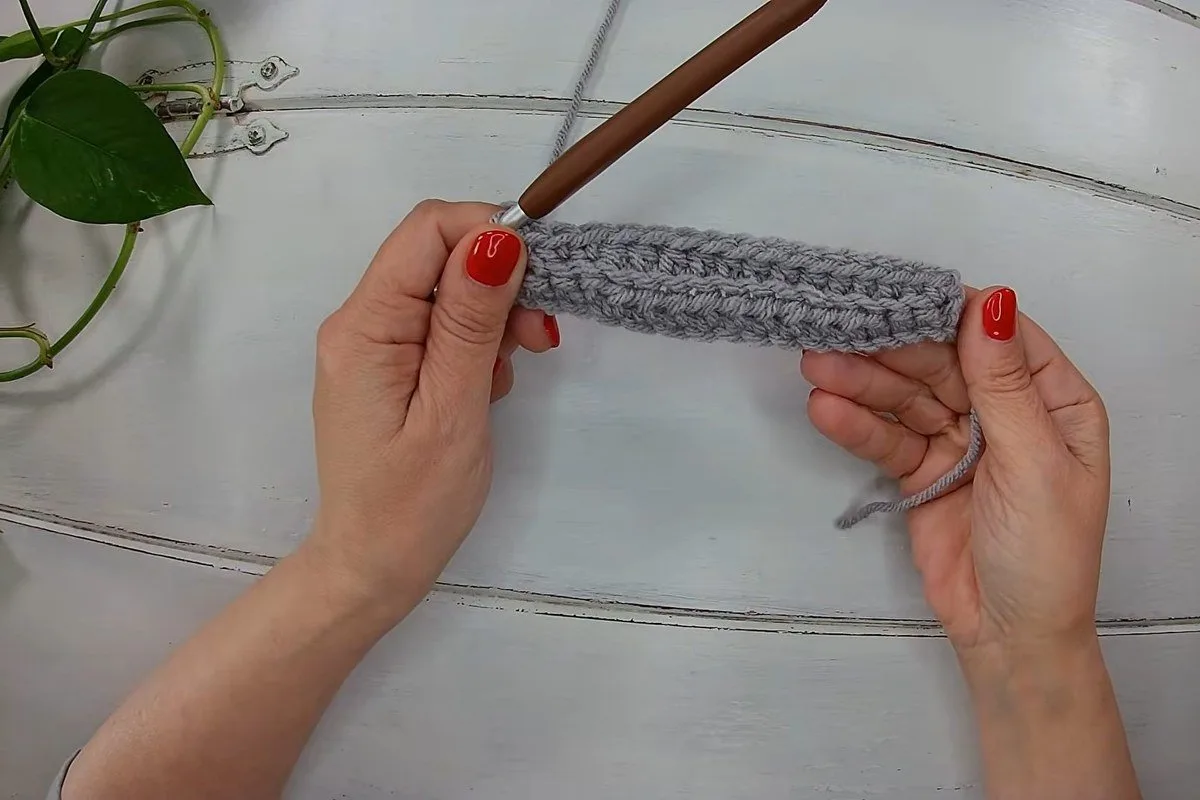
Row 2 is now 1 single crochet, 2 single crochet in the back loop, 10 half double crochet in the back loop, 2 single crochet in the back loop and 1 single crochet: 16 stitches again. The ribs start to show here.
Step 12: Repeat row 2 until you have 56 rows
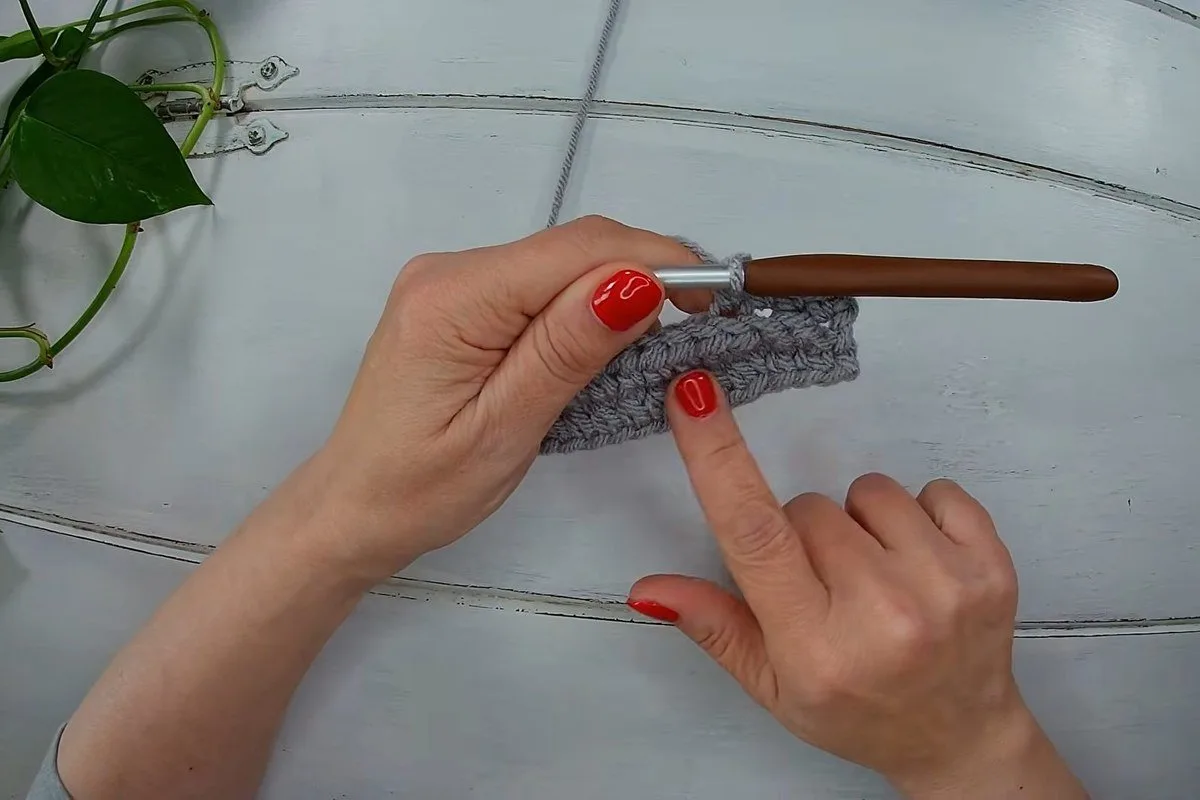
Chain 1, turn, and repeat row 2 until you have 56 rows in all, counting row 1. A row counter or a pencil tally saves you from losing count. At about 3.3 rows to the inch, 56 rows give the 17 in (44 cm) shown in the next photo.
Step 13: Lay the band flat and measure it
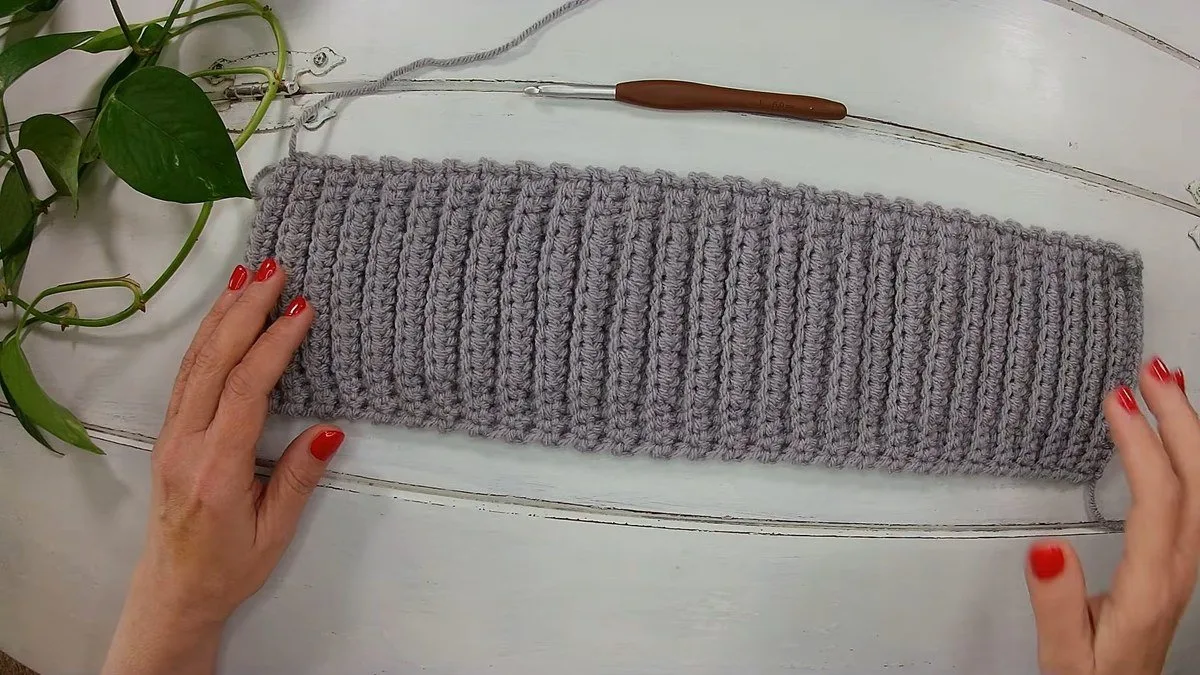
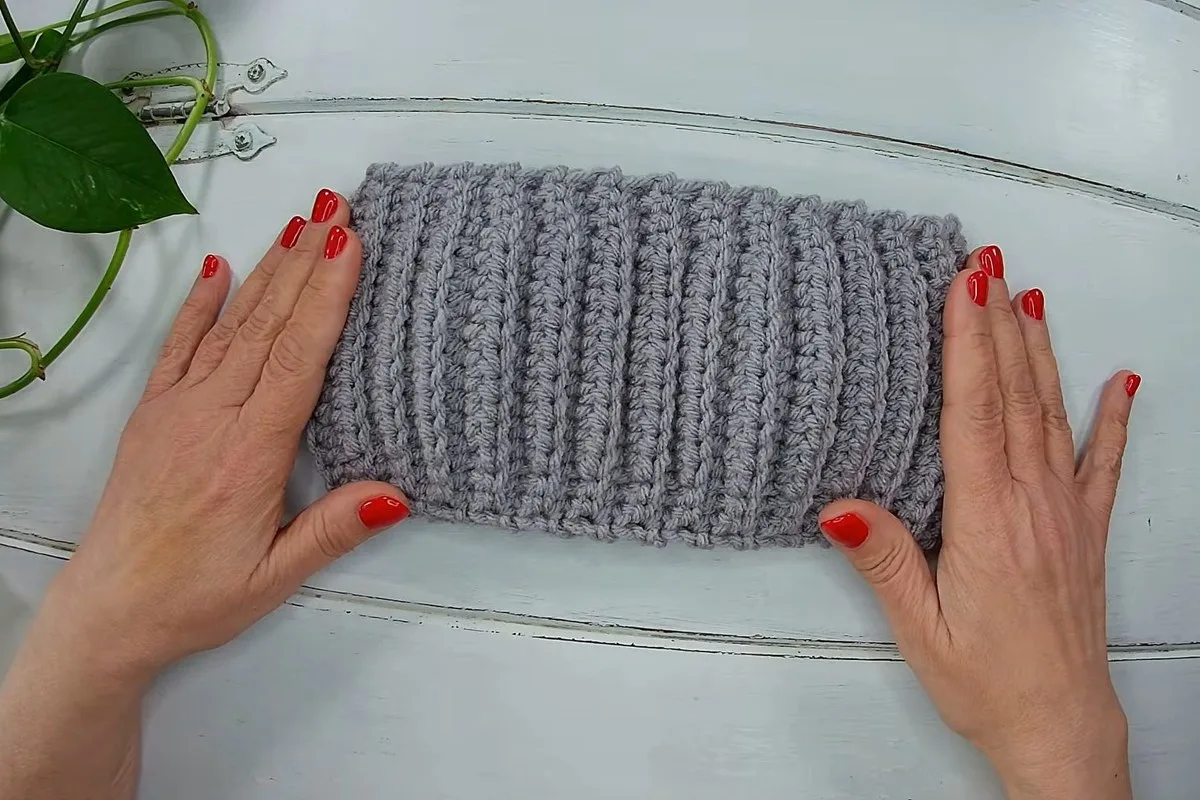
Lay the finished strip flat. With this yarn and hook it measures about 17 in (44 cm) long. This is the unstretched length, and it is the number to compare against your own head, not the stretched one.
Step 14: Stretch it to check the fit
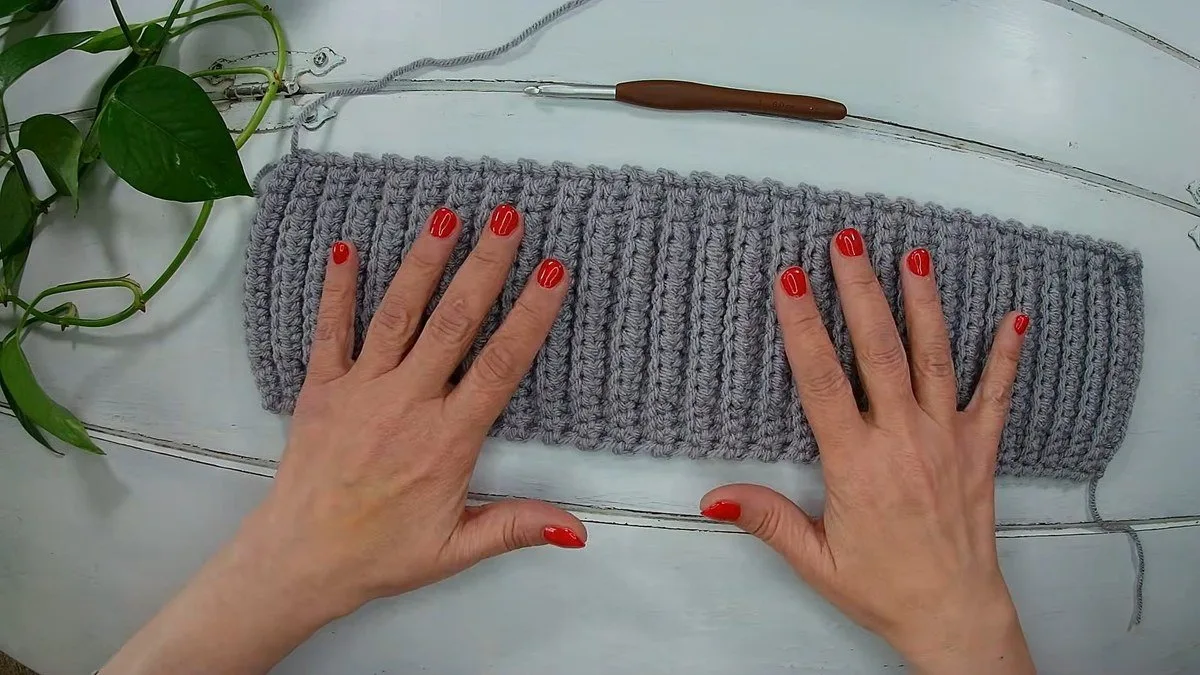
Pull the band gently along its length. The tutorial’s strip stretches to about 21 in (54 cm), which is the head size it was made for, so it fits snugly with no gap. That is roughly 24 percent more than the flat length.
Step 15: Fold the ends together
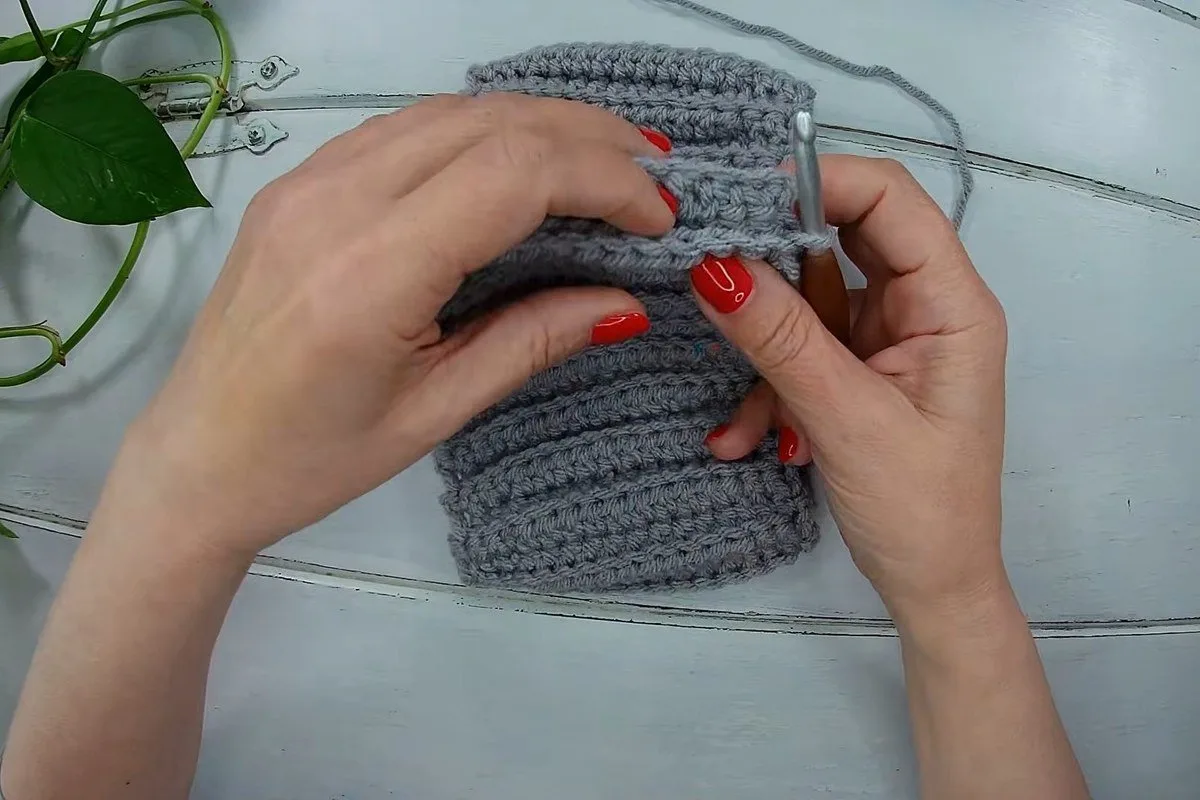
Bring the two short ends together with the right sides facing, so the seam will sit on the inside. Keep the loop on your hook, do not cut the yarn yet, and line the first stitch of each end up with it.
Step 16: Slip stitch the seam
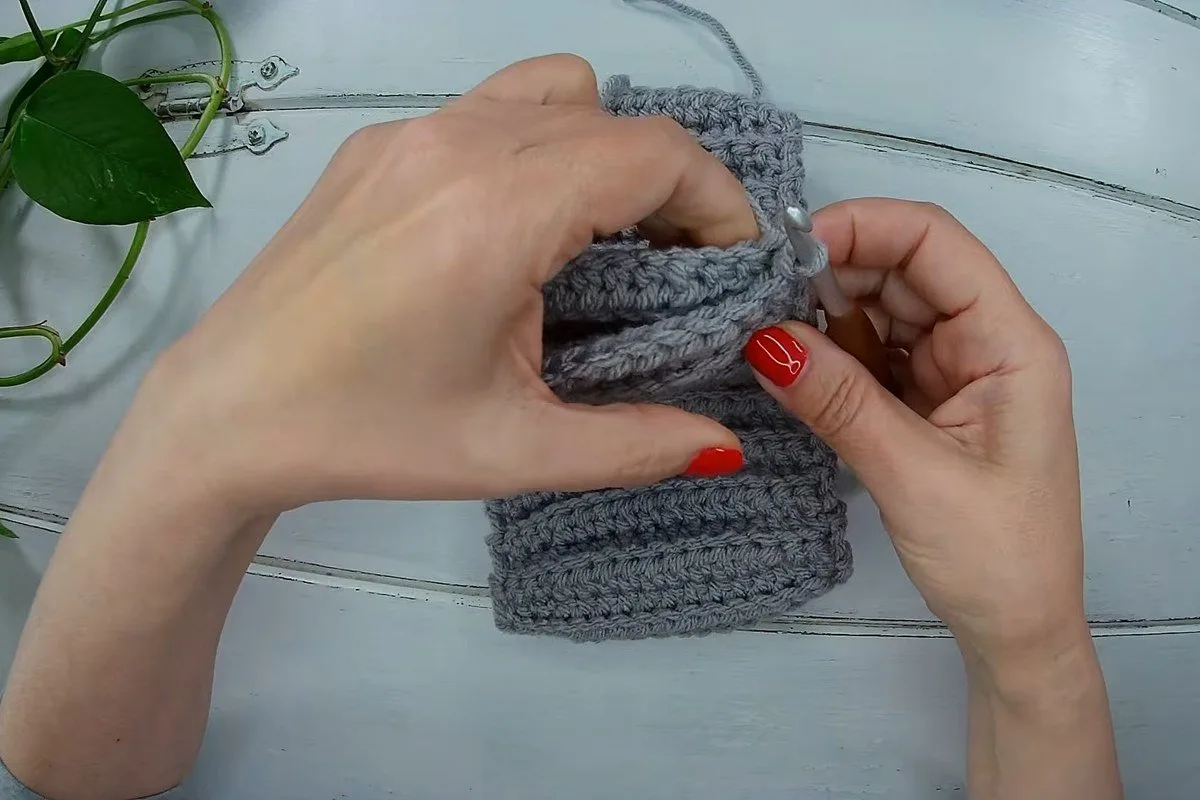
Insert the hook through both loops on one end and both loops on the other end, and make a slip stitch. Repeat across all 16 stitches, one slip stitch for each pair of loops.
Step 17: Finish the seam
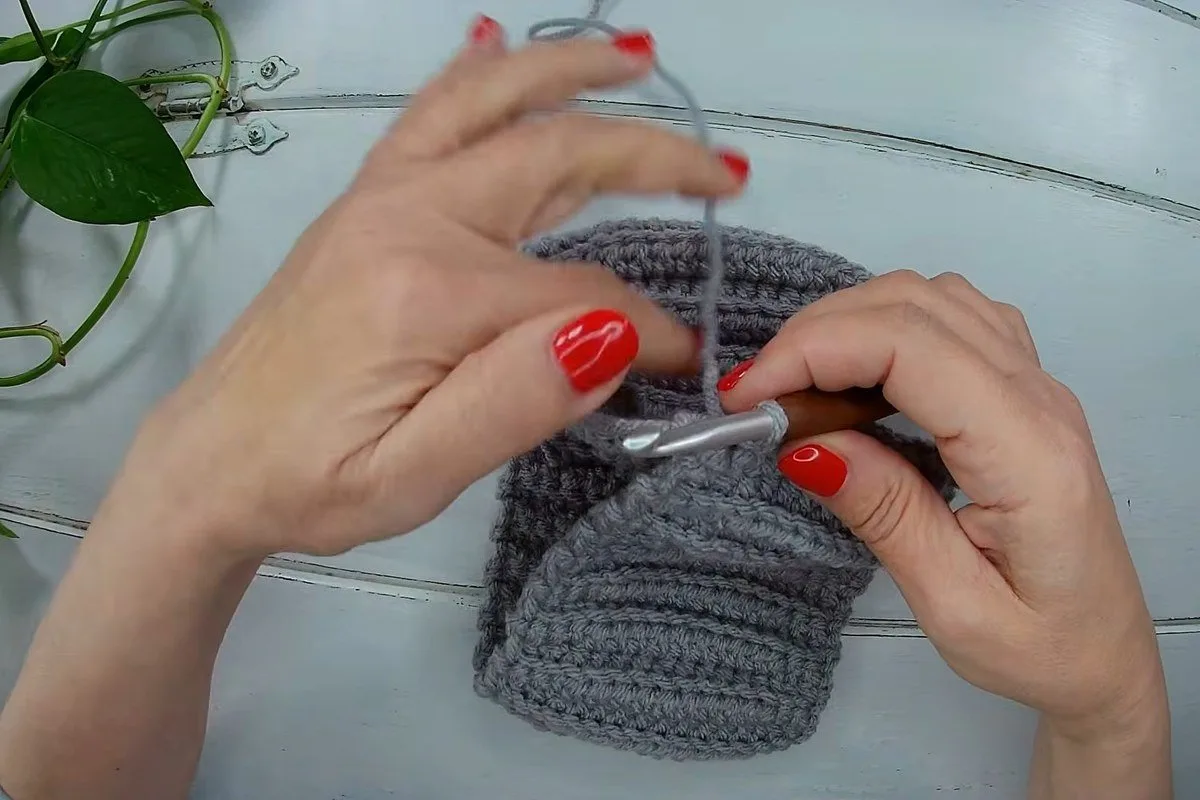
Keep going until the last pair of stitches is joined. A loose, even tension here keeps the seam from pulling the band into a bumpy ridge.
Step 18: Knot and cut the yarn
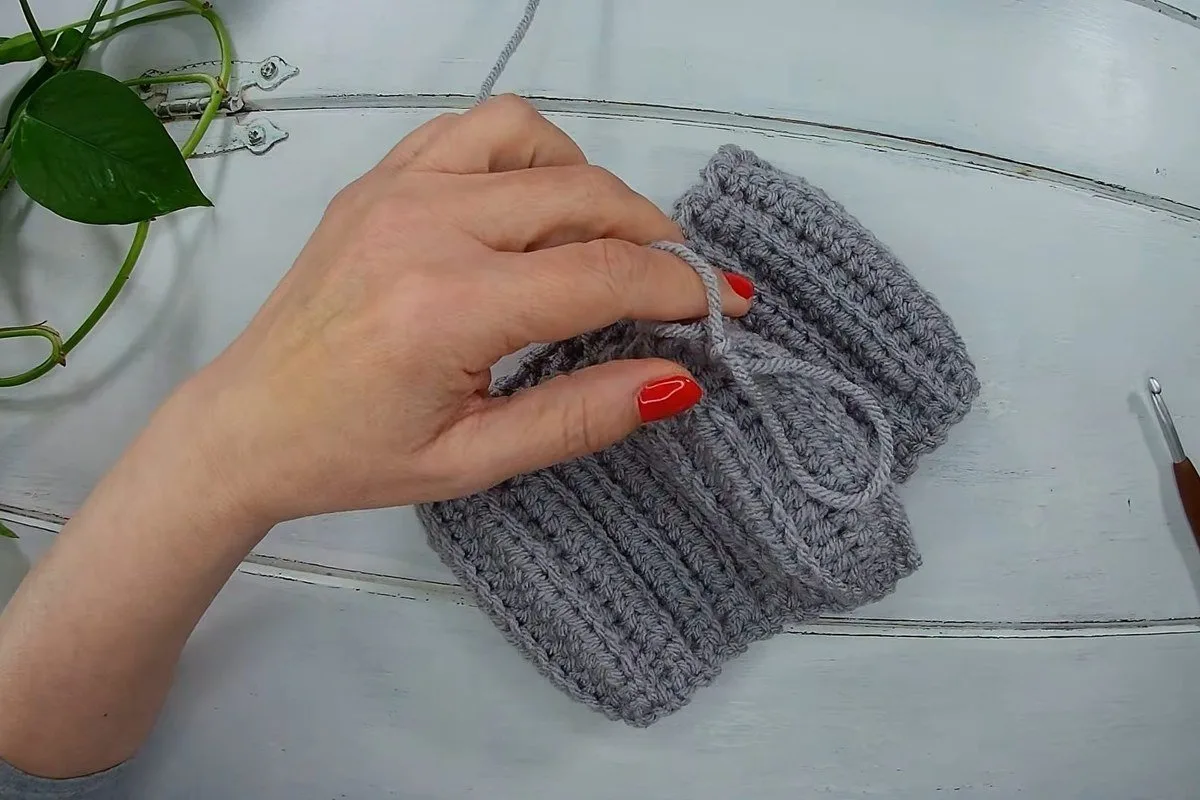
Make a knot, cut the yarn and leave a tail long enough for your needle. Knot the two tails together so the seam cannot open while you weave.
Step 19: Weave in the ends
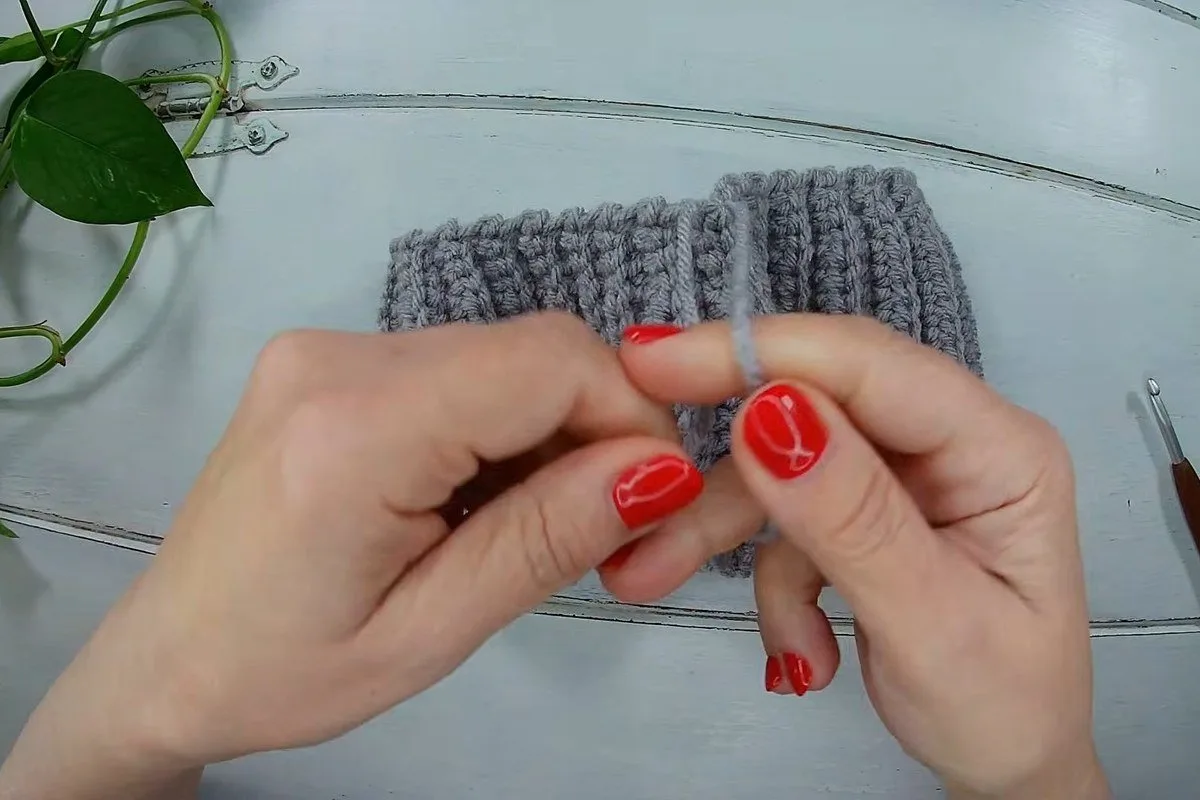
Thread the tails on a darning needle and weave them back and forth through the ribs on the inside, hiding them along the seam. Trim whatever is left.
Step 20: Turn the ear warmer right side out

Turn the ring right side out so the seam is hidden. Pull it flat and smooth the ribs.
Step 21: Wear your finished crochet ear warmer
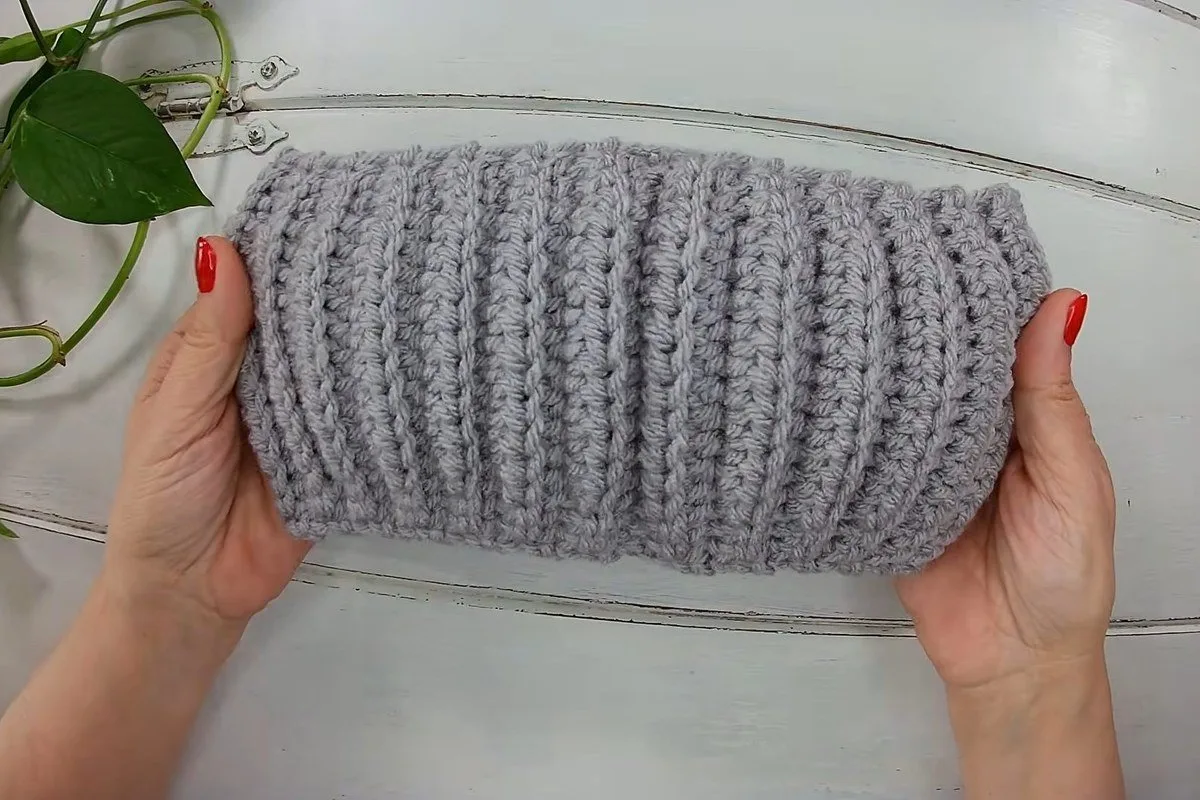
Your crochet ear warmer is done. Stretch it over your head so the band sits across your forehead and covers the tops of your ears.
Crochet Ear Warmer Rows for Every Head Size
Many crochet ear warmer patterns give you one size and leave the rest to luck. The tutorial gives us something better to work from: 56 rows measure 17 in (44 cm) flat and fit a head of about 21 in (54 cm). That is 2.67 rows for every inch of head.
Using the Craft Yarn Council head circumference chart, we scaled that rule to four sizes. The rows are rounded to whole numbers, and every figure assumes the same yarn, hook and stretch.
| Head size | Head circumference | Rows | Flat length |
|---|---|---|---|
| Child | 18 to 20 in (45.5 to 51 cm) | 48 to 53 | 14.6 to 16.2 in (37 to 41 cm) |
| Tween or teen | 20 to 22 in (51 to 56 cm) | 53 to 59 | 16.2 to 17.8 in (41 to 45 cm) |
| Adult woman | 21 to 23 in (53 to 58.5 cm) | 56 to 61 | 17 to 18.6 in (43 to 47 cm) |
| Adult man | 22 to 24 in (56 to 61 cm) | 59 to 64 | 17.8 to 19.4 in (45 to 49 cm) |
How we got these: head circumference times 56 divided by 21, then rounded. It is our arithmetic, not a tested result, and the ratio depends on how far your yarn stretches. Make the band, lay it round your head before you sew the seam, and add or remove a row if it is slack or tight. We left out baby sizes on purpose; see the safety note below.
A 17 in strip on a 21 in head is called negative ease: the finished piece is smaller than the head and holds on by stretching. The three free patterns we read that print a finished length run 19 to 21 in against adult heads of 21 to 23 in, but none of them explains the gap.
Where a Crochet Ear Warmer Goes Wrong
It slips off, or squeezes
The commonest fault is the wrong row count, and it is not a mistake so much as a different head. Fifty-six rows suit a head near 21 in. A larger head needs more rows, which is why the table above exists. Check by wrapping the flat band round your head before you sew: it should meet the other end with a little stretch left.
The edges wobble
If the sides of your crochet ear warmer look wavy, you have probably miscounted or worked the first or last stitch into the back loop only. Both end stitches go through both loops. Count the 16 stitches every few rows until the habit sets in.
The seam is a lump
Slip stitches pulled tight make a hard ridge across the band, and that ridge sits on your forehead. Keep the slip stitches loose, work them through both loops of each side, and weave the ends flat into the ribs instead of in a ball.
Crochet Ear Warmer Safety for Babies
Check who it is for before you start a crochet ear warmer. The AAP safe sleep guide from the pediatricians’ association says soft objects and loose bedding can increase a baby’s risk of entrapment, suffocation or strangulation, so anything soft that could cover the face does not belong in a sleep area. The KidsHealth page from CHOC Children’s goes further and says not to put headbands on your baby.
Our judgement is to keep this pattern for older children and adults, and to take any headband off a small child before sleep. That is why the size table stops at child. If you make one for a toddler, check it is not tight, and leave off buttons, flowers and ties.
Five More Free Crochet Ear Warmer Patterns
Here are five other free ear warmers that we read, for a different stitch or a different look. For each one we list only what the page prints, and say which numbers are missing.
| Pattern | Stitches and shape | Hook | Printed size or yarn |
|---|---|---|---|
| Susie Ear Warmer Headband (Oombawka) | Rows of single and double crochet, ends joined with a twist or a flat seam | 6.0 mm | 4 in by 19 in for the teen size, 70.6 yd |
| Twisted Shells Ear Warmer (The Loopy Lamb) | Shell texture, one twist, optional edging | 5.0 mm | 4 in by 20 in, about 84 to 96 yd |
| Basic Ear Warmer with Button (Left in Knots) | A narrow strip in single, half double or double crochet, fastened with a 1 in button | 5.5 mm | No size or yardage printed |
| Hope Earwarmer (Yarn and Chai) | Half double crochet in rounds, cinched, with a 7/8 in button | 5.0 mm | 4.5 in by 21 in, 120 yd |
| Faux Knit Ear Warmer (Maria’s Blue Crayon) | Front post double crochet ribbing over 12 rounds of 60 stitches | 5.0 mm | No size or yardage printed |
What the five pages leave out: only two print a yardage for a size, none explains why a band smaller than your head still fits, and not one mentions babies and sleep. Their hooks run from 5.0 to 6.0 mm. The Loopy Lamb page pairs a category 4 worsted with a 5.0 mm hook, half a millimetre under the council’s floor, which matches the tight fabric choice in our ribbed band.
More small winter makes on our site: the free crochet head scarf pattern, the free crochet fingerless gloves pattern and the crochet balaclava.
Crochet Ear Warmer FAQ
What hook and yarn do I need for a crochet ear warmer?
This crochet ear warmer uses a 6.0 mm (J) hook and bulky category 5 yarn. One 100 g ball of Paintbox Simply Chunky holds 149 yd (136 m), which covers our 71 to 97 yd estimate.
How many chains do I need for a crochet ear warmer?
Chain 17 for a band 4.5 in (11.5 cm) wide in this yarn. Row 1 then has 16 stitches. Another yarn or hook changes the width, so change the chain count to match.
How many rows does an adult crochet ear warmer need?
Fifty-six rows fit a head of about 21 in (54 cm). For an adult woman we work out 56 to 61 rows, and for an adult man 59 to 64, using the same yarn and hook.
Why is a crochet ear warmer worked in the back loop only?
Working in the back loop only leaves the front loop as a small ridge, and a row of these ridges looks like knit ribbing and stretches well. The first and last stitch of each row use both loops, which keeps the edges firm.
Can I make a crochet ear warmer for a baby?
We would not. Pediatric guidance from the AAP warns about soft objects in a baby’s sleep area, and KidsHealth from CHOC advises against headbands on babies. Keep the crochet ear warmer for older children and adults.
How do I join the ends of a crochet ear warmer?
Fold the strip with right sides together, put the hook through both loops on each end, and slip stitch across all 16 stitches. Knot the tails, weave them into the ribs on the inside, and turn the ring right side out.
A Head Scarf or Scarf to Match
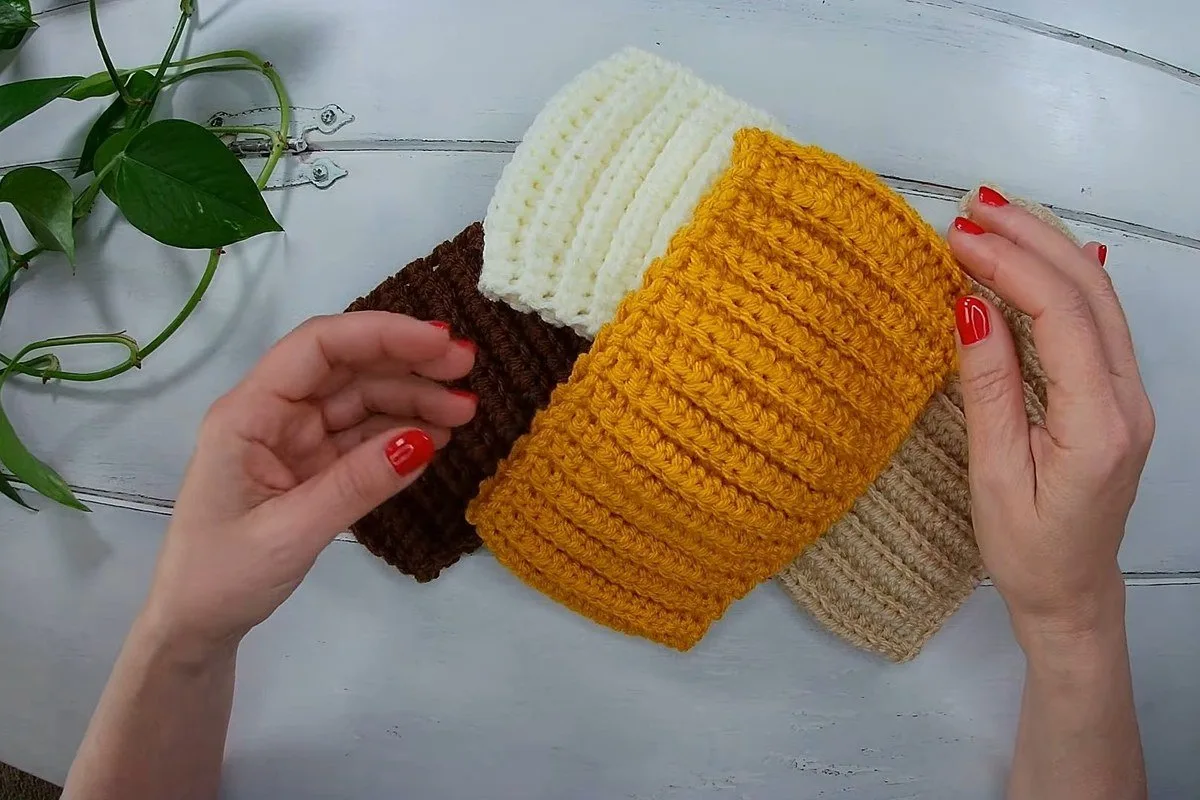
Once your first crochet ear warmer is done, make a second in a contrasting colour for gifts. A free crochet head scarf or the easy crochet scarf pattern matches it, and the crochet hat for men guide covers head sizing in more detail. You can also browse every crochet accessory and free pattern on the site.
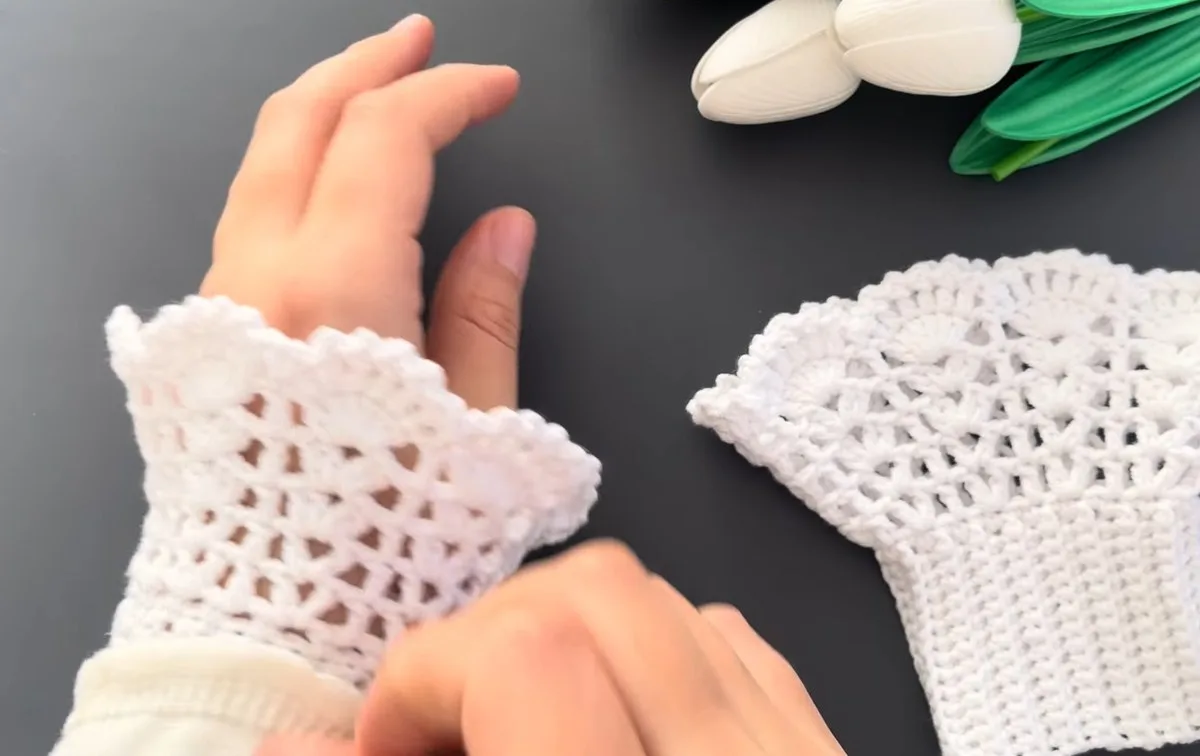
For a lacy piece to wear with it, make these crochet lace wrist cuffs.
Sources
- Oombawka Design Crochet, Susie Ear Warmer Headband
- The Loopy Lamb, Twisted Shells Ear Warmer
- Left in Knots, Basic Crochet Ear Warmer
- Yarn and Chai, Hope Earwarmer
- Maria’s Blue Crayon, Faux Knit Ear Warmer
- LoveCrafts, Paintbox Yarns Simply Chunky label
- Craft Yarn Council, yarn weight system
- Craft Yarn Council, head circumference chart
- AAP, A Parent’s Guide to Safe Sleep
- KidsHealth from CHOC Children’s, Entrapment and Safe Clothing
Pattern credit: the ribbed ear warmer design in this guide is by Crochet Cabin. Find more of their work on the YouTube channel Crochet Cabin.