Crochet Lace Wrist Cuffs: An Elegant Pair From 15 Chains
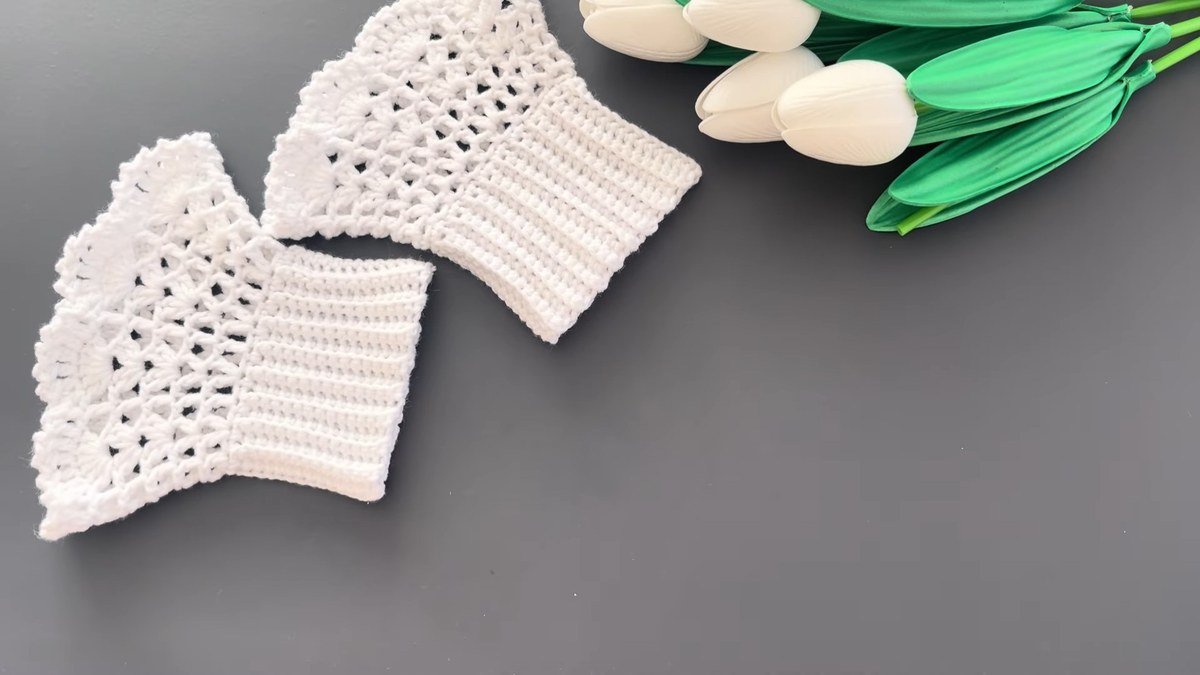
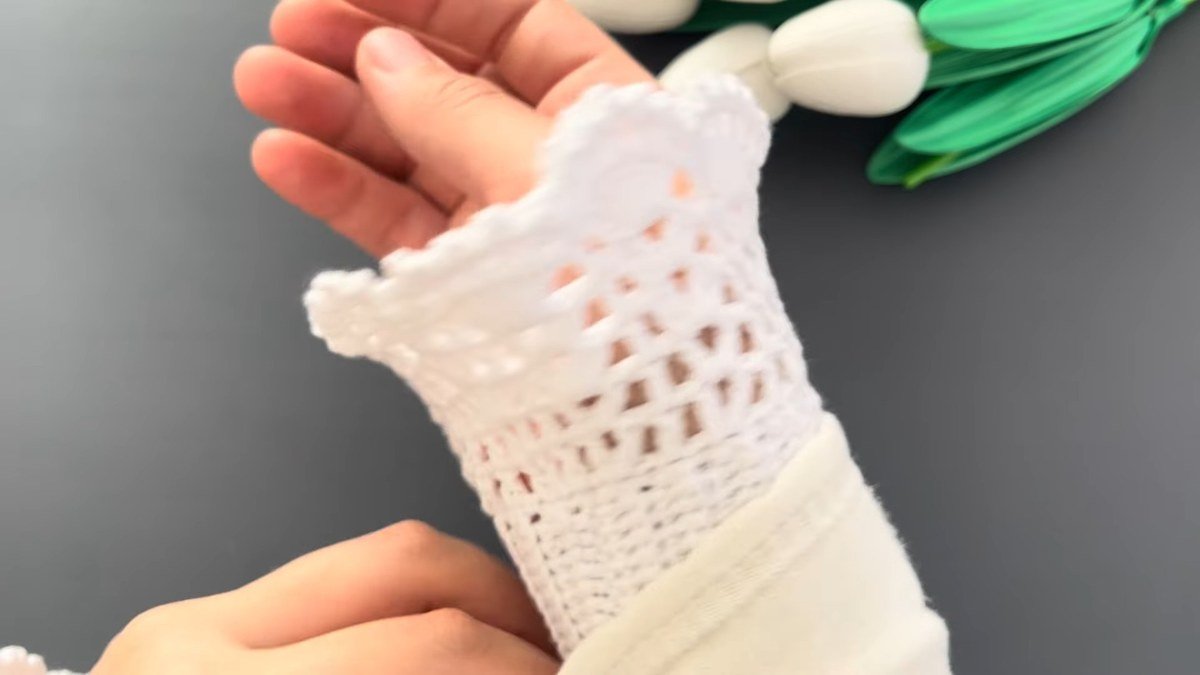
These crochet lace wrist cuffs are a ribbed band topped with a wide, flared frill of lace, worked in fine cotton on a hook of 2.0 to 2.5 mm. They sit over the wrist like a vintage sleeve edge, and they are quick to make: one narrow strip, one seam, then the lace.
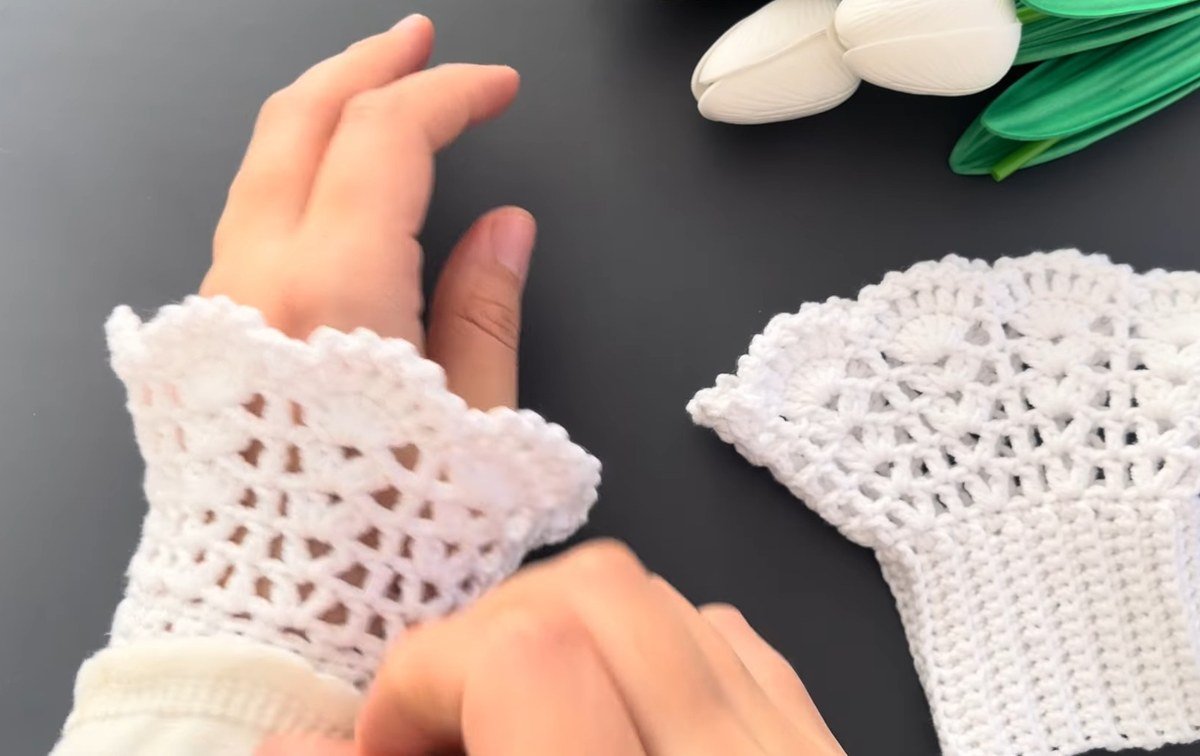
You get the whole set of crochet lace wrist cuffs in 16 photo steps, then a plan of every stitch group, the four places it goes wrong, the hook and yarn question, and five more free lace cuff patterns to compare. There is a lot of lace in these crochet lace wrist cuffs, but each step is small.
One note before you start: this pattern for crochet lace wrist cuffs names its stitch groups and its 15-chain start, but it gives no row counts, no repeat counts and no gauge. We don’t invent them. Where a number is missing we say so, and we tell you how to find your own with a swatch.
- What you need
- Stitches and abbreviations
- The plan at a glance
- Step by step
- Where it goes wrong
- Hook, yarn and fit
- Five more free lace cuff patterns
- FAQ
- Complete the Look
- Sources
What You Need to Make Crochet Lace Wrist Cuffs
The crochet lace wrist cuffs need one small ball of cotton yarn, a fine hook, scissors and a yarn needle. The designer lists cotton yarn and a 2.0 to 2.5 mm hook, and the samples are white, which shows the lace off best. The design works in any colour.
| Item | What to use |
|---|---|
| Yarn | Cotton yarn. The designer does not print a yardage, so buy one small ball and weigh what is left over |
| Hook | 2.0 to 2.5 mm, the range in the designer’s materials list |
| Tools | Scissors and a yarn needle to weave in the ends |
| Band | A flat strip started on 15 chains, worked in single crochet rows and joined into a ring |
| Lace | Worked round the ring in stitch groups of 1 dc, 2 ch and 1 dc, growing to 2 dc, 2 ch and 2 dc, then a 6 dc fan |
| Extra | A swatch first, because the pattern gives no gauge and no row count |
The Stitches Behind Crochet Lace Wrist Cuffs
The crochet lace wrist cuffs use only a handful of stitches, and the labels give them as short groups such as 1 ch, 1 dc, 1 ch. Crochet has two naming conventions, so we give both and you never work the wrong stitch.
| Abbreviation | Name used here | Other naming convention |
|---|---|---|
| ch | Chain | Chain |
| sl st | Slip stitch | Slip stitch |
| sc | Single crochet | Double crochet |
| dc | Double crochet (yarn over, insert, pull up a loop, pull through 2, pull through 2) | Treble crochet |
| 1 dc / 2 ch / 1 dc | One double crochet, two chains, one double crochet, as one lace group | Same group with the other stitch names |
There is no stitch multiple to fit in this pattern: the band is a fixed strip and the lace grows out of the edge stitches, so you never divide a chain by a number. What matters is that the lace groups sit evenly, which is why the swatch step below is worth the ten minutes.
The Plan for These Crochet Lace Wrist Cuffs at a Glance
Here is the whole design of the crochet lace wrist cuffs in one table. The counts marked stated are the designer’s own, and everything else is our sum or our advice.
| Part | What is worked | Source of the number |
|---|---|---|
| Band, foundation | Chain 15 | Stated |
| Band, rows | 1 ch, then sc across, row after row until the strip fits your wrist | Stated groups; the row count is not given |
| Join | Slip stitch the two short ends into a ring | Stated |
| Edge | Single crochet round one long edge | Stated; the stitch count is not given |
| Lace group A | 4 ch, 1 dc | Stated |
| Lace group B | 1 dc / 2 ch / 1 dc | Stated |
| Lace group C | 1 ch / 1 dc / 1 ch | Stated |
| Lace group D | 2 dc / 2 ch / 2 dc | Stated |
| Fan | 6 dc in one place, as the scallop | Stated |
Our own number: a start of 15 chains gives a strip 14 stitches wide once one stitch goes to the turning chain, so every 10 rows of the ribbed band are 140 single crochet. That is the part of these crochet lace wrist cuffs where a row counter earns its keep.
Step by Step: Crochet Lace Wrist Cuffs in 16 Photo Steps
The steps follow the order the work is done. Read the labels as groups: 1 dc / 2 ch / 1 dc means one double crochet, two chains and one double crochet worked together as a single lace group.
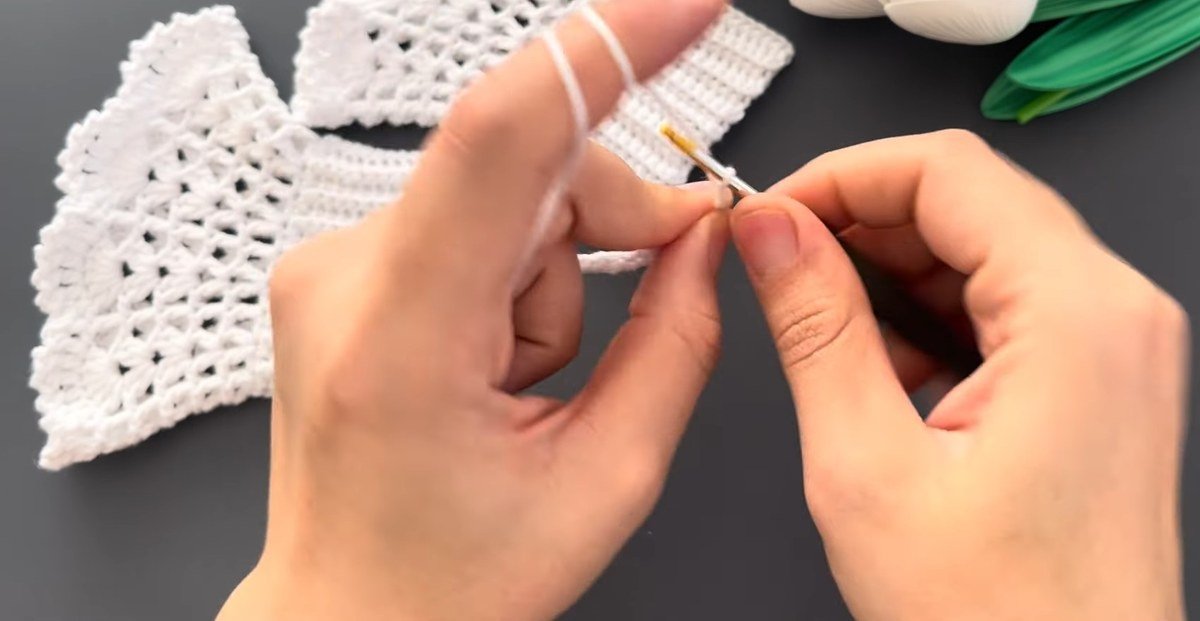
Step 1: Chain 15
Start the ribbed band of your crochet lace wrist cuffs with a slip knot and a foundation chain of 15. Keep the chain loose and even, because it sets the width of the whole cuff. Fifteen chains make a narrow strip, about the width of a wide bracelet once it is worked.
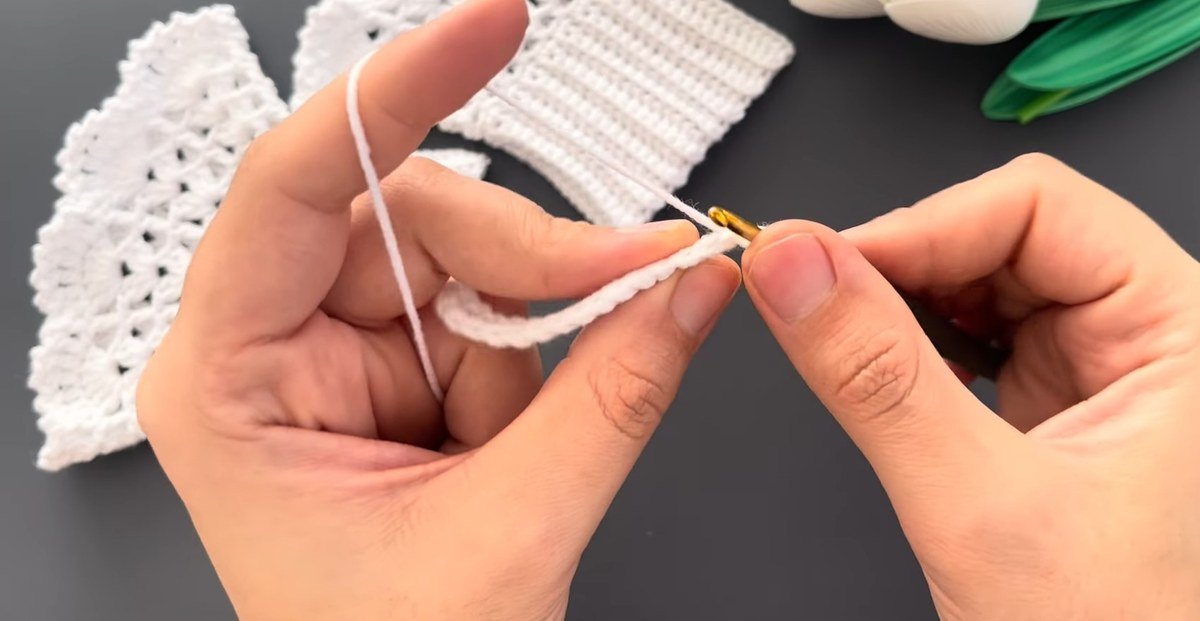
Step 2: Work the first row of single crochet
Turn, chain 1, and work single crochet along the chain. The label on this row reads 1 ch, then sc. With the usual turning rule, 14 of the 15 chains carry a stitch, which gives a row 14 single crochet wide. Keep every stitch the same height.
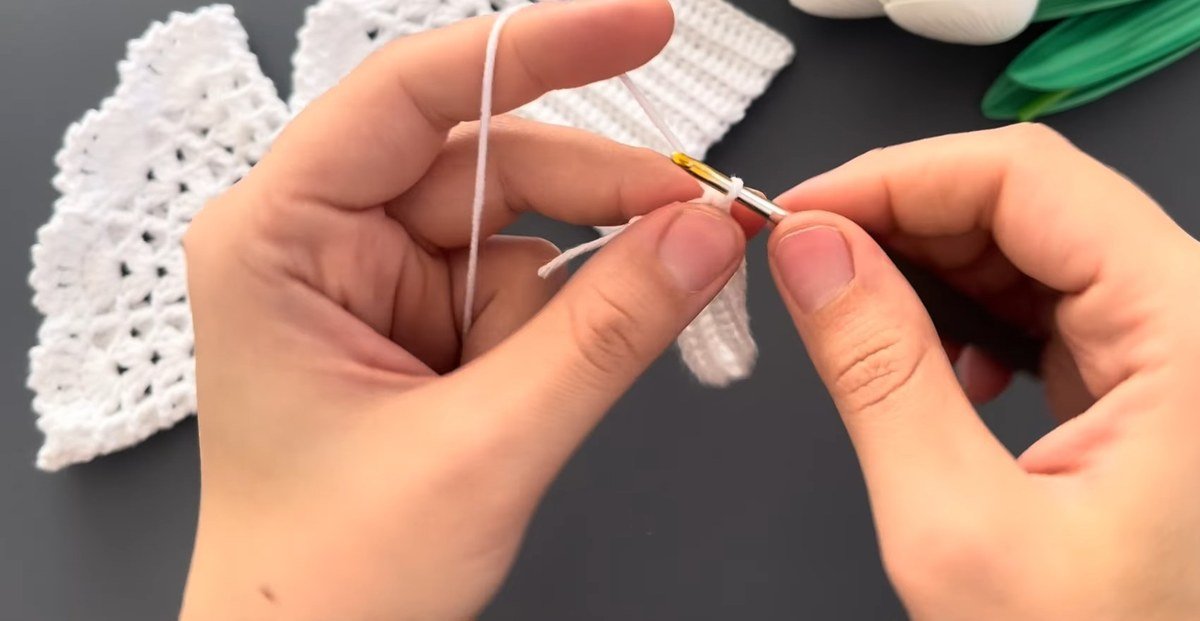
Step 3: Keep working the ribbed rows
Repeat the same row, 1 ch then single crochet across. The strip grows into a dense, ridged band. The ridges are the look of single crochet worked in the back loop only. The label says just 1 ch and sc, so treat the back loop as our reading and swatch both ways before you commit to a whole cuff.
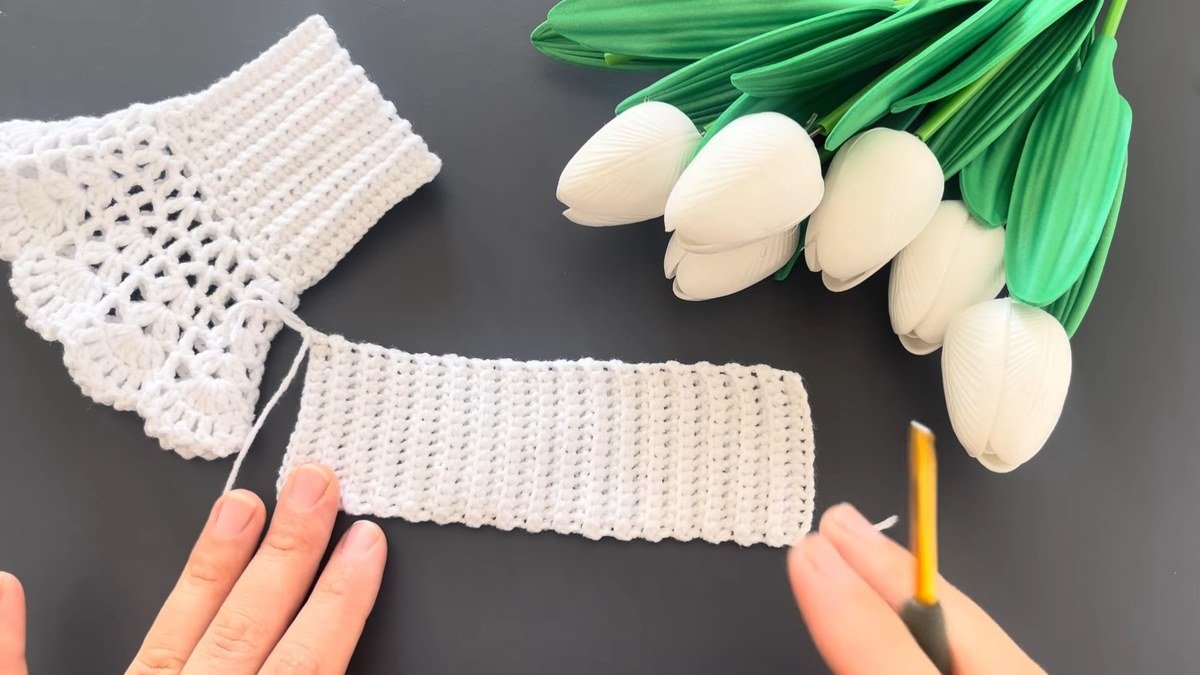
Step 4: Lay the strip flat and check the length
When the strip is long, put it down flat. It should look like a long, narrow rectangle with even edges and straight ridges. The designer does not give a row count, so make the band by measuring: wrap it round your wrist, stretch it a little, and stop when the two ends meet without a gap. This is the step that decides how your crochet lace wrist cuffs fit.
Step 5: Fold the strip into a ring
Bring the two short ends of the strip together so it forms a ring, with the ridges running the same way on both sides. Hold the ends level with your fingers and keep the strip untwisted. A twist here would show in every lace round above it.
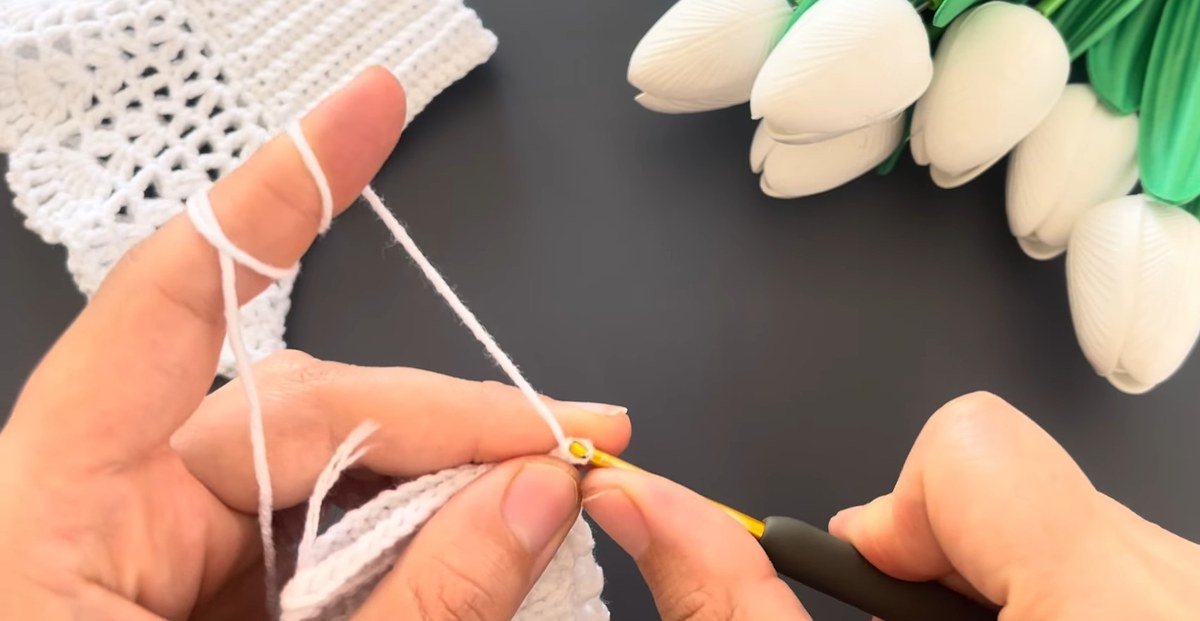
Step 6: Slip stitch the seam
Join the ring with slip stitches. The label on this step reads simply slip stitch. Work through both edges so the seam lies flat and stays as stretchy as the band. Fasten off and weave in the tail later, once the whole cuff is done.
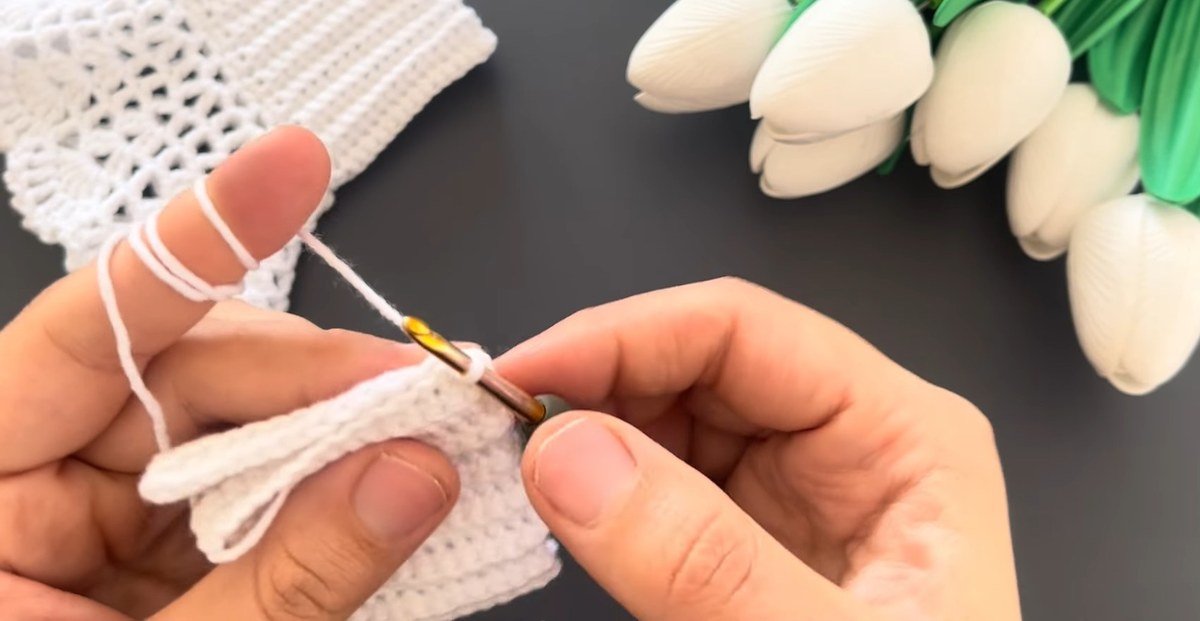
Step 7: Single crochet round one edge
Turn the band and work single crochet all the way round one long edge, the edge that will carry the lace. The label reads only SC and gives no stitch count. One stitch in each row end is a sensible start, and it is our advice, not a stated figure. Even stitches here make the lace hang evenly.
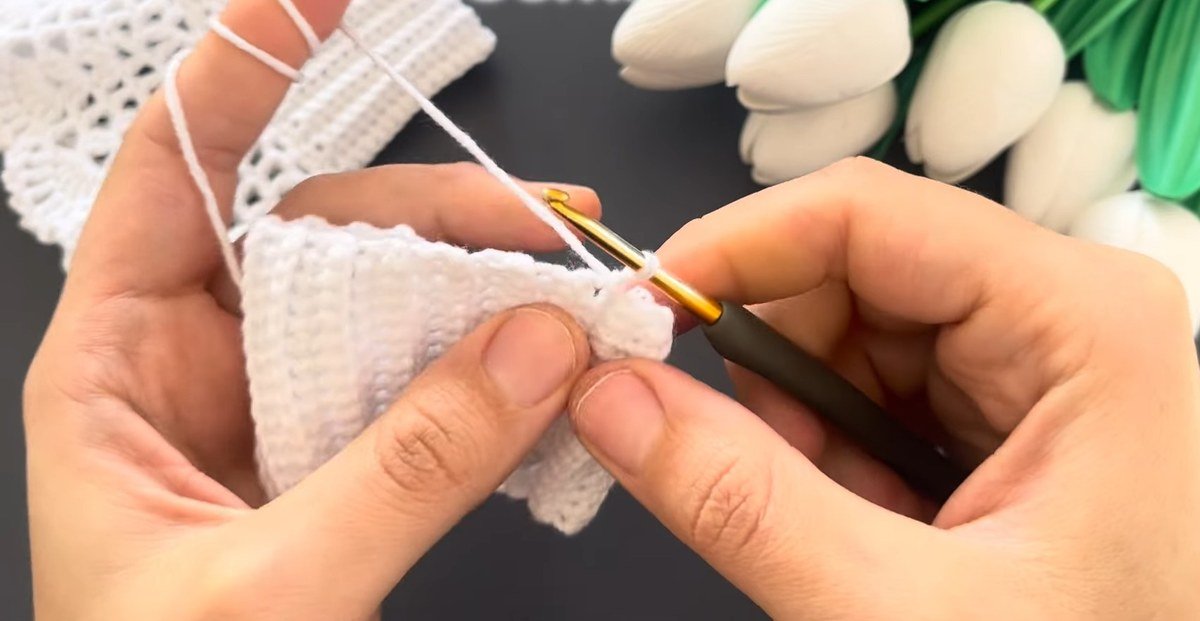
Step 8: Check the band before the lace
Stop and look at the band. It should be a neat ribbed tube with a firm edge of single crochet along the top, and it should slide over your hand without pinching. If it does not, this is the last easy moment to undo the seam and adjust.
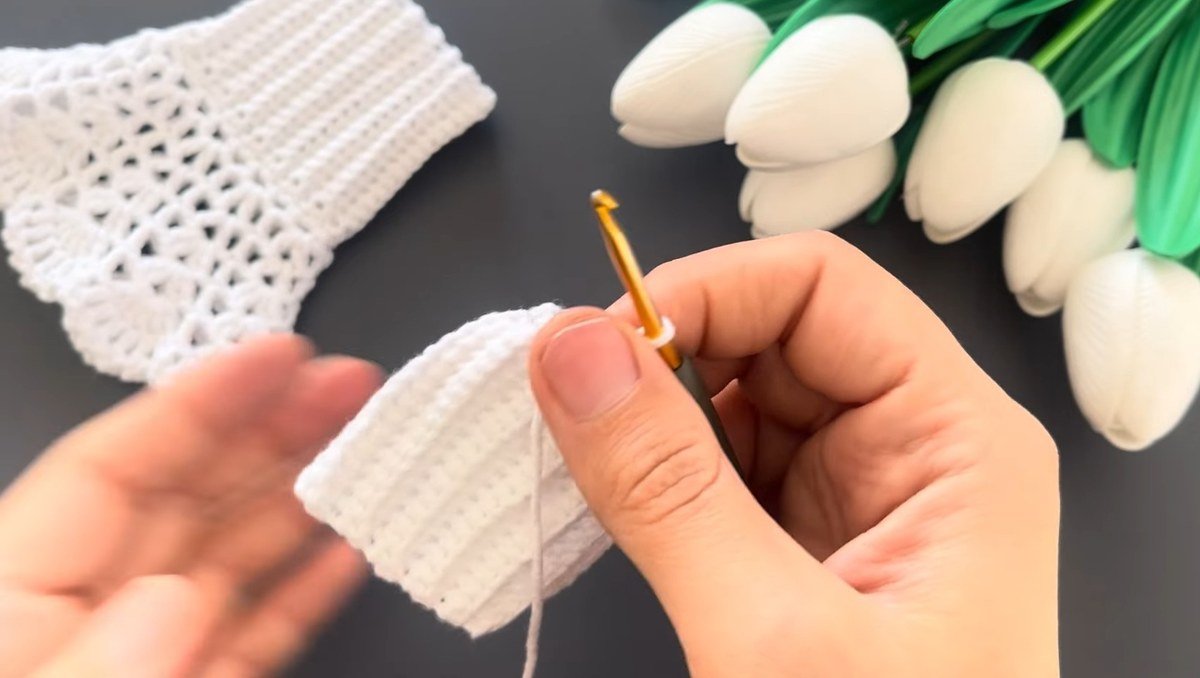
Step 9: Start the lace with 4 ch and 1 dc
The lace begins with the first stitch group, labelled 4 ch and 1 dc. Chain 4, then work one double crochet. The chain-4 forms the first arch and the double crochet anchors it to the edge. Later rounds are built on the arches that this round sets.
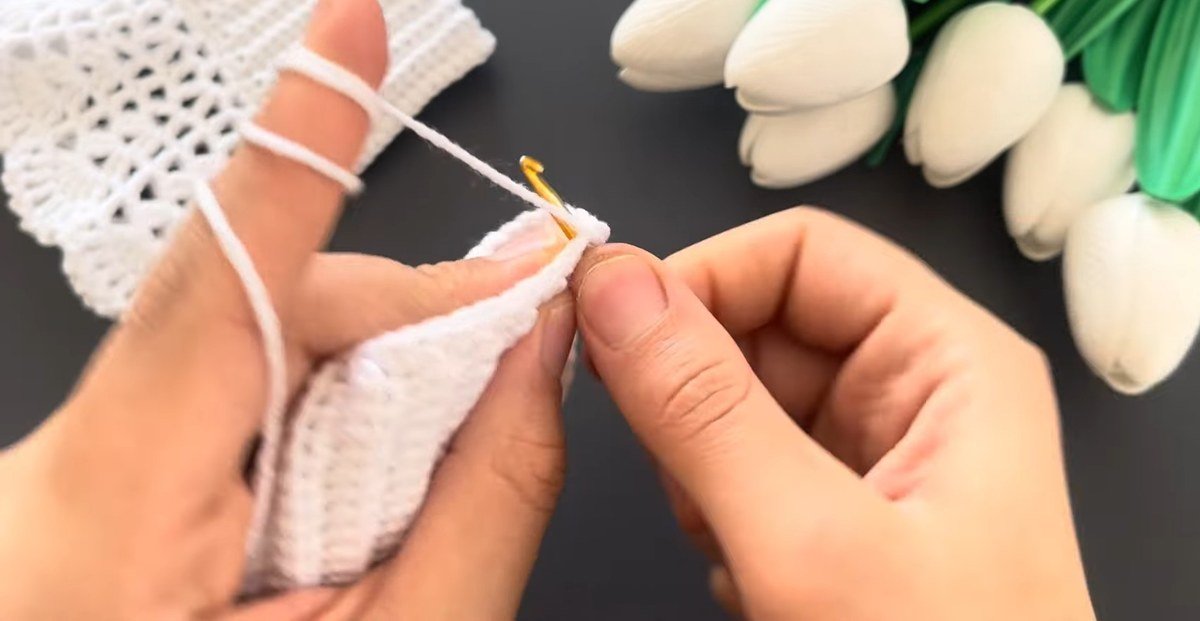
Step 10: Let the lace flare
Continue with the group labelled 1 dc / 2 ch / 1 dc. As the groups grow, the fabric flares away from the band, and that flare is the whole character of the crochet lace wrist cuffs. Do not pull the chains tight, or the frill will cup inwards instead of opening out.
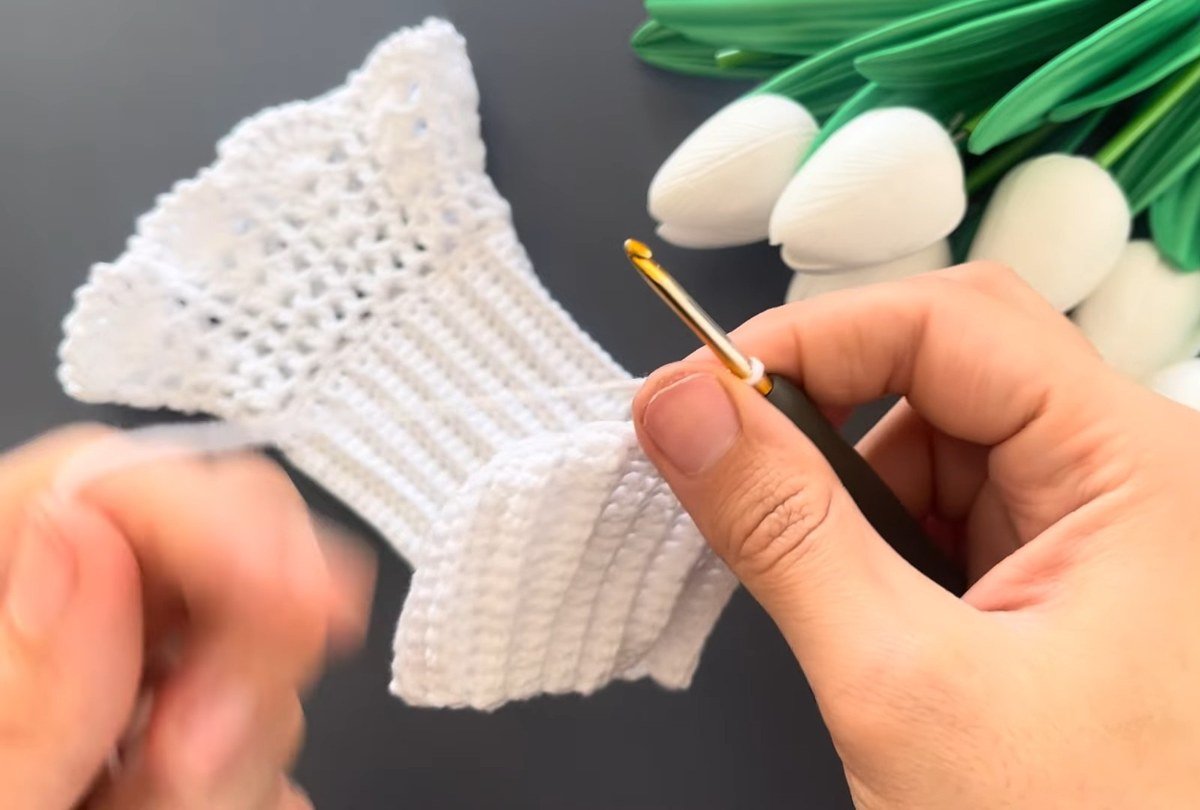
Step 11: Work the 1 ch / 1 dc / 1 ch group
The next group is 1 ch, 1 dc, 1 ch. It is the smallest group in the lace, a single double crochet with a chain on each side, and it makes the airy, open holes between the larger groups. Place each one directly over the arch below.
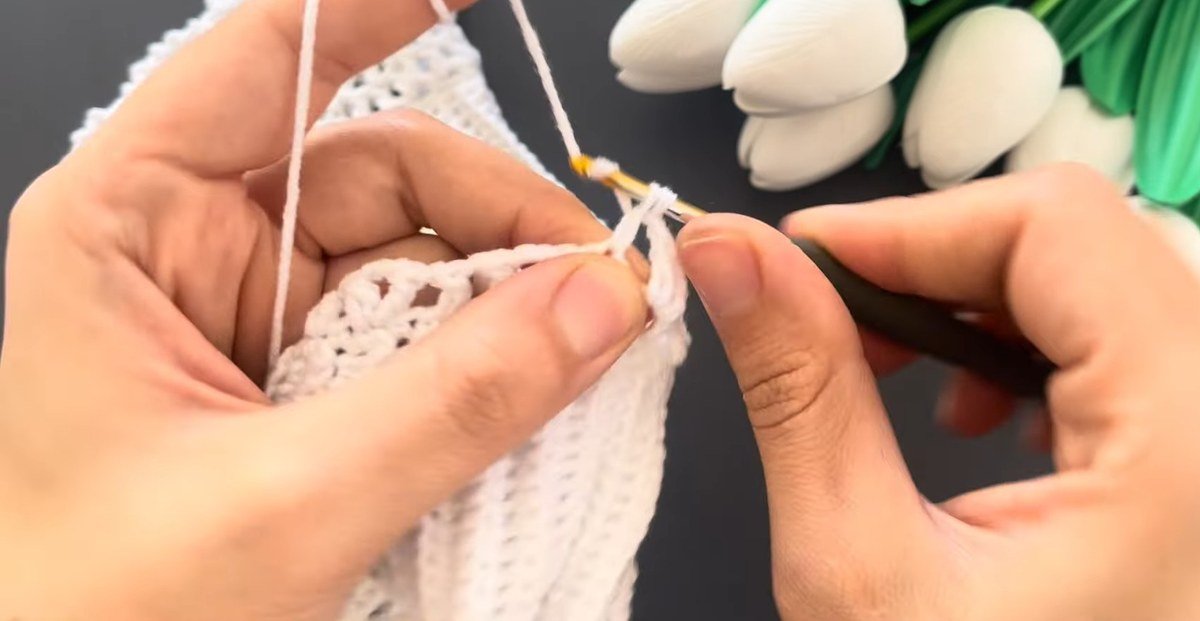
Step 12: Widen with 2 dc / 2 ch / 2 dc
The widest group is 2 dc, 2 ch, 2 dc. Two double crochet on each side of a two-chain space give the frill its width. The designer does not say how many of these groups a round holds, so count them on your own band: they should sit evenly round the edge with no gaps.
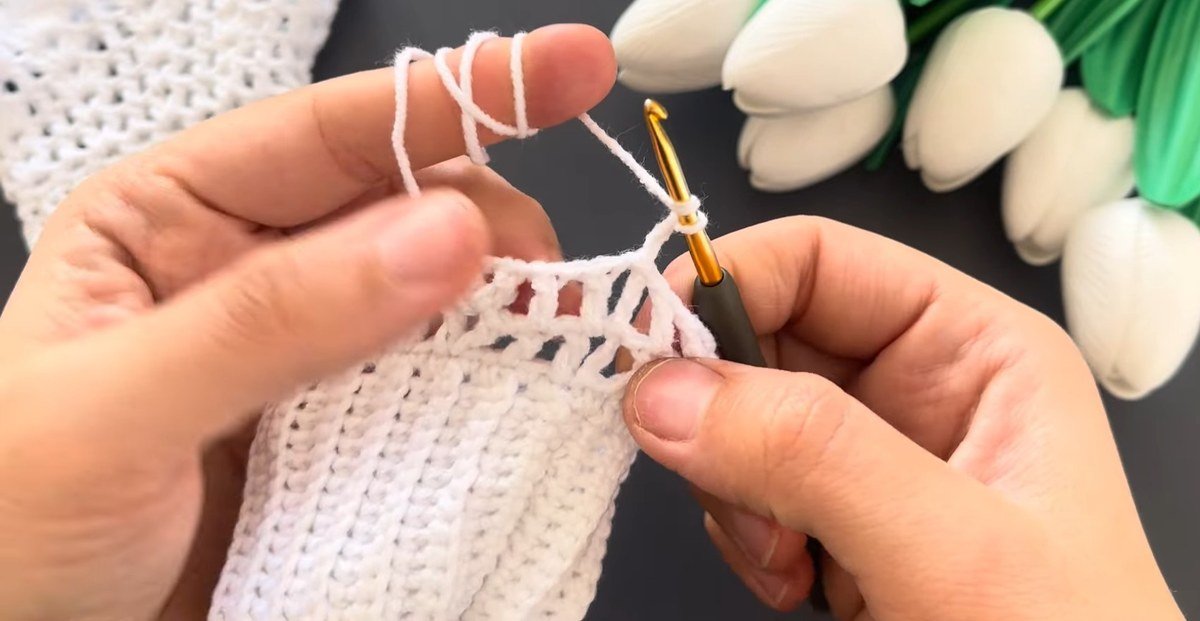
Step 13: Work the 6 dc fan
The lace closes with a fan of 6 dc. Six double crochet go into one place, and each fan opens like a small shell. The fans are what turn the straight lace into the scalloped edge you see on the finished cuff.
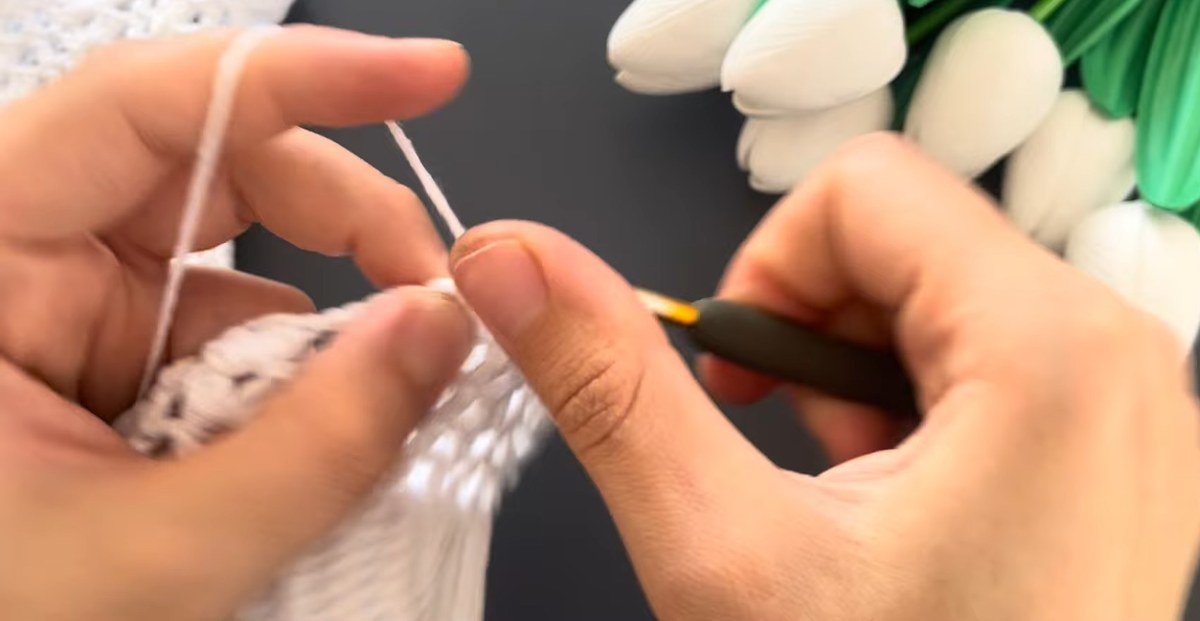
Step 14: The frill grows
Look at the lace as it grows. It should open like a bell, with the ribbed band still snug below it. If the frill folds down instead of standing out, your chains are too tight, and a hook half a size larger for the lace only will fix it.
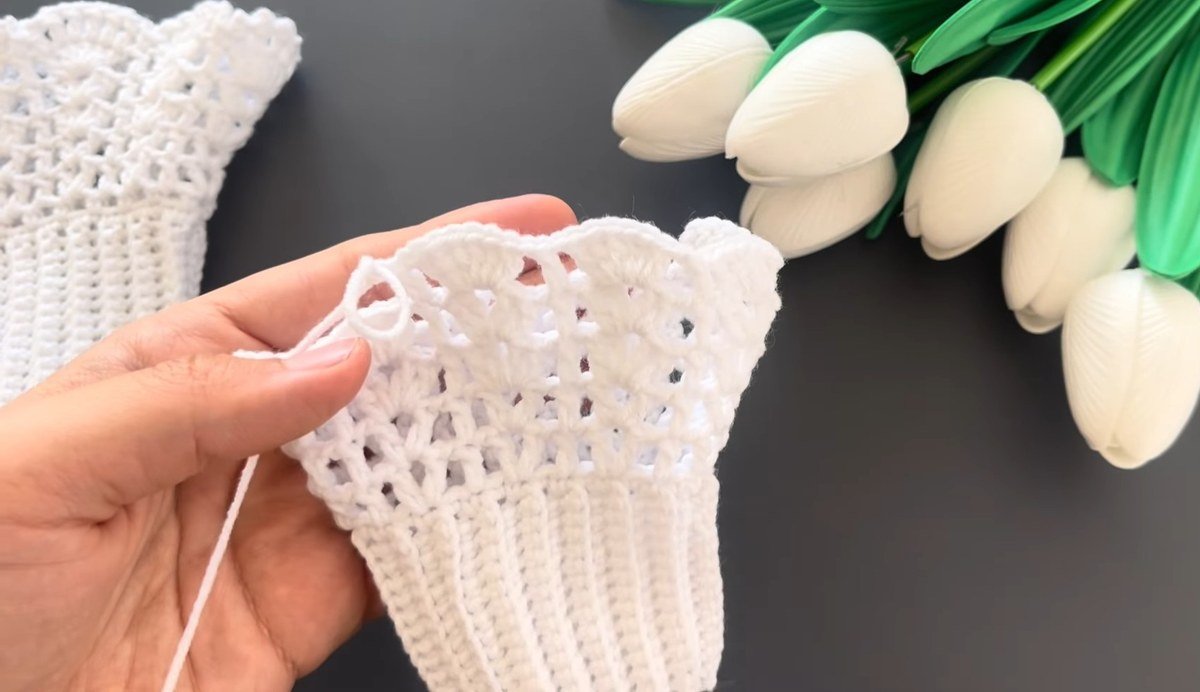
Step 15: Finish the scalloped edge
Work the last edge round with the fans, keeping them the same size all the way round. Then fasten off and weave in every end with the yarn needle, both at the seam and at the start of the lace. This is the round that makes lace cuffs look finished.
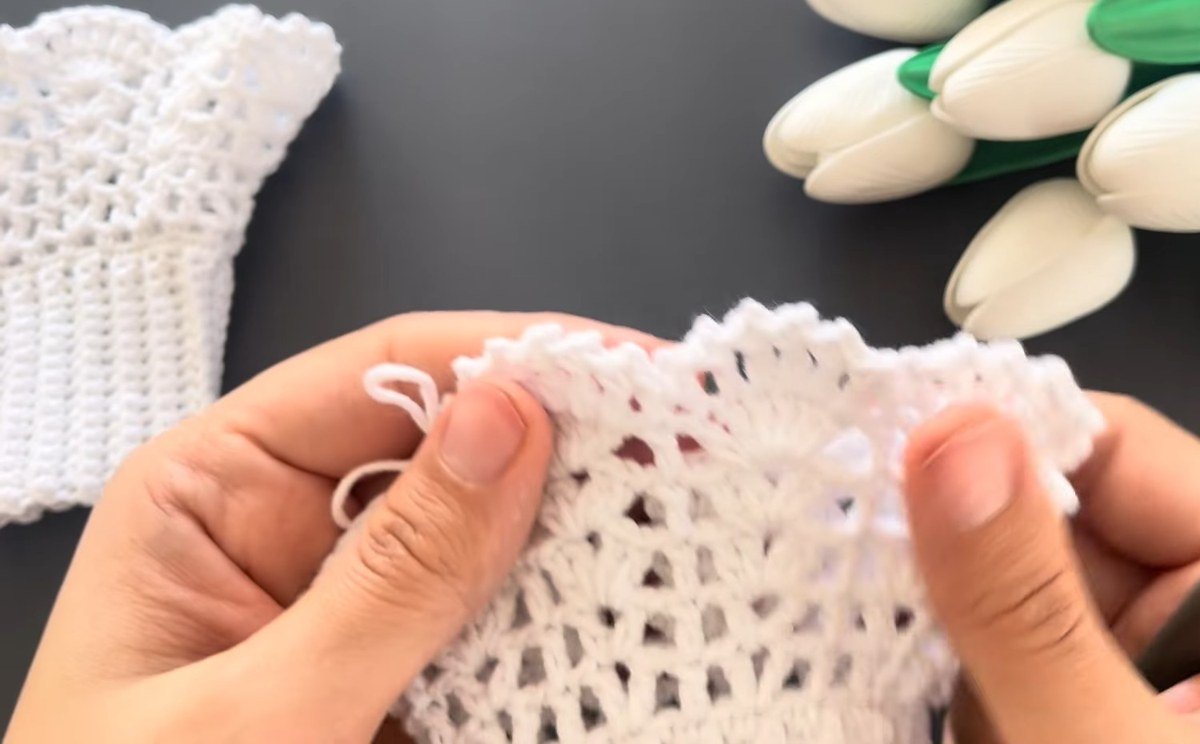
Step 16: Make the second cuff and try them on
Repeat all 15 steps for the second cuff, matching the length of the strip to the first. A row counter or a note of your row total helps here, because the pattern gives no count. Then slip both cuffs on. Well-made crochet lace wrist cuffs spring back into shape when you take them off.
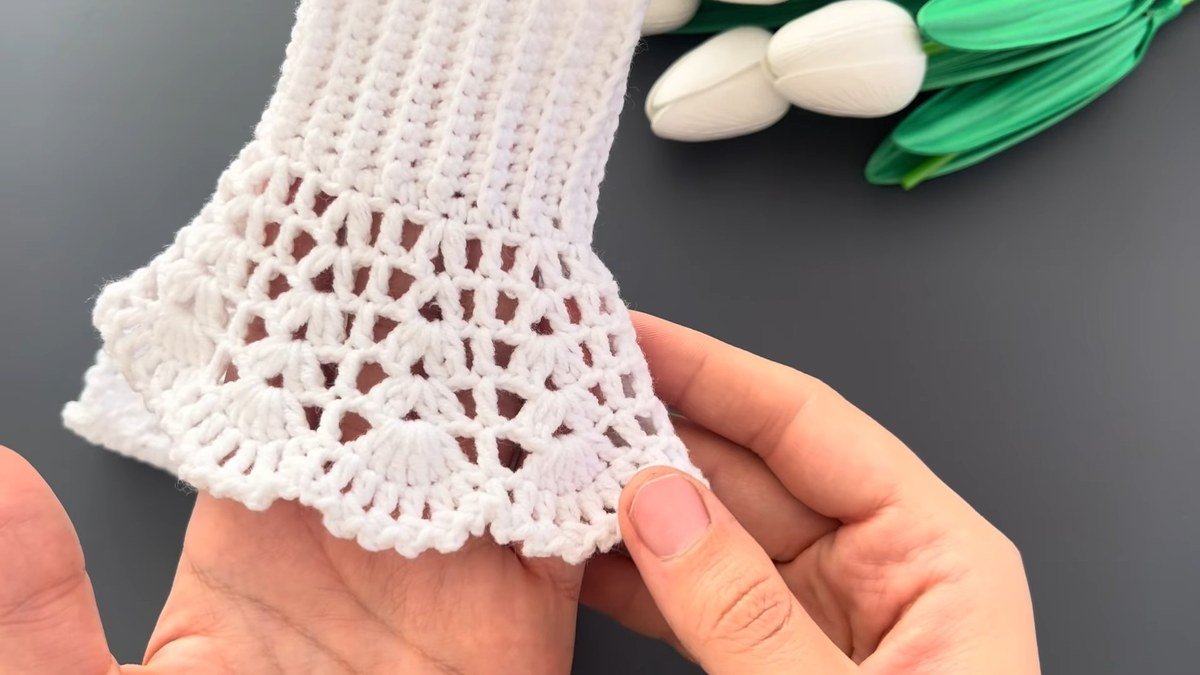
Where Crochet Lace Wrist Cuffs Go Wrong
Four mistakes account for most of the trouble with crochet lace wrist cuffs like these:
- A band that is too tight or too loose. The row count is not given, so measure the strip against your wrist before you seam it, not after.
- A twisted ring. If the ribs do not run the same way at the seam, the twist shows in every lace round above. Check the strip lies flat before you join it.
- Chains pulled tight. Tight chains make the frill cup inwards. Keep the chain loops loose, and go up half a hook size for the lace if it will not open.
- Uneven groups. The pattern gives no repeat count, so the lace groups only sit evenly if you space them yourself. Mark the halfway point with a stitch marker to keep them balanced.
A tip that saves the whole project: make a swatch first, because these crochet lace wrist cuffs give no gauge. Cotton thread and cotton yarn behave differently, and a swatch tells you how much the band stretches before you seam it.
Hook, Yarn and Fit for Crochet Lace Wrist Cuffs
The designer of these crochet lace wrist cuffs lists cotton yarn and a 2.0 to 2.5 mm hook. The Craft Yarn Council puts its lace category on a regular 2.25 mm hook (steel 1.6 to 1.4 mm for true thread) and its super fine category on 2.25 to 3.5 mm, so the range sits at the fine end of that band. It is a fine-yarn pattern.
The other five free patterns below use everything from size 10 thread on a 1.5 mm steel hook to bulky wool on a 4.5 mm hook. That is why you should never swap yarn without a swatch: a thicker yarn on the same stitch groups gives a wider, stiffer cuff that no longer fits a slim wrist.
The pattern does not list a yardage, so we give none. One small ball is plenty for a pair of cuffs this size, and weighing what is left over gives you your own figure. There is also no cuff length in centimetres. The one measured part is the band, and you measure it on your own wrist.
Five More Free Lace Cuff Patterns to Compare
Each of these free lace cuff and wrist warmer patterns is on the designer’s own site. Two of them are wrist warmers in thicker yarn, not thread cuffs, so check the yarn and hook against yours before you start.
| Pattern | Hook | Yarn | Construction |
|---|---|---|---|
| Lacy Crochet Cuff Bracelet, Oombawka Design Crochet | 1.5 mm steel | Size 10 crochet thread, yardage not printed | Double crochet and chain-2 spaces, about 7 in, ends sewn together |
| Lace Cuff Bracelet, Oui Crochet | Size B, no mm printed | Size 5 crochet thread | Start chain 14, one button closure, repeat the row 2 to 5 sequence for a larger cuff |
| Boho Beaded Cuff Bracelet, Oombawka Design Crochet | 2.25 mm | Fine cotton, Lion Brand Bonbons Nature | Start chain 50, 53 or 56 by size, 16 to 18 wooden beads |
| Elegant Clustered Lace Wrist Warmers, CrochetNCrafts | 4.0 mm | Premier Yarns Cotton Fair, 317 yd / 290 m per 100 g | Start chain 28, any multiple of 4, flared, 2.8 in wide by 4 in long |
| Lace Woolen Warmers, The Little Treasures | 4.5 mm | Bulky wool, 140 m per 100 g | Seamed lace warmers, 3.54 in at the wrist, 5.11 in at the top |
One small catch on the last page: it prints 144 yd for a 100 g skein of 140 m, and 140 m converts to about 153 yd. The metres are the safer figure. It is a small gap, but yardage is the number that costs you money if it is wrong.
Want more accessories to match? Try the moss stitch crochet scarf, the free crochet head scarf or the crochet hat for men.
Crochet Lace Wrist Cuffs FAQ
Are these crochet lace wrist cuffs good for beginners?
Yes, if you can chain, work single crochet and double crochet, and slip stitch a seam. The designer calls them easy. The lace groups are short, and each one repeats.
What hook and yarn should I use?
The designer lists cotton yarn and a 2.0 to 2.5 mm hook. A smooth cotton shows the lace best. Make a swatch first, because the pattern gives no gauge.
How long should the ribbed band be?
The pattern gives no row count. Work the flat strip until it wraps round your wrist with the two ends just meeting, stretching it slightly, then seam it.
How do I measure my wrist for crochet lace wrist cuffs?
Wrap a soft tape round the wrist bone, or wrap the strip itself and check it. The strip should stretch a little and spring back, so do not make it tight.
Can I use thread instead of yarn?
You can, but the counts change. Thread makes a smaller, finer lace, so expect more rows in the band and a smaller frill. Swatch and measure before you start.
Why does my lace frill curl inwards?
The chains are too tight. Keep the chain loops loose, and go up half a hook size for the lace rounds only. The frill should open like a bell.
Complete the Look
Once your crochet lace wrist cuffs are finished, wear them with a moss stitch crochet scarf or keep the set going with a crochet hat. For more, browse our accessories or every free pattern on the site.
Sources
- Rhondda Mol (Oombawka Design Crochet), Lacy Crochet Cuff Bracelet
- Oui Crochet, Lace Cuff Bracelet
- Rhondda Mol (Oombawka Design Crochet), Boho Beaded Cuff Bracelet
- Rhelena (CrochetNCrafts), Elegant Clustered Lace Wrist Warmers
- Maya Kuzman (The Little Treasures), Lace Woolen Warmers
- Craft Yarn Council, yarn weight system
Pattern credit: this lace cuff design is by Elisanın Örgüleri. Find more of their crochet work on the YouTube channel Elisanın Örgüleri.