Free Crochet Pinecone Pattern: 19 Easy Photo Steps
This free crochet pinecone pattern makes a textured, stuffed pinecone in 10 rounds for the core, then layers of small scales worked around it, and a 25 chain loop so it hangs. It takes one hook, a little fiberfill and a single colour, and it looks right on a fall garland, a window or a woodland shelf.
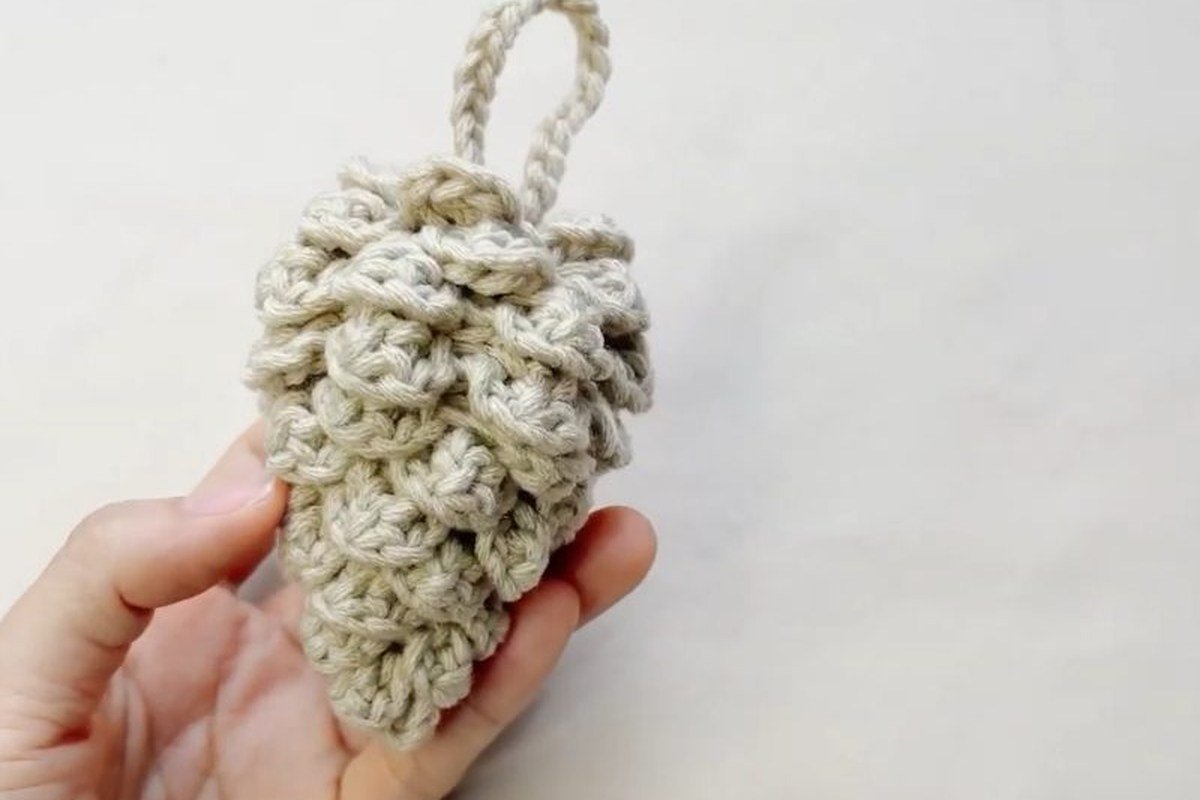
Below is the whole free crochet pinecone pattern in 19 photo steps, from the magic ring to the last woven-in end. After the steps come the three mistakes that ruin most cones, the hook and yarn question, how to stuff and shape the core, and five more free pinecone patterns to compare.
One note before you start: this free crochet pinecone pattern lists a hook and yarn, but gives no yardage, no gauge and no finished size, and we don’t invent them. We give the counts the designer shows, one total of our own, and the sizes that five other designers publish for their cones.
- What you need
- Stitches and abbreviations
- The plan at a glance
- Step by step
- Where it goes wrong
- Hook, yarn and size
- Stuffing and shaping
- Five more free pinecone patterns
- FAQ
- Style Your Cones With These
- Sources
What You Need for This Free Crochet Pinecone Pattern
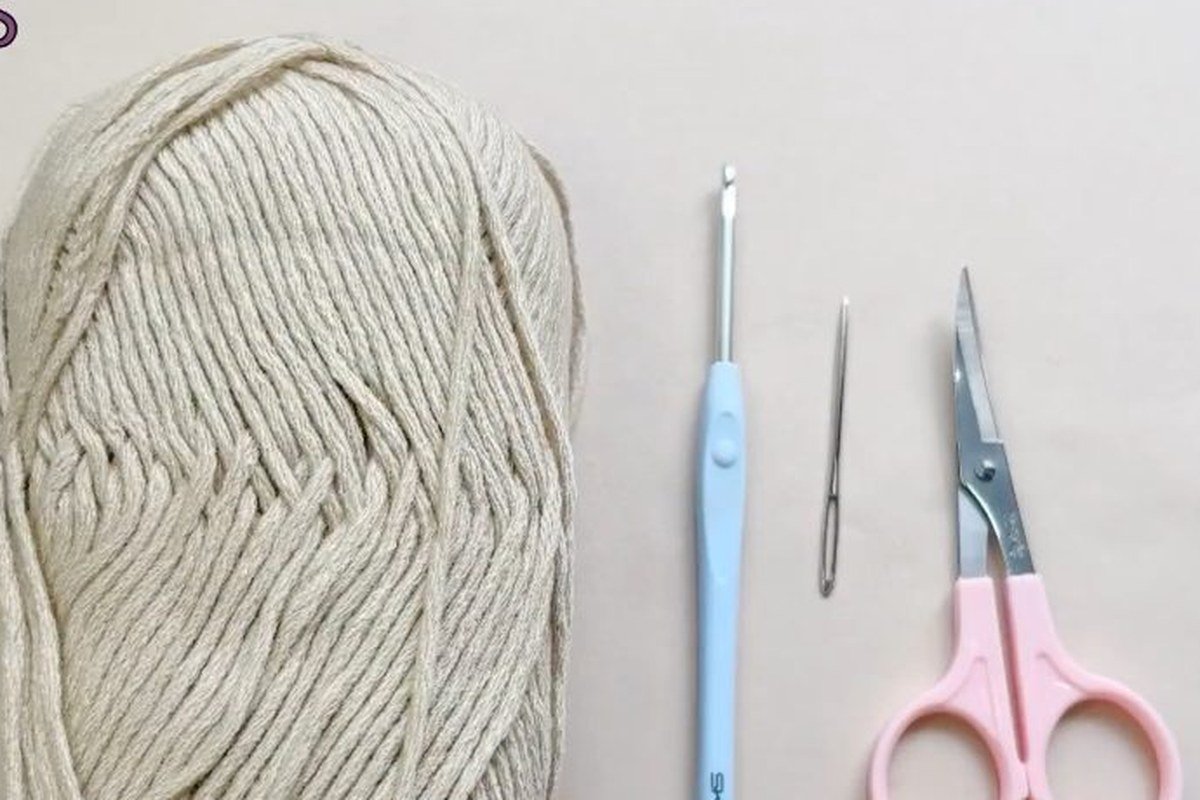
The free crochet pinecone pattern needs very little. Everything below fits in one small pouch, and a single ball of yarn makes several cones.
| Item | What to use |
|---|---|
| Yarn | Acrylic yarn, listed as 3 mm thick; the maker describes it as medium weight. Beige or brown looks like a real cone. |
| Hook | 3.5 mm crochet hook |
| Stuffing | Fiberfill |
| Marker | A stitch marker or a scrap of yarn, to mark the first stitch of each round |
| Tools | Yarn needle and scissors |
| Rounds | 10 rounds for the core, then the scales |
| Hanger | 25 chain, worked at the end |
The Stitches Behind a Free Crochet Pinecone Pattern
This free crochet pinecone pattern uses a handful of basic stitches. Crochet has two naming conventions, and we give both so you don’t work the wrong stitch.
| Abbreviation | Name used here | Other naming convention |
|---|---|---|
| MR | Magic ring (magic circle) | Magic ring |
| ch | Chain | Chain |
| sl st | Slip stitch | Slip stitch |
| sc | Single crochet | Double crochet (dc) |
| inc | Increase: 2 sc in one stitch | 2 dc in one stitch |
| sc2tog | Single crochet 2 together: a decrease | Dc2tog |
| dc2tog | Double crochet 2 together, used for the scales | Tr2tog |
| BLO | Back loop only | Back loop only |
| FLO | Front loop only | Front loop only |
Stitch multiple: the core rounds repeat small groups. Rounds 3 and 4 repeat (2 sc, inc), a group of 3 stitches that becomes 4. Rounds 6, 9 and 10 repeat (2 sc, sc2tog), a group of 4 stitches that becomes 3. Because the groups are that short, you can check every round by counting.
Free Crochet Pinecone Pattern: The Plan at a Glance
The free crochet pinecone pattern starts flat and then becomes a cone. Rounds 1 and 2 are closed with a slip stitch. From round 3 you mark the first stitch, work in the back loop only and keep going in a spiral, so the front loops are left as ridges for the scales.
| Round | What you do | Stitches |
|---|---|---|
| 1 | MR, 6 sc, sl st, ch | 6 |
| 2 | 6 inc, sl st, ch | 12 |
| 3 | BLO: (2 sc, inc) x 4 | 16 |
| 4 | BLO: (2 sc, inc) x 5, sc | 21 |
| 5 | BLO: 21 sc | 21 |
| 6 | BLO: (2 sc, sc2tog) x 5, sc | 16 |
| 7 and 8 | BLO: 16 sc in each round | 16 |
| 9 | BLO: (2 sc, sc2tog) x 4 | 12 |
| 10 | BLO: (2 sc, sc2tog), repeated to the marked stitch | 9 |
| Scales | Bottom layer of 6 scales, then layers in a spiral | n/a |
| Hanger | 25 ch, sl st | n/a |
Our count: add the ten core rounds and the cone holds 145 stitches (6 + 12 + 16 + 21 + 21 + 16 + 16 + 16 + 12 + 9). The chart does not print the count for round 10, so the 9 is ours: round 9 leaves 12 stitches, and each (2 sc, sc2tog) group turns 4 stitches into 3, which is 3 groups and 9 stitches. If you count 9 at the end of round 10, this free crochet pinecone pattern is on track.
How to Crochet a Pinecone, Step by Step
Every step of the free crochet pinecone pattern has a photo to check your work against. Steps 1 to 13 make and stuff the core, steps 14 to 17 add the scales, and steps 18 and 19 finish the ornament.
Step 1: Make a magic ring and work round 1
Make a magic ring and work 6 sc into it. Join with a slip stitch to the first sc and make a chain. Pull the tail to close the ring. You now have 6 stitches.
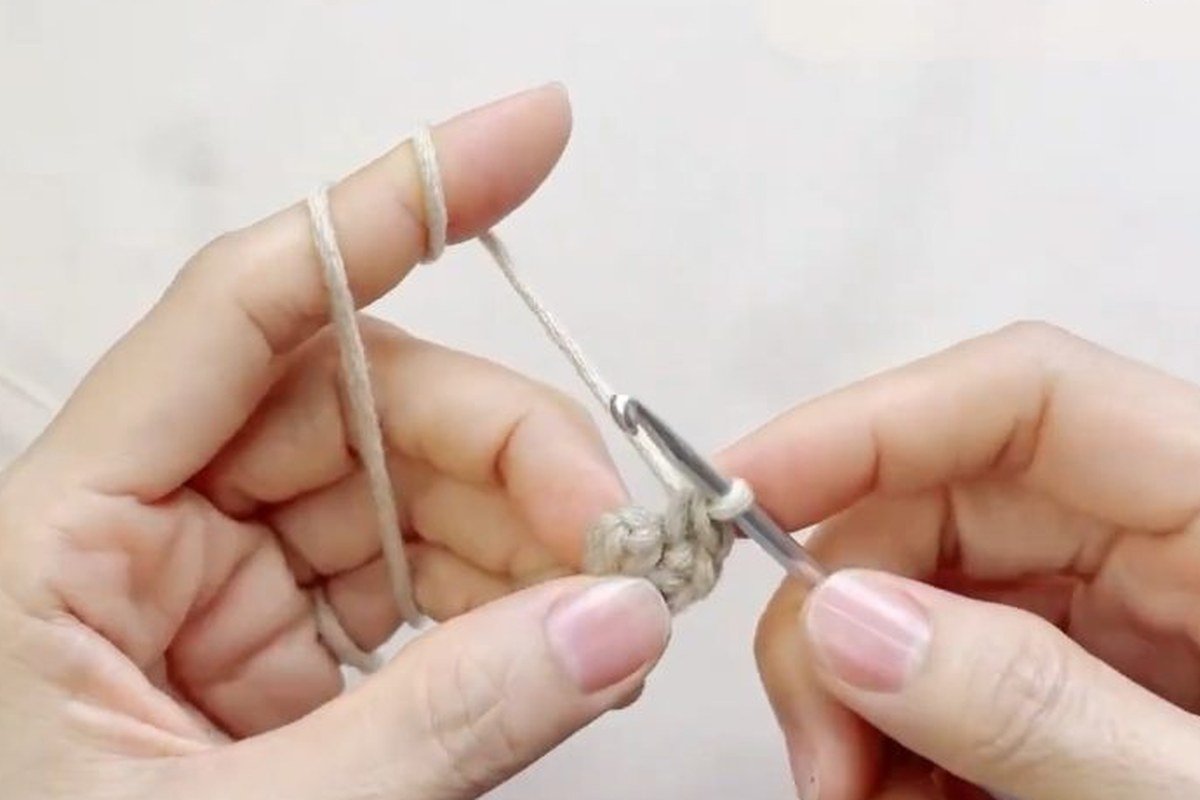
Step 2: Round 2: increase in every stitch
Work 2 sc into each stitch, so 6 increases in all. Join with a slip stitch and make a chain. You now have 12 stitches, and the piece is a small flat disc.
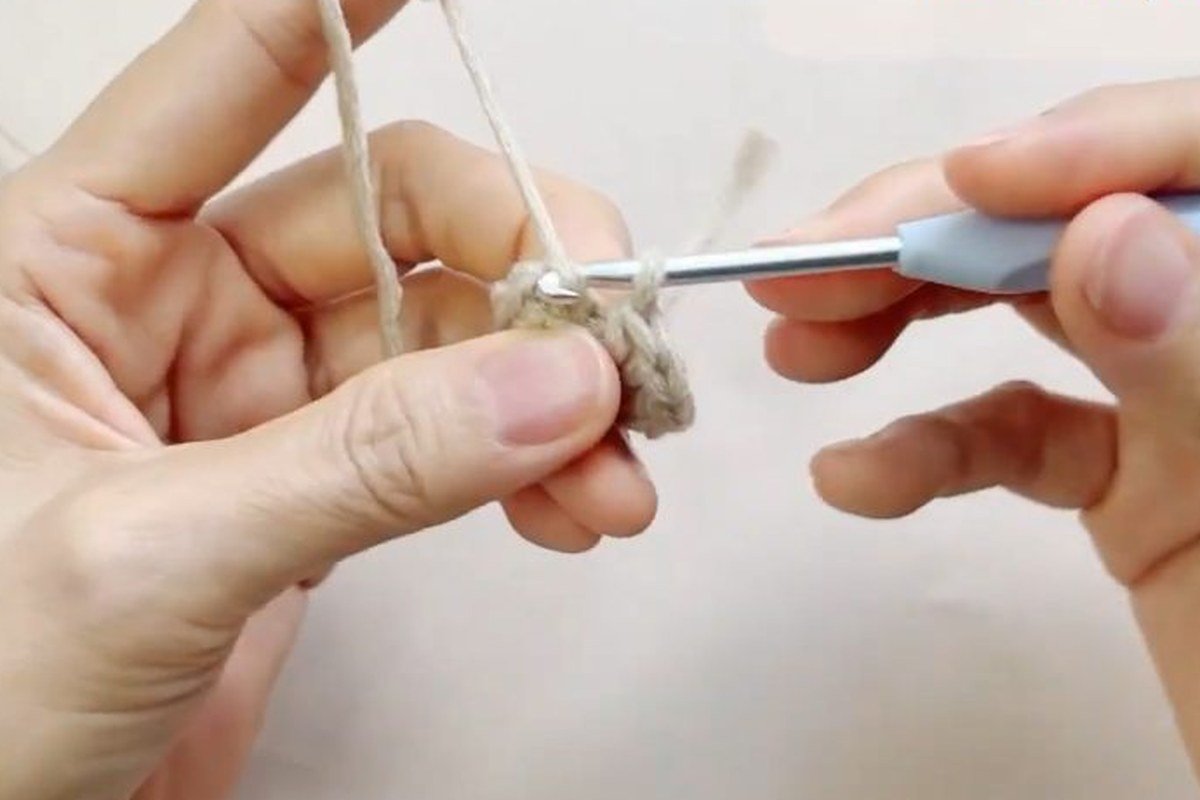
Step 3: Mark the first stitch
The disc is finished. Place your marker in the first stitch of the next round, because from here you stop joining and work in a spiral. The marker shows you where every round ends.
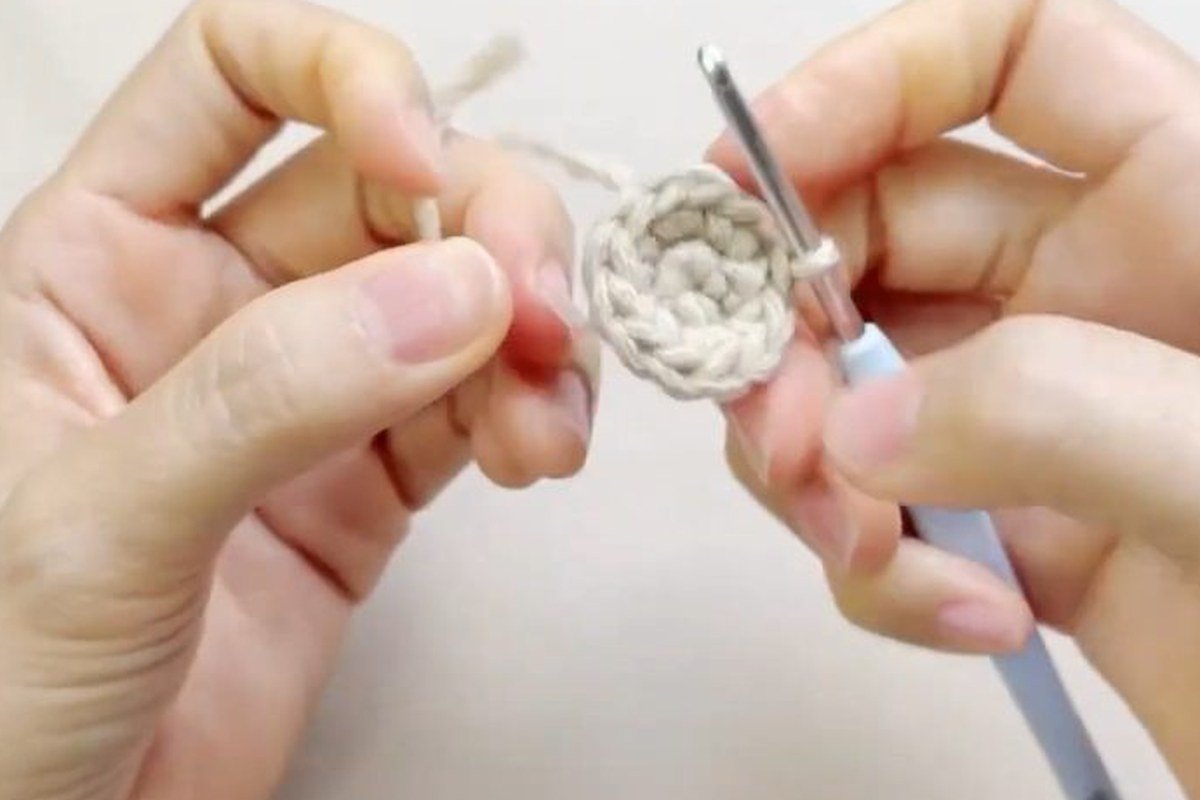
Step 4: Round 3: back loop only, (2 sc, inc) 4 times
From here on, crochet in the back loop only. Work (2 sc, inc) four times around. The disc starts to curl into a cup. You now have 16 stitches.
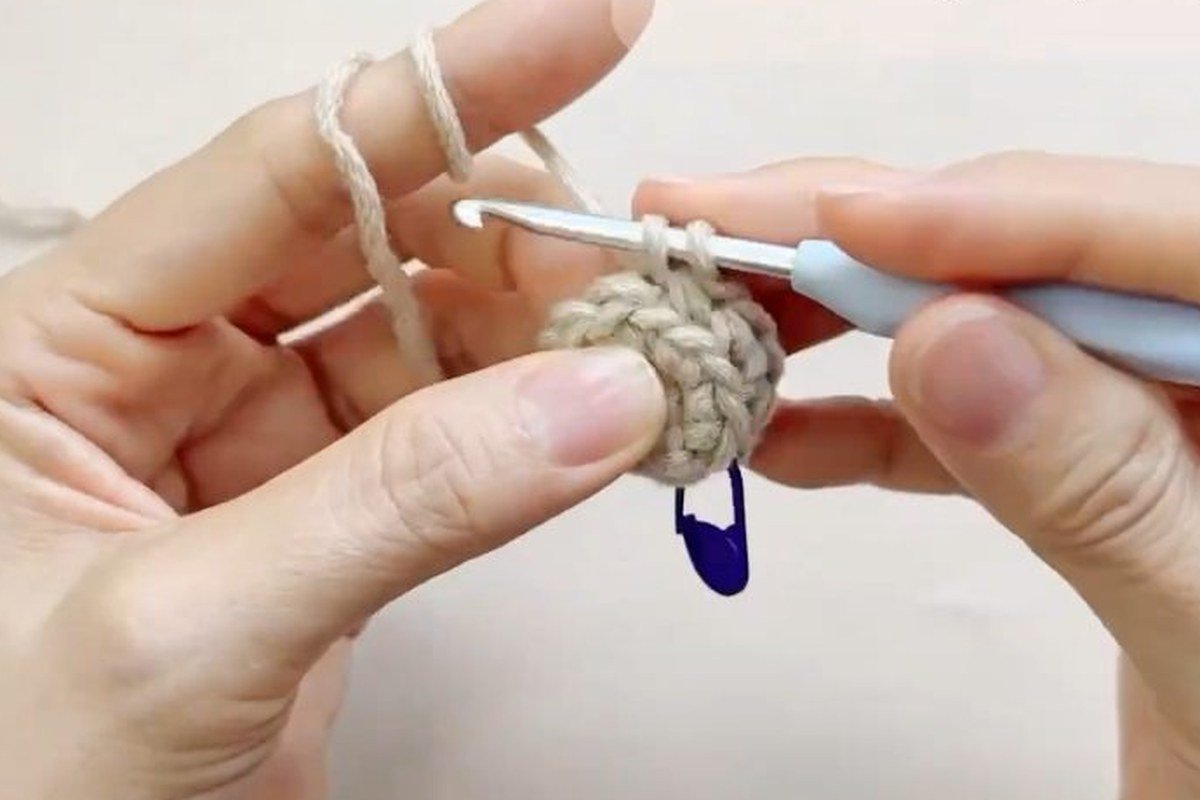
Step 5: Round 4: (2 sc, inc) 5 times, then 1 sc
Still in the back loop only, work (2 sc, inc) five times, then 1 sc. That gives you 21 stitches, the widest point of the cone.
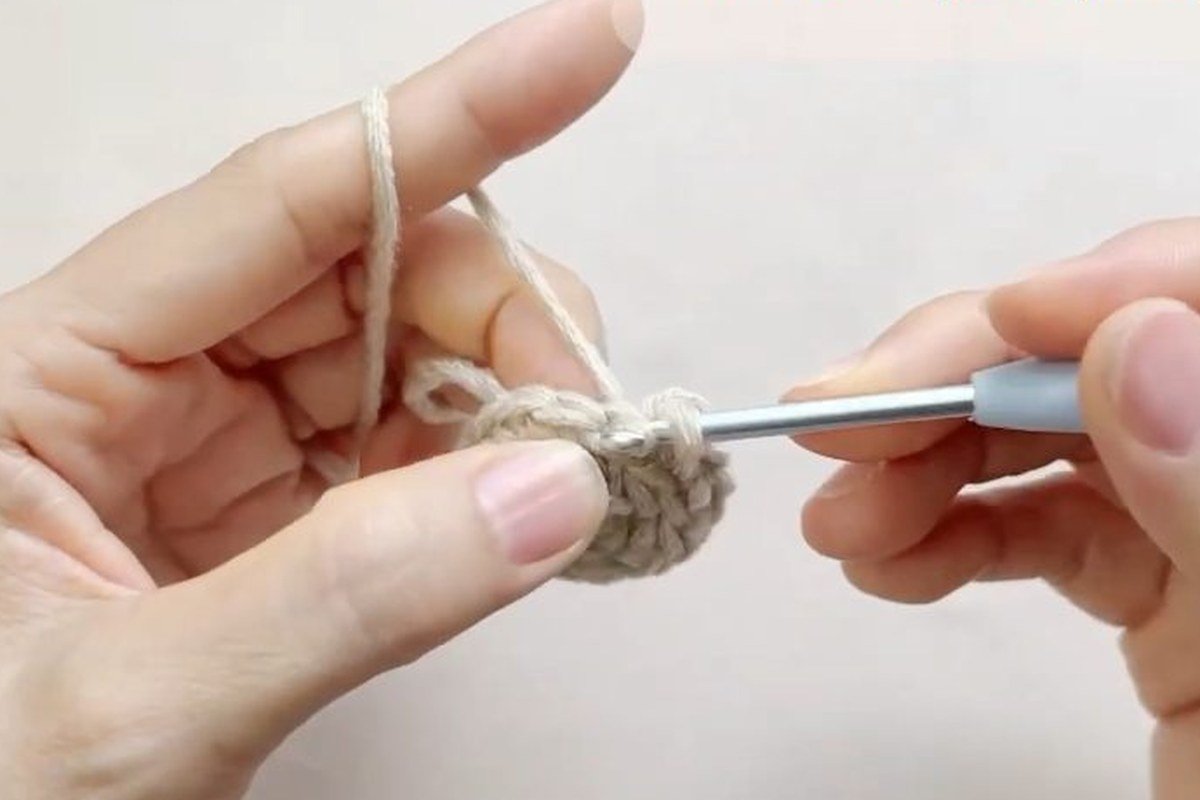
Step 6: Round 5: 21 single crochet
Work 1 sc in the back loop of every stitch, all the way around. There is no shaping in this round, so the sides of the cone go straight. You still have 21 stitches.
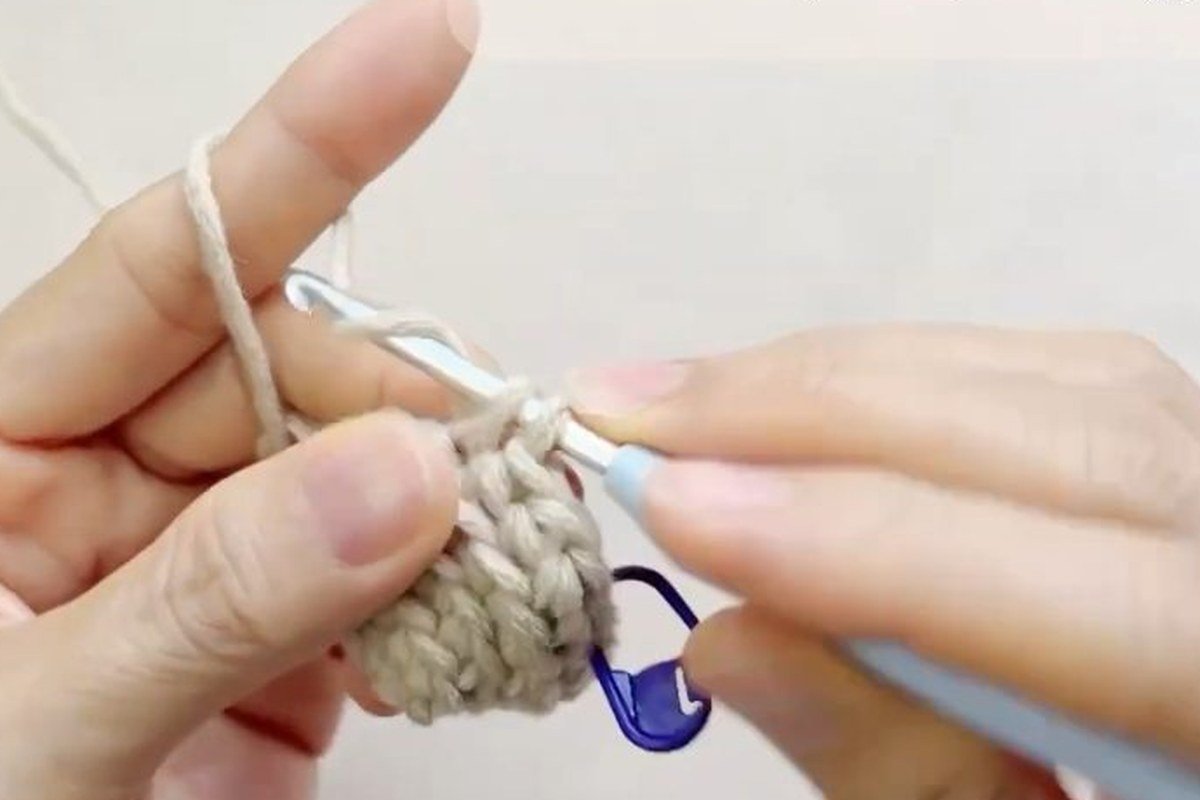
Step 7: Round 6: start to decrease
Work (2 sc, sc2tog) five times, then 1 sc, in the back loop only. The cone begins to narrow. You now have 16 stitches.
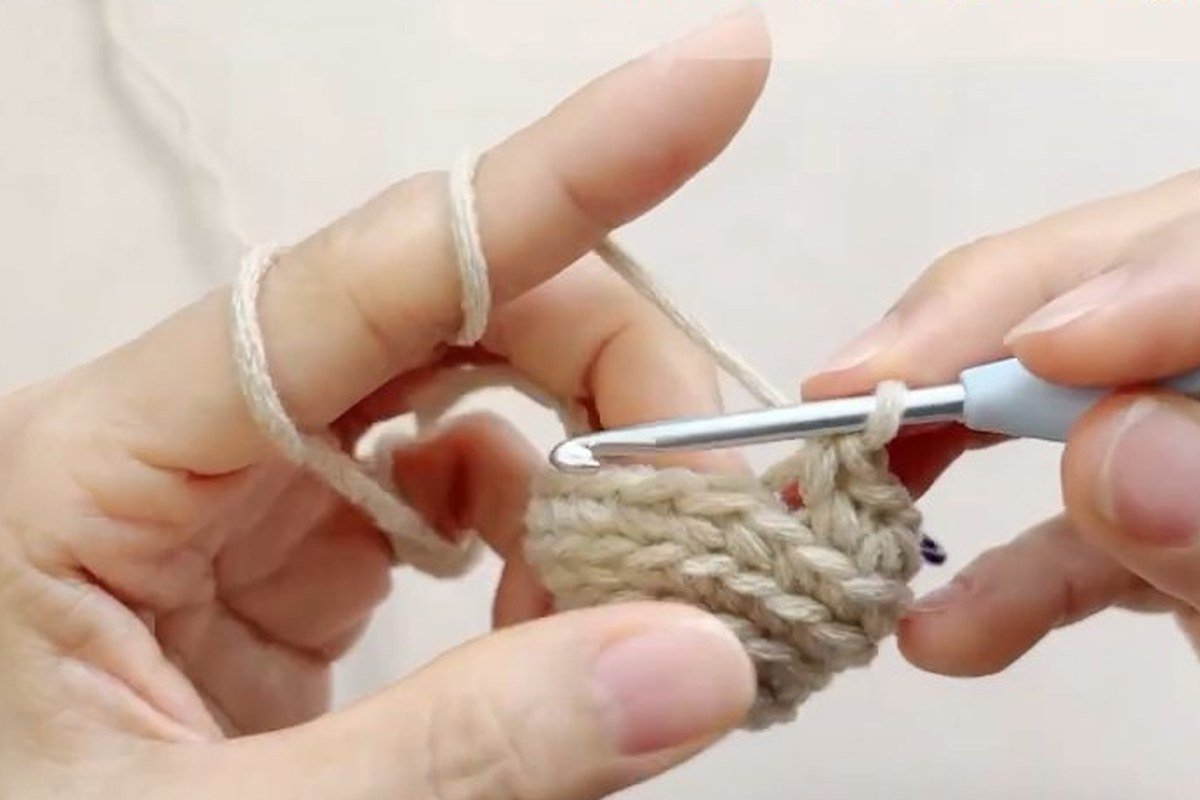
Step 8: Rounds 7 and 8: two plain rounds
Work 1 sc in the back loop of every stitch for two rounds. Both rounds stay at 16 stitches. These two rounds give the cone its height.
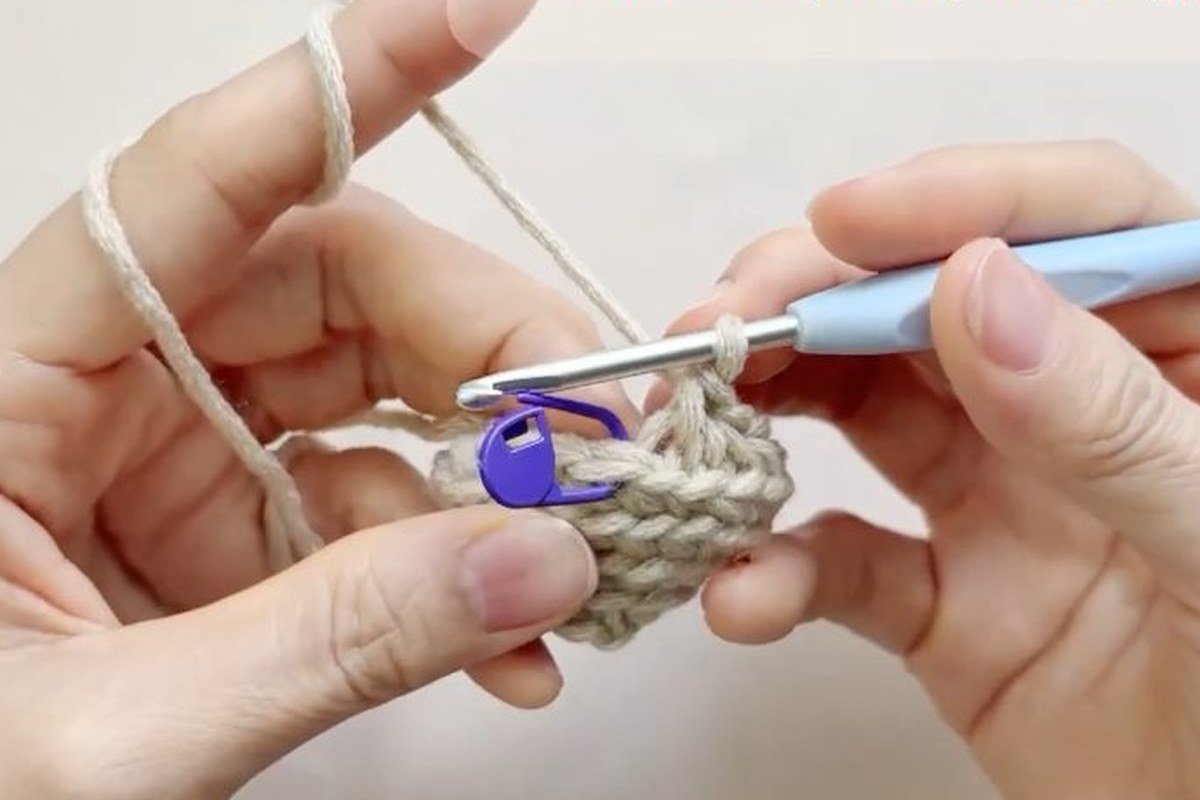
Step 9: Stuff the core
Push fiberfill in with your fingers or the back of the hook. Add it now, because the opening gets smaller with every round from here.
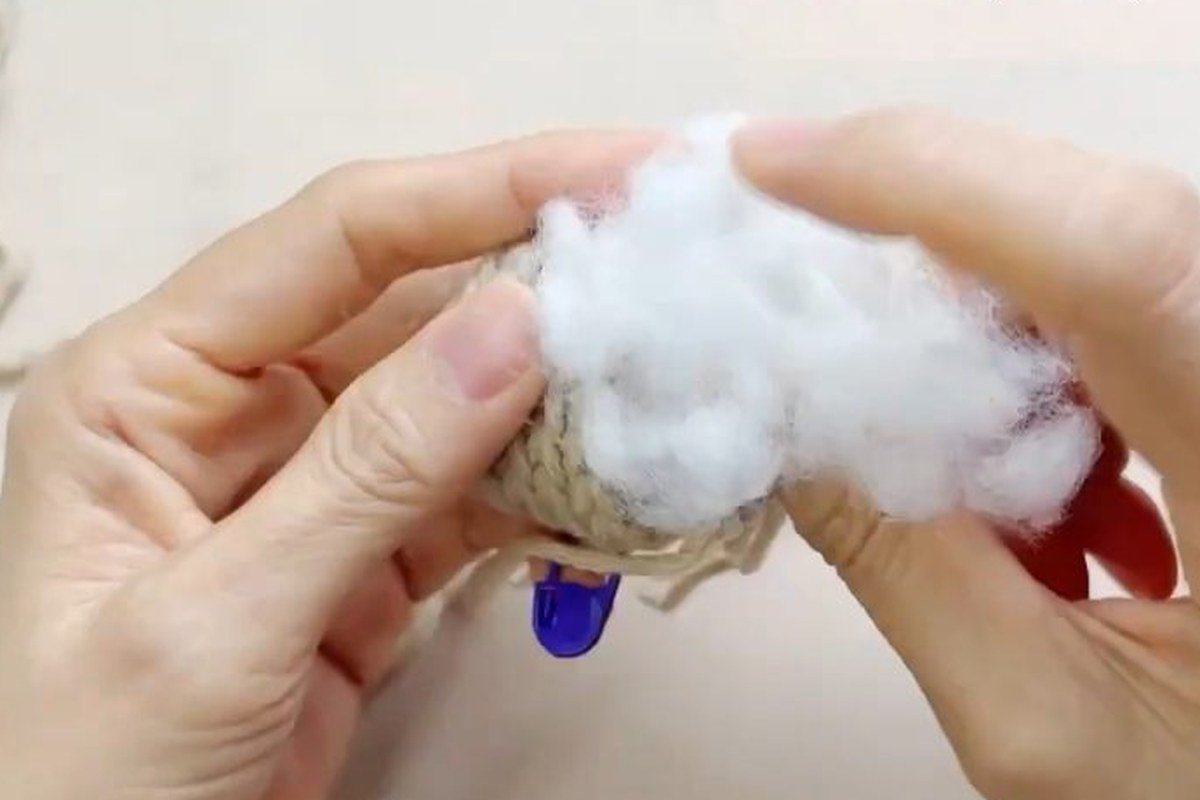
Step 10: Round 9: (2 sc, sc2tog) 4 times
Work (2 sc, sc2tog) four times in the back loop only. You now have 12 stitches and the top of the cone is taking shape.
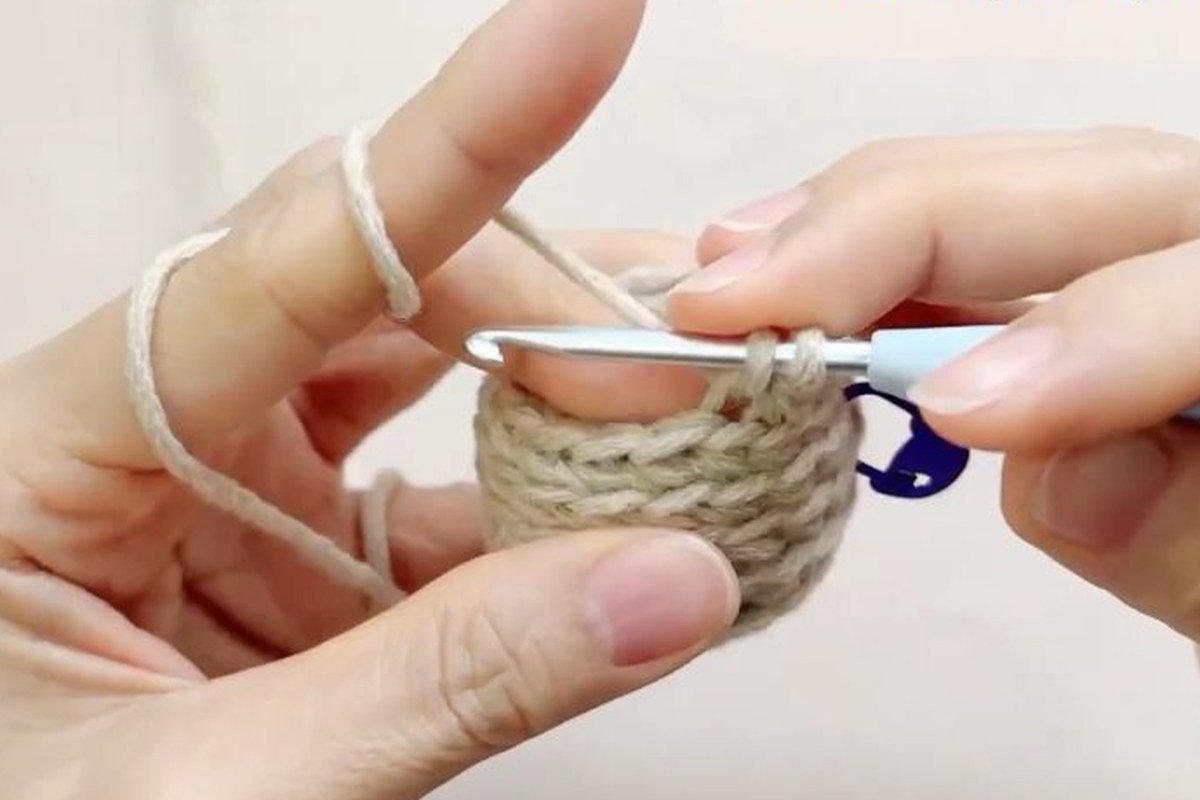
Step 11: Add a little more stuffing
Add a bit more stuffing to make the core nice and plump. The core is your pinecone’s body, so a firm, round shape here means the scales will sit neatly later.
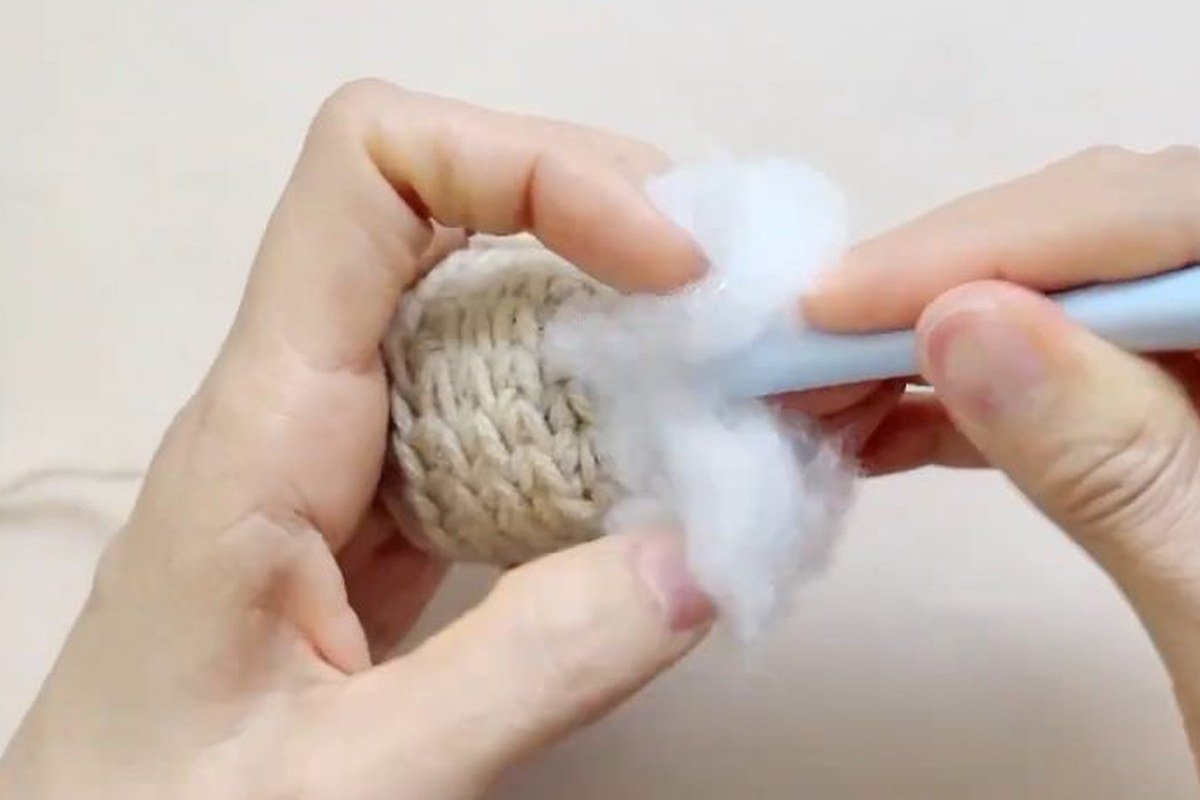
Step 12: Round 10: close the top
Work (2 sc, sc2tog) and repeat until you reach the marked stitch. This is the last round of the core and it leaves 9 stitches, so the top is nearly shut.
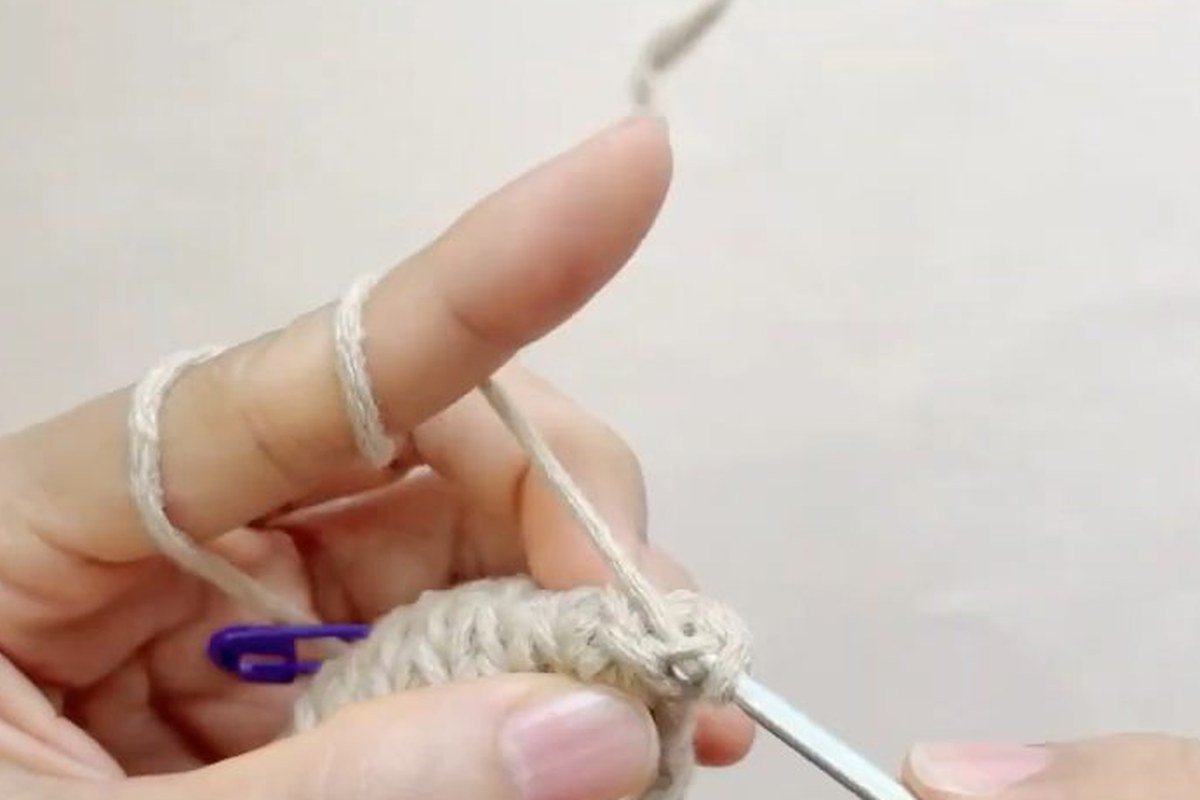
Step 13: The core is done
Ten rounds are worked and the core is a stuffed cone with its narrow end at the top. The core comes first and the scales go around it in the next steps.
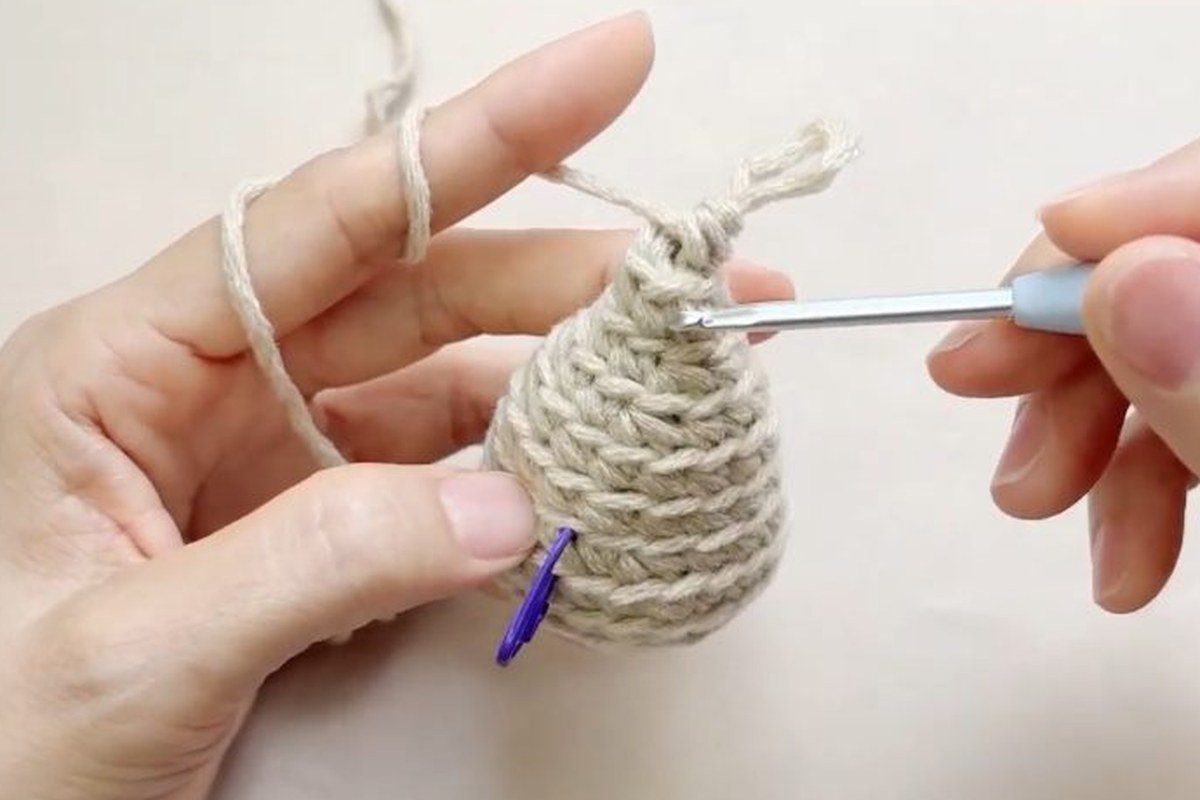
Step 14: Make the 6 bottom scales
Start the scales at the bottom of the cone. Work 2 ch, dc2tog, 2 ch, sl st for the first scale. Then repeat (sl st, 2 ch, dc2tog, 2 ch, sl st) five more times. That makes 6 bottom scales.
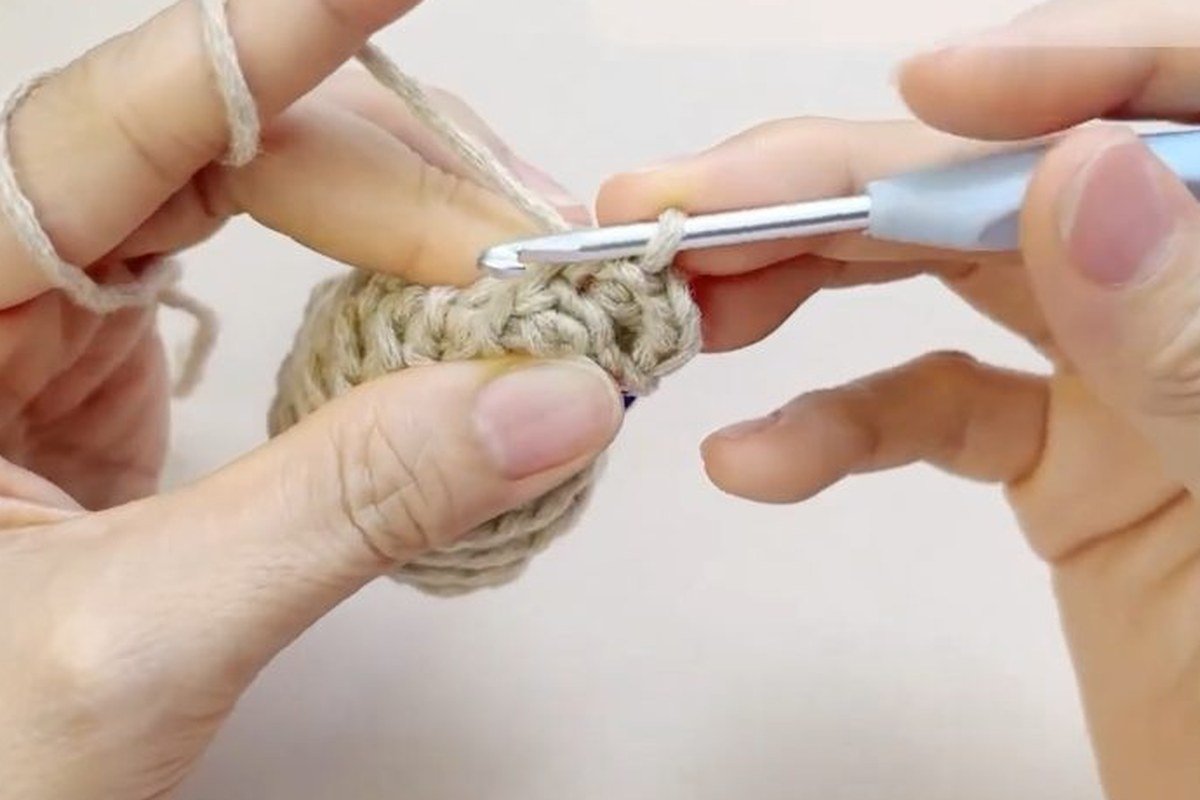
Step 15: Start the next layer of scales
The bottom layer is complete. Now move on to the next layer of scales: skip, sl st, 2 ch, dc2tog, 2 ch, sl st, and repeat. Each new scale sits between two scales of the row below, like a real cone.
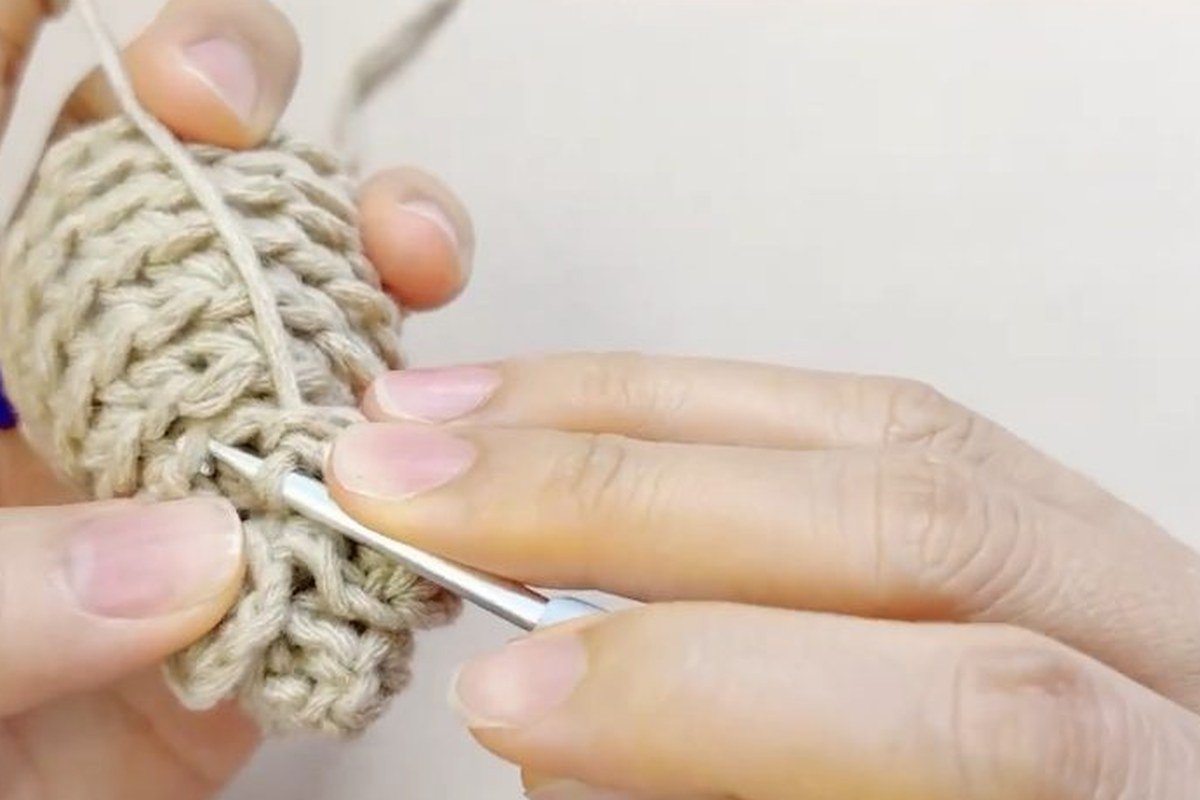
Step 16: Keep working the scales in a spiral
Don’t turn or join. Keep working the scales in a spiral and follow the front loop trail that the back loop rounds left on the core. The chart doesn’t give a fixed count per layer, so let the ridges guide you up the cone.
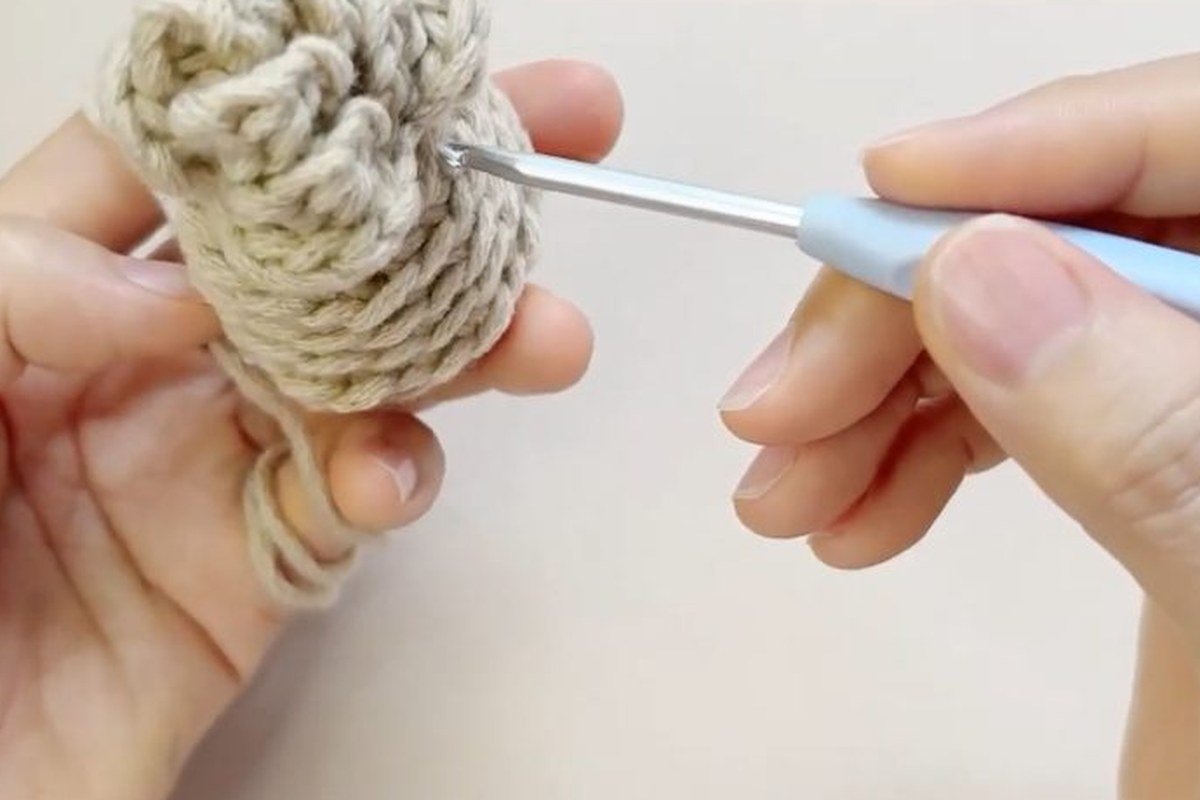
Step 17: Finish the top scales
Work the last scales near the top. When the top scales are done, make a sl st in the centre of the top.
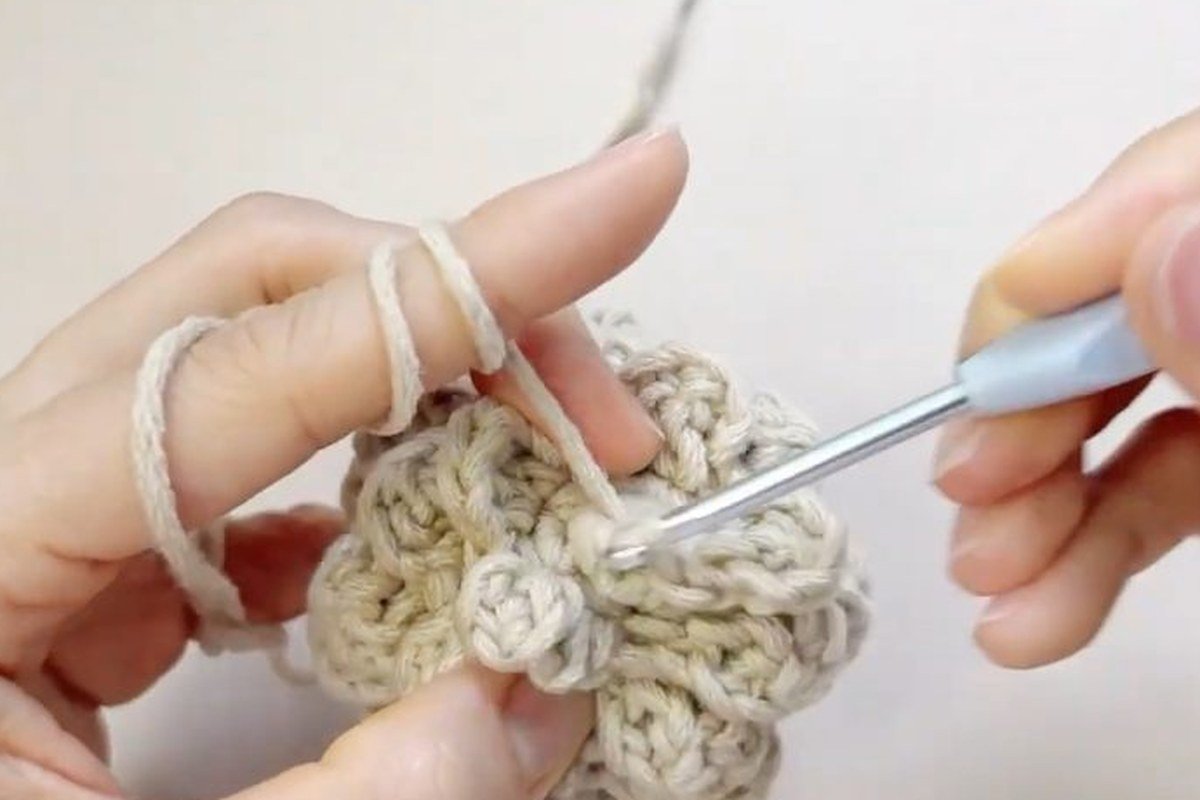
Step 18: Add a chain for hanging
Make 25 ch, then sl st to close the loop. This is your hanger, so make it longer if you like a lower-hanging cone.
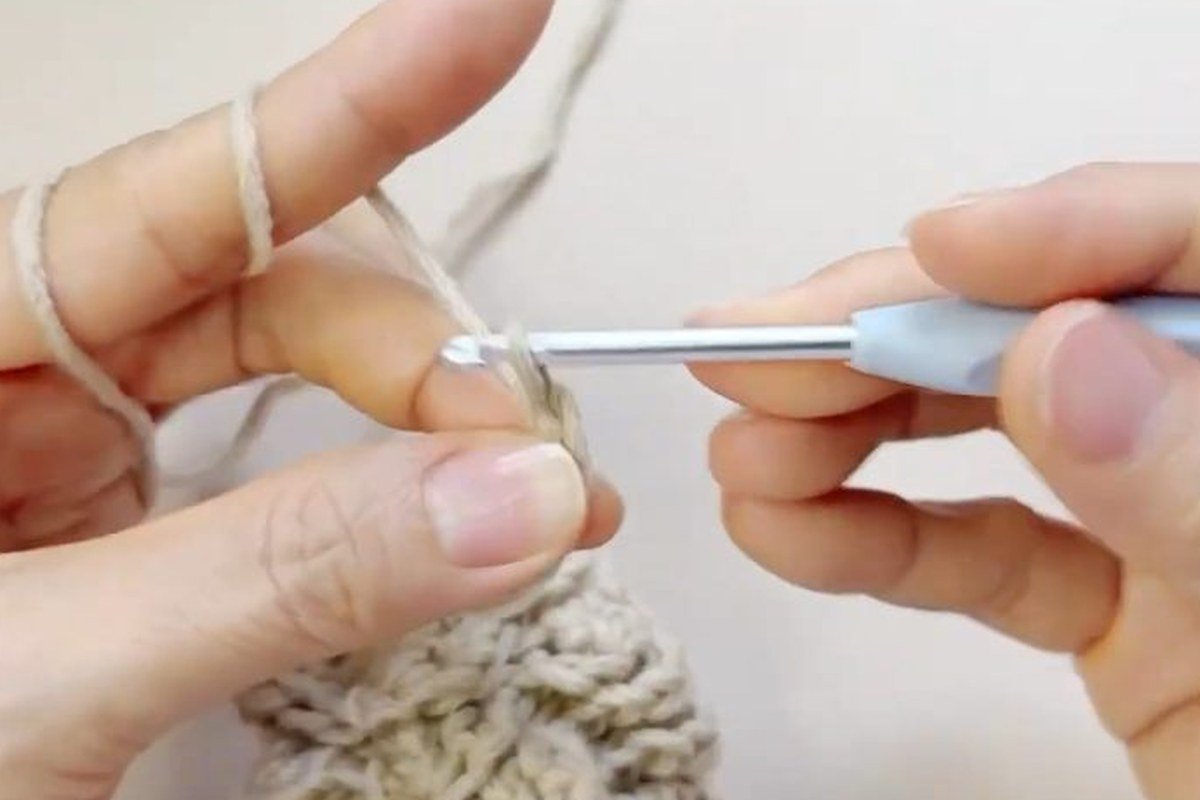
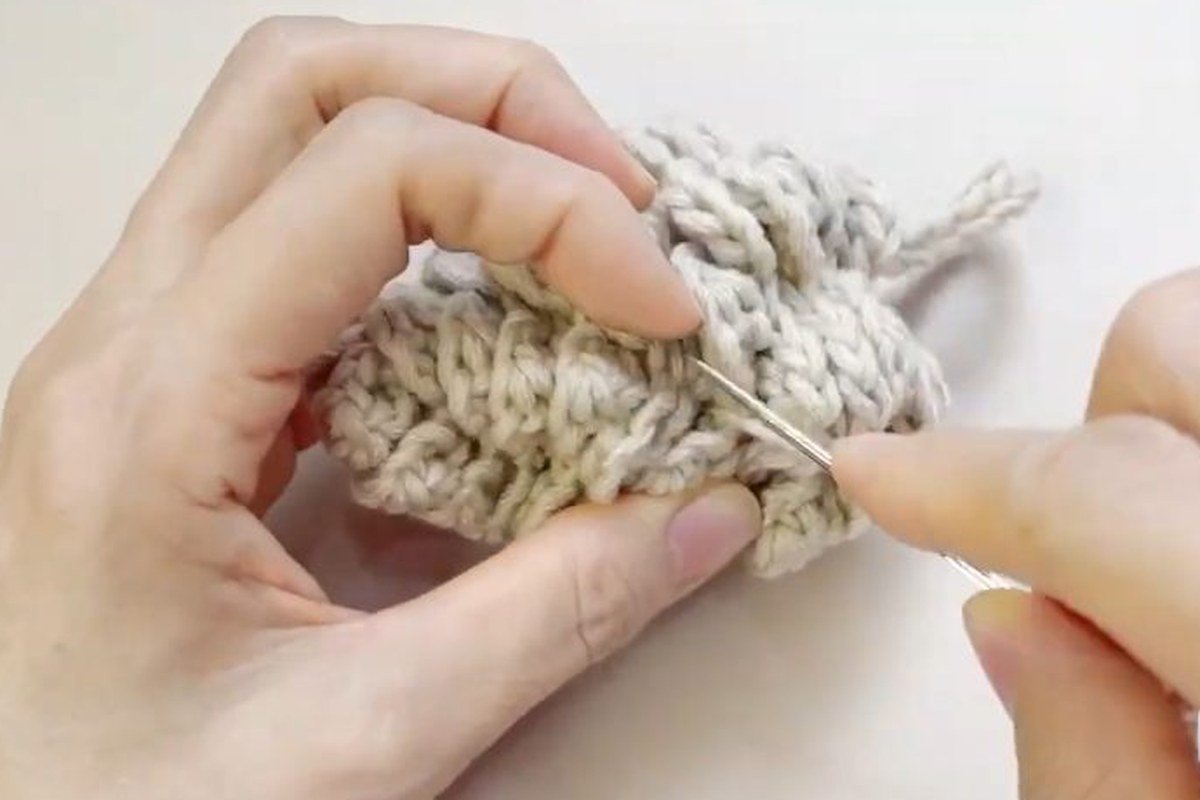
Step 19: Fasten off and weave in the ends
Fasten off, thread the tail on a yarn needle and weave in the ends into the core. Your free crochet pinecone pattern is finished.
Where a Free Crochet Pinecone Pattern Usually Goes Wrong
Three mistakes cause most trouble with a free crochet pinecone pattern, and each one is easy to catch early.
- Forgetting the back loop. The scales are worked on the front loops that rounds 3 to 10 leave behind. If you work a round under both loops, that row of ridges disappears and the scales have nowhere to go.
- Losing the marked stitch. From round 3 nothing is joined, so a missing marker means a wrong count. Move the marker up every round and count against the plan table above.
- Under-stuffing. A soft core makes the scales flop in any free crochet pinecone pattern. Stuff after round 8, top up after round 9 and stop only when the cone feels firm, before round 10 closes the top.
A safety note: a stuffed ornament with a loop is a decoration, not a toy. Keep it away from small children and pets.
Hook, Yarn and Size for a Free Crochet Pinecone Pattern
This free crochet pinecone pattern lists acrylic yarn listed as 3 mm thick, which the maker calls medium weight, and a 3.5 mm hook. The Craft Yarn Council puts medium yarn at 5.5 to 6.5 mm, so 3.5 mm is well under the usual range. That is deliberate: a small hook makes a tight, dense fabric that hides the stuffing and holds its shape.
Every other free crochet pinecone pattern we checked agrees that pinecones want a small hook. One uses 3.5 mm with worsted yarn, one uses 5 mm, another asks for 5 mm and 5.5 mm, and a sport-weight charm uses 2.25 mm. For your own cone, work rounds 1 to 3 and check that you can’t see the fiberfill through the stitches. If you can, go down a hook size.
The pattern doesn’t say how much yarn one cone uses, and none of the five patterns we checked prints a total in both yards and metres, so we won’t guess. One ornament pattern gives grams instead: 10 g, 12 g and 20 g for its three sizes. Weigh your leftover yarn before and after if you want a figure of your own.
Finished size is also missing from this pattern. Other designers state a cone of about 3 in (7.5 cm) or 3 in (8 cm), and one offers 2.5 in (6 cm) to 4.5 in (11 cm). Your cone will depend on your yarn and hook, so measure the core after round 10.
How to Stuff and Shape a Crochet Pinecone
The stuffing decides whether your free crochet pinecone pattern looks like a real cone. In the pattern you stuff twice: once after round 8 and once after round 9, before round 10 closes the top.
| Method | How it works | Used by |
|---|---|---|
| Stuff the core | Fiberfill goes into the core before the last decreases, then scales are worked over it | This free crochet pinecone pattern and Crochet to Play (stuffed at round 10 of 12) |
| No stuffing | A flat chain strip is rolled into a spiral and sewn, layer by layer | Nicki’s Homemade Crafts |
| Light stuffing | Stuff the body lightly, because the scales add fullness later | Passionate Crafter |
Keep the stuffing light in small cones. A tight core stretches the stitches and shows the fiberfill, while a loose core leaves the scales floppy. Press the finished cone between your palms to even it out.
Five More Free Pinecone Patterns to Compare
Each of these is free on the designer’s own site, except where noted. Compare hooks and sizes with yours before you start.
| Pattern | Hook | Yarn | Size and method |
|---|---|---|---|
| How to Crochet a Pinecone in 5 Minutes, Nicki’s Homemade Crafts | 5 mm | Worsted weight | 3 in x 2.5 in, flat strip rolled and sewn, no stuffing |
| Crochet Pine Cone Pattern, Crochet to Play | 3.5 mm | Worsted weight | About 3 in (7.5 cm), 12 rounds, stuffed |
| Pinecone Ornaments, Passionate Crafter | 5 mm | Worsted or Aran | Three sizes, 2.5 in to 4.5 in, prickles added last |
| Mini Pinecone, Lalylala | 2.25 mm | Sport weight | 2 to 3 cm charm from a chain of 20 |
| Amigurumi Pine Cone, Garnknuten | 3.5 mm | DK cotton, 50 g = 105 m | written pattern is in a paid calendar |
Want more autumn and winter makes? See our crochet wheat stitch pumpkin, the pumpkin granny square or the fall crochet blanket roundup.
Free Crochet Pinecone Pattern FAQ
Is this free crochet pinecone pattern good for beginners?
Yes, if you can work single crochet in a spiral and do increases and decreases. The only harder stitch is dc2tog for the scales, and the pattern repeats it for every scale.
What hook and yarn should I use?
This free crochet pinecone pattern lists a 3.5 mm hook and acrylic yarn described as medium weight. Other pinecone patterns use hooks from 2.25 mm to 5.5 mm, so start at 3.5 mm and test.
How many stitches does the core have?
The ten rounds add up to 145 stitches, and the numbers are 6, 12, 16, 21, 21, 16, 16, 16, 12 and 9. Round 10 ends on 9.
How do I hang a crochet pinecone?
At the end of the free crochet pinecone pattern, make 25 ch after the top scales, slip stitch to close the loop, then fasten off. Use a longer chain if you want the cone to hang lower.
Can I make a white pinecone or another colour?
Yes. Use the same free crochet pinecone pattern with any yarn. The maker suggests brown or beige for a natural look, and white for winter decor.
How big is the finished cone?
The pattern does not state a size. Similar patterns give about 3 in (7.5 cm), so expect a small ornament that fits in your palm.
Style Your Cones With These
Once your free crochet pinecone pattern is done, sit your cones beside the crochet snowy owl. For more, browse our accessories, every free pattern on the site, or the fall crochet blanket roundup.
Sources
- Nicki’s Homemade Crafts, How to Crochet a Pinecone in 5 Minutes
- Crochet to Play, Crochet Pine Cone Pattern
- Passionate Crafter, Pinecone Ornaments
- Lalylala, Mini Pinecone
- Garnknuten, Amigurumi Pine Cone
- Craft Yarn Council, yarn weight system
Pattern credit: this pinecone design is by Crochiquely. Find more of their crochet work on the YouTube channel Crochiquely.