Free Crochet Spider Pattern: 8 Legs, One Piece, No Sewing
This free crochet spider pattern makes a flat, one-piece Halloween spider with 8 curling legs and 2 fangs, worked on a 4 mm hook with medium weight yarn, with no stuffing, no eyes to sew and no seams. That hook is deliberately about 1.5 mm smaller than the Craft Yarn Council range for the yarn, and that gap is the reason the spider comes out stiff instead of floppy.
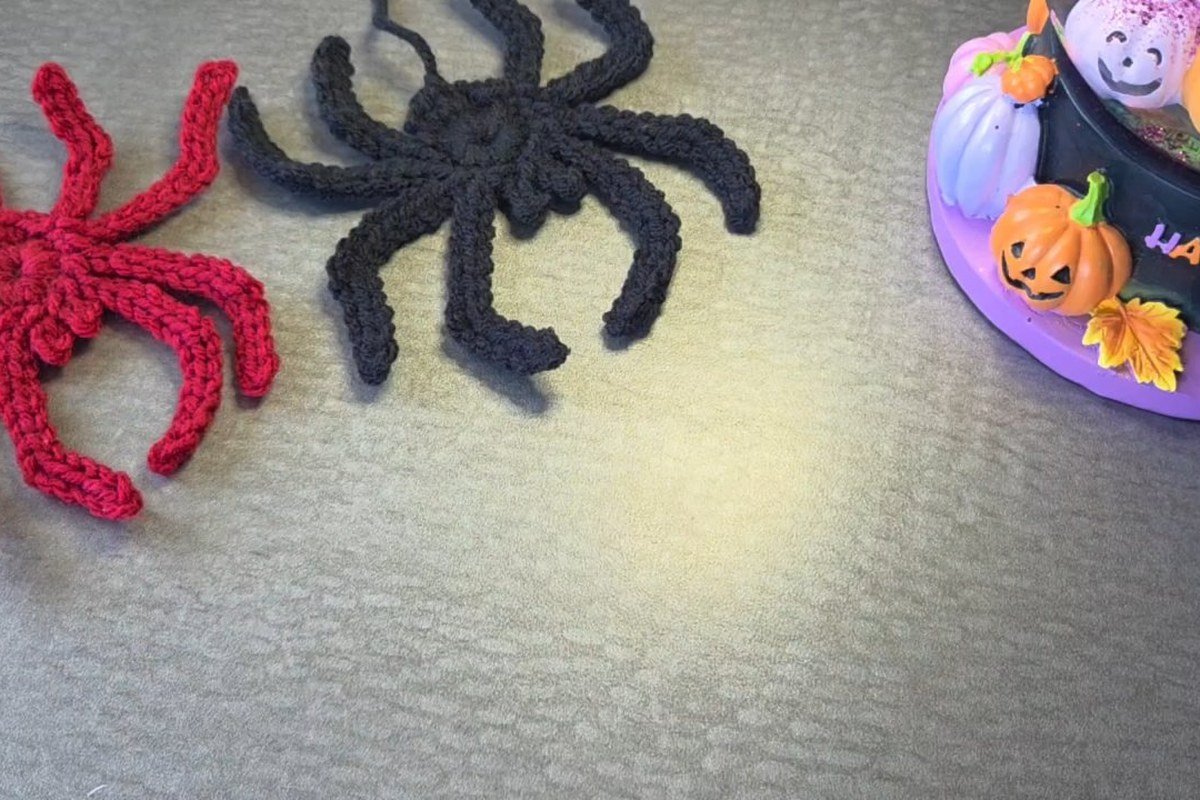
Below are the materials for this free crochet spider pattern, the finished size, every leg count, and 16 photo steps taken from a video tutorial. We also explain the hook size, three ways this spider goes wrong, and where to find five more free spider patterns if you want a stuffed one.
- What you need
- Finished size
- Stitches and the stitch multiple
- Step by step
- Where it goes wrong
- Which hook to use
- How much yarn
- Five more free spider patterns
- FAQ
- Where to go next
- Sources
What You Need for This Free Crochet Spider Pattern
The whole free crochet spider pattern takes one strand of yarn and one hook. Nothing is bought beyond a skein you probably already own.
| Item | What to use |
|---|---|
| Yarn | Medium weight acrylic (yarn weight category 4), any colour; black, grey and red all work |
| Hook | 4 mm |
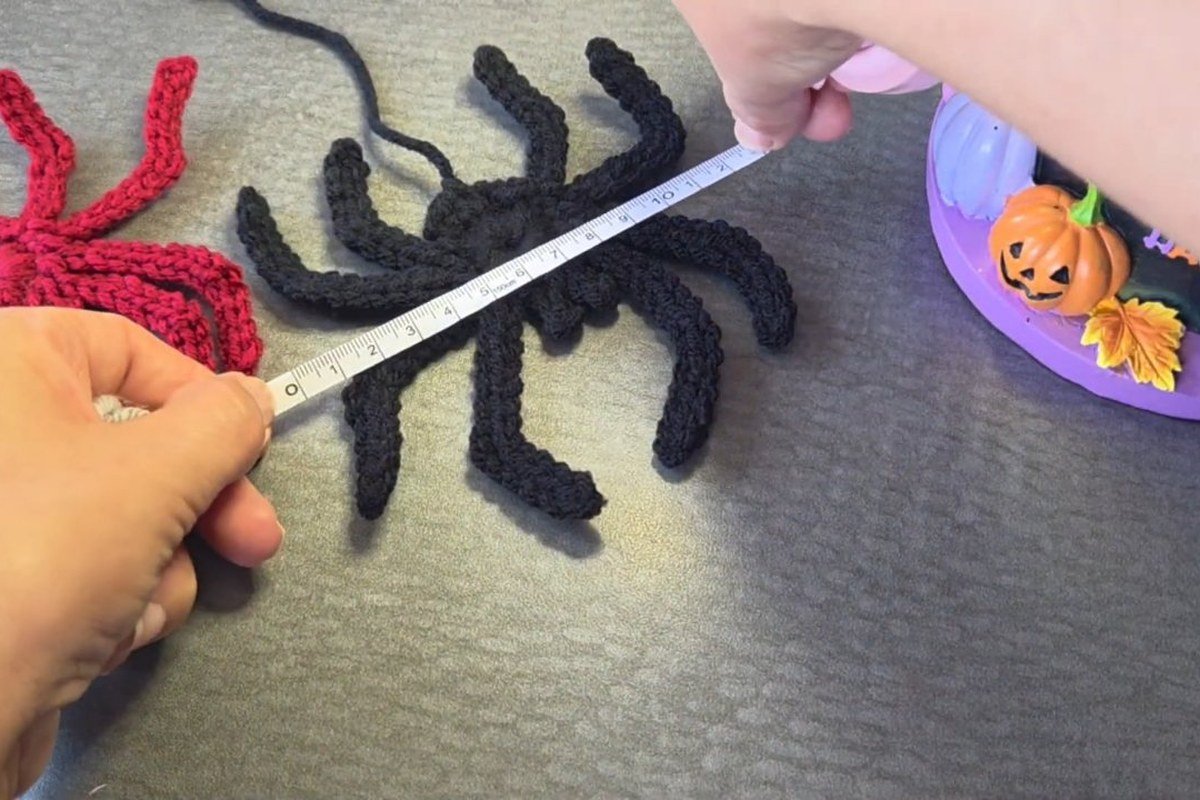
| Finished size | About 12 cm wide and 13 cm long, leg tip to leg tip |
| Body | Magic ring with 18 single crochet |
| Legs | 8 legs, chain lengths 10, 14, 14, 14, 14, 13, 14 and 11 |
| Fangs | 2, each chain 3 |
| Extras | Scissors, a yarn needle, and optional craft glue mixed with water to stiffen the legs |
| Stuffing and eyes | None |
A note on yardage. The video does not state how much yarn one spider uses, and we will not guess. A flat spider this size is a small scrap project, so a leftover ball is plenty. The 8 leg chains alone add up to 104 chain stitches, which is the figure we calculated for you further down.
How Big Is a Crochet Spider Made From This Pattern?
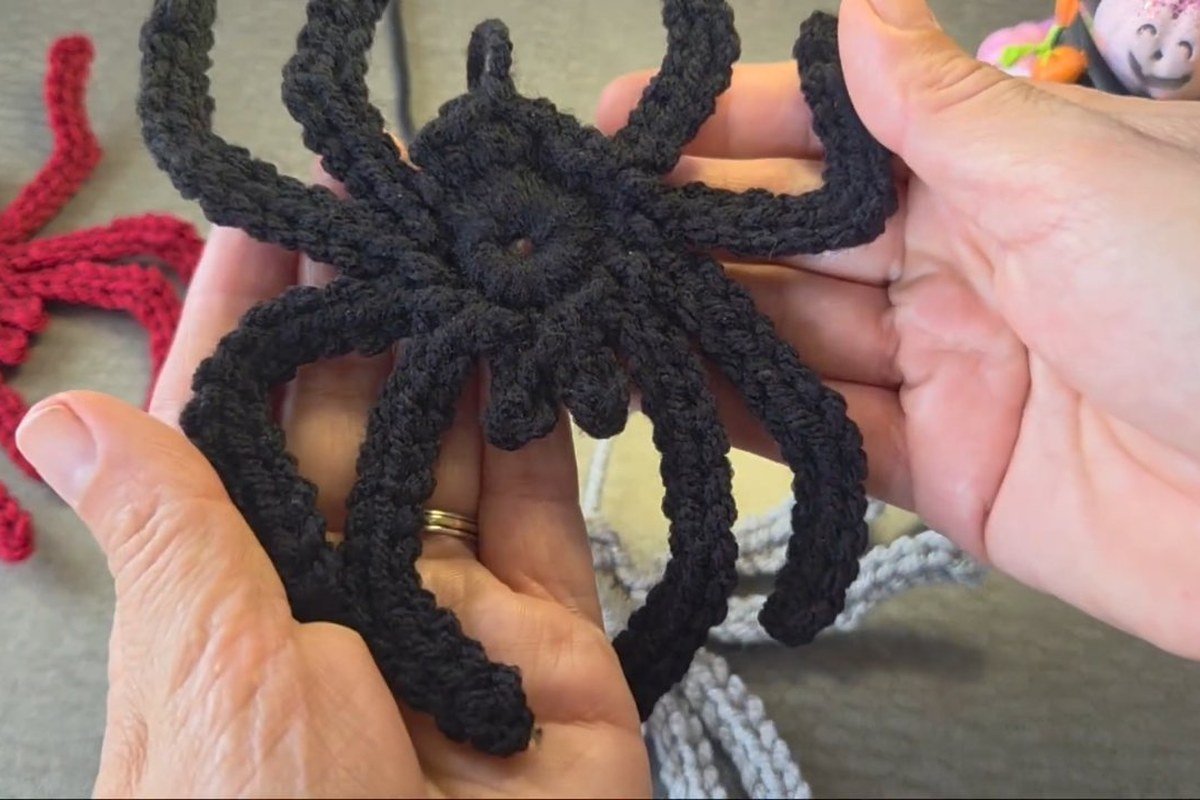
A spider from this free crochet spider pattern is about 12 cm wide by 13 cm long, which is roughly 4.7 by 5.1 in, measured from the first leg tip to the last. That is the size on a 4 mm hook with medium yarn. The tutorial says a finer yarn and a smaller hook give a smaller spider, so the same counts work for a keychain or a garland.
If you want a stuffed, sitting spider instead, that is a different build. Four of the patterns in our list below are round amigurumi, with sizes from 3 in to 8 in.
Stitches and the Stitch Multiple
This free crochet spider pattern uses only three stitches, and we give both names for each because crochet has two naming conventions.
- sc: single crochet (also called double crochet in the other convention)
- sl st: slip stitch (also called single crochet in the other convention)
- ch: chain
Because the body is a magic ring rather than a chain, there is no stitch multiple to fit. The rule that matters is the count: 18 body stitches, and the legs and fangs are attached to them one by one. An increase in a leg means 2 sl st in the same chain, which makes the leg curve down. A decrease means skipping 1 chain and working a sl st in the next, which makes the leg curl up.
The table shows each leg of the free crochet spider pattern as the video works it. Every count is chain length, then sl st along the chain, then a sl st into the body.
| Leg | Chain | Slip stitches along the chain | Curve |
|---|---|---|---|
| 1 | 10 | 4, increase, 4 | down |
| 2 | 14 | 6, increase, 6 | down |
| 3 | 14 | 5, decrease, 6 | up |
| 4 | 14 | 4, decrease, 7 | up |
| Fangs | 3 each | 2 sl st | short |
| 5 | 14 | 5, increase, 7 | down |
| 6 | 13 | 4, increase, 7 | down |
| 7 | 14 | 5, decrease, 6 | up |
| 8 | 11 | 4, decrease, 4 | up |
Check the arithmetic and it holds: leg 1 gives 4 + 1 + 4 = 9 stitches from 10 chains, and leg 2 gives 6 + 1 + 6 = 13 from 14. The video says 14 chains for leg 5 but counts to 13 stitches, and 5 + 1 + 7 = 13 only works from 14 chains, so use 14.
Free Crochet Spider Pattern Step by Step
Each step of the free crochet spider pattern below has a frame from the video. Read the step, look at the photo, then work it.
Step 1: gather the yarn and hook
For this free crochet spider pattern, take medium weight acrylic and a 4 mm hook. Thinner yarn and a smaller hook will give a smaller spider, and the counts stay the same. The photo for this step is in the materials section above.
Step 2: check the finished size
The spider ends up about 12 cm wide and 13 cm long, so read the size section above and choose your yarn to match.
Step 3: make a magic ring
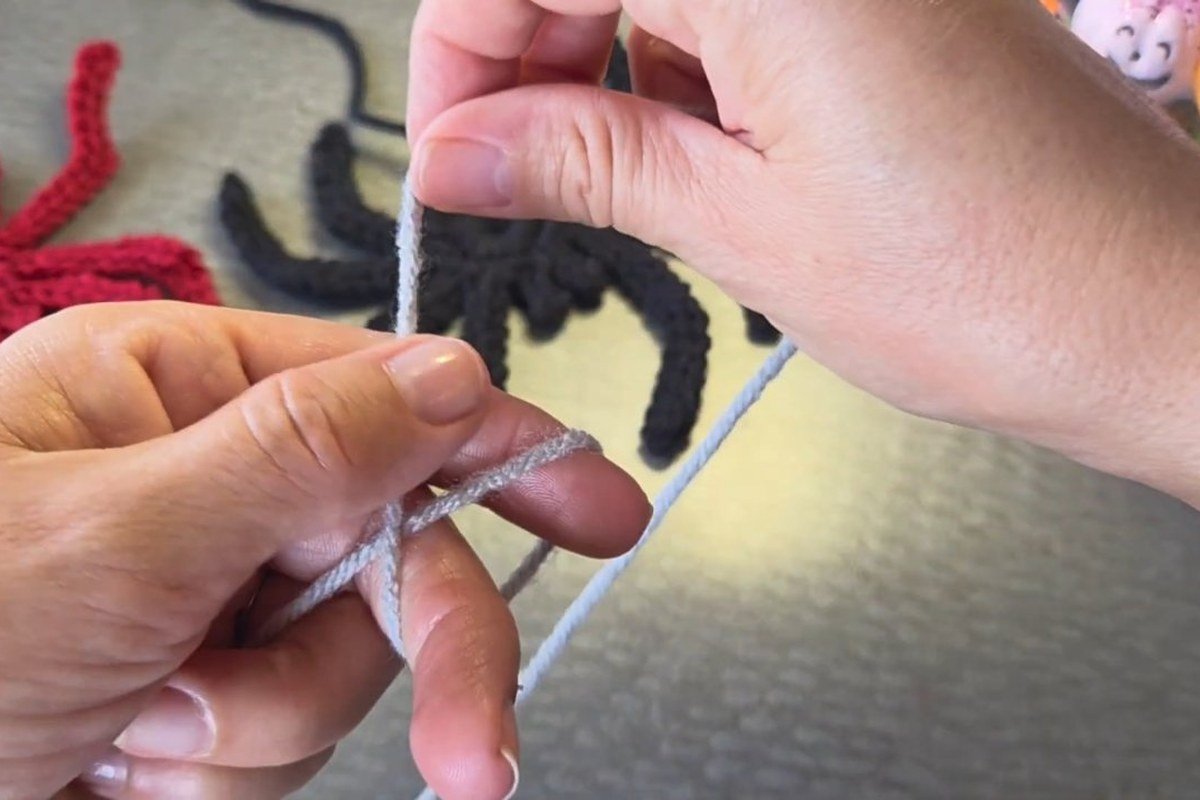
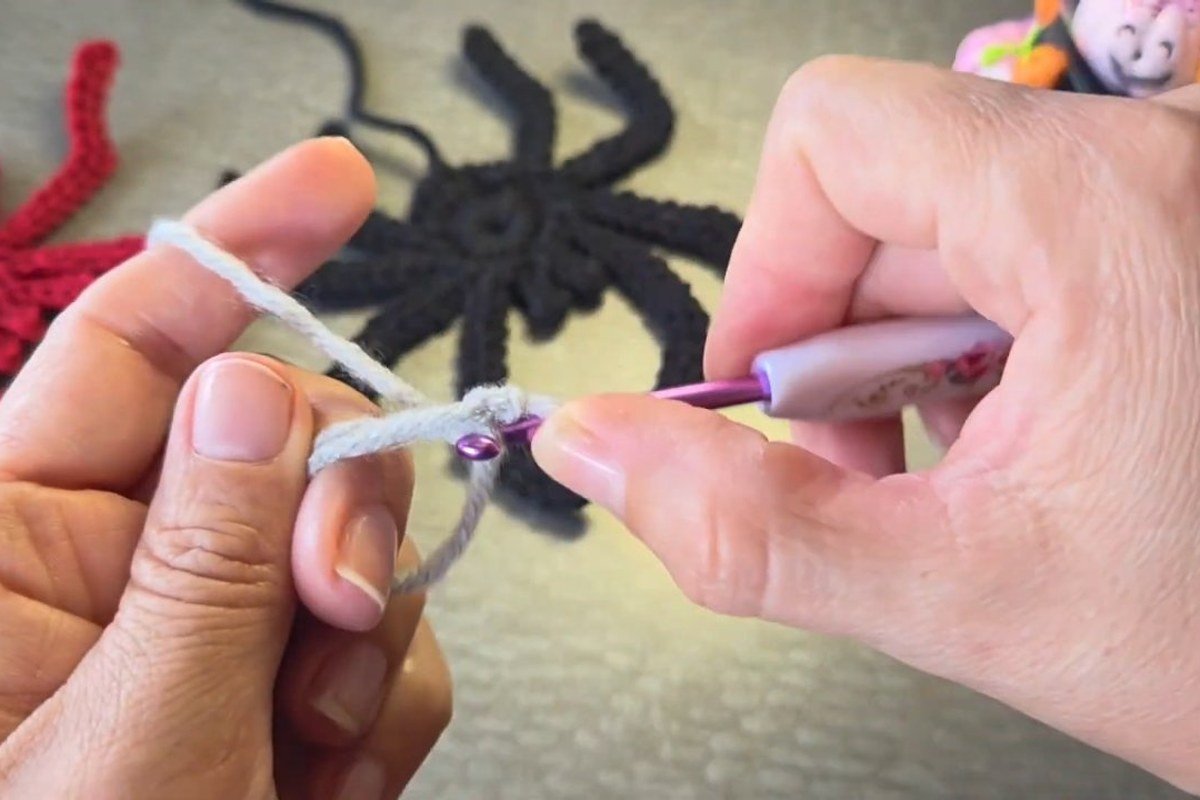
Loop the yarn round two fingers with the short tail underneath, pull a loop through, and slip stitch to secure it. Keep the ring open for now.
Step 4: work 18 single crochet into the ring
Work 18 sc into the ring without joining. This circle is the whole body, and its 18 stitches are where every leg will be anchored.
Step 5: chain 10 for the first leg
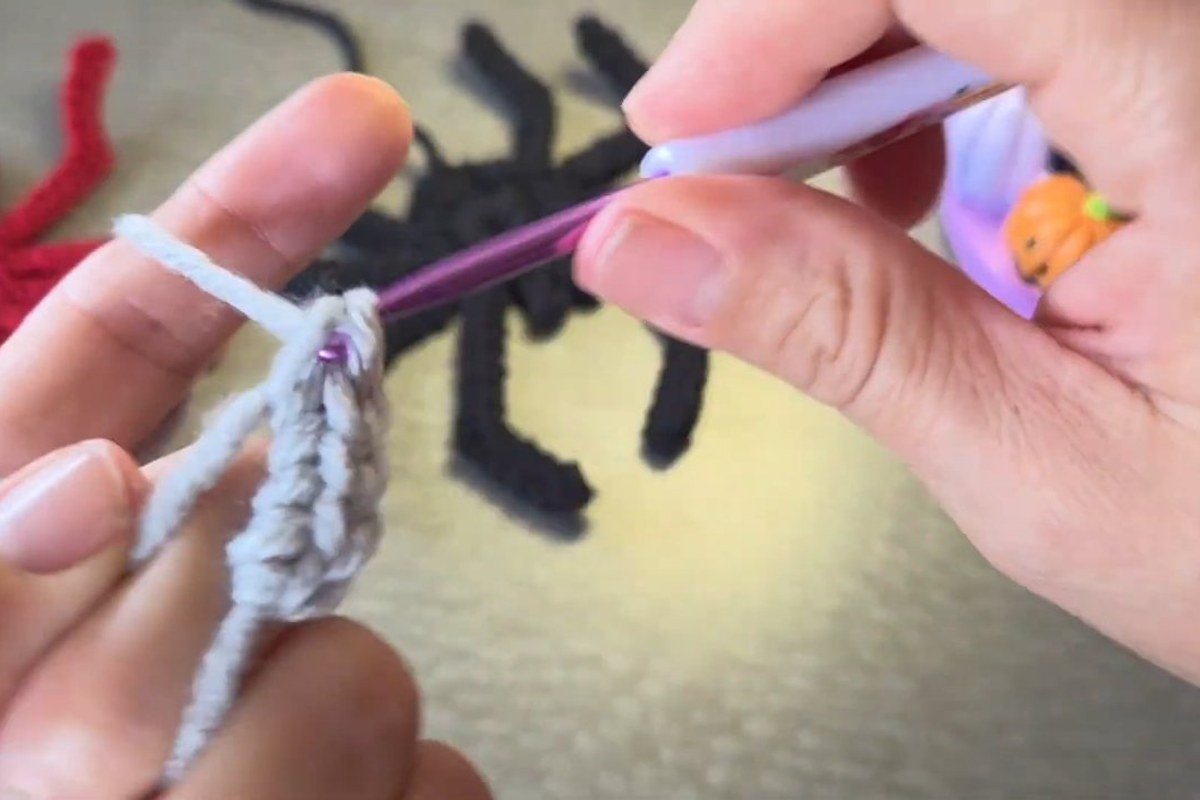
Chain 10, skip the first chain, then work 4 sl st back along the chain, 2 sl st in the next chain for the increase, and 4 sl st. Finish with a sl st into the first body stitch.
Step 6: make the second leg
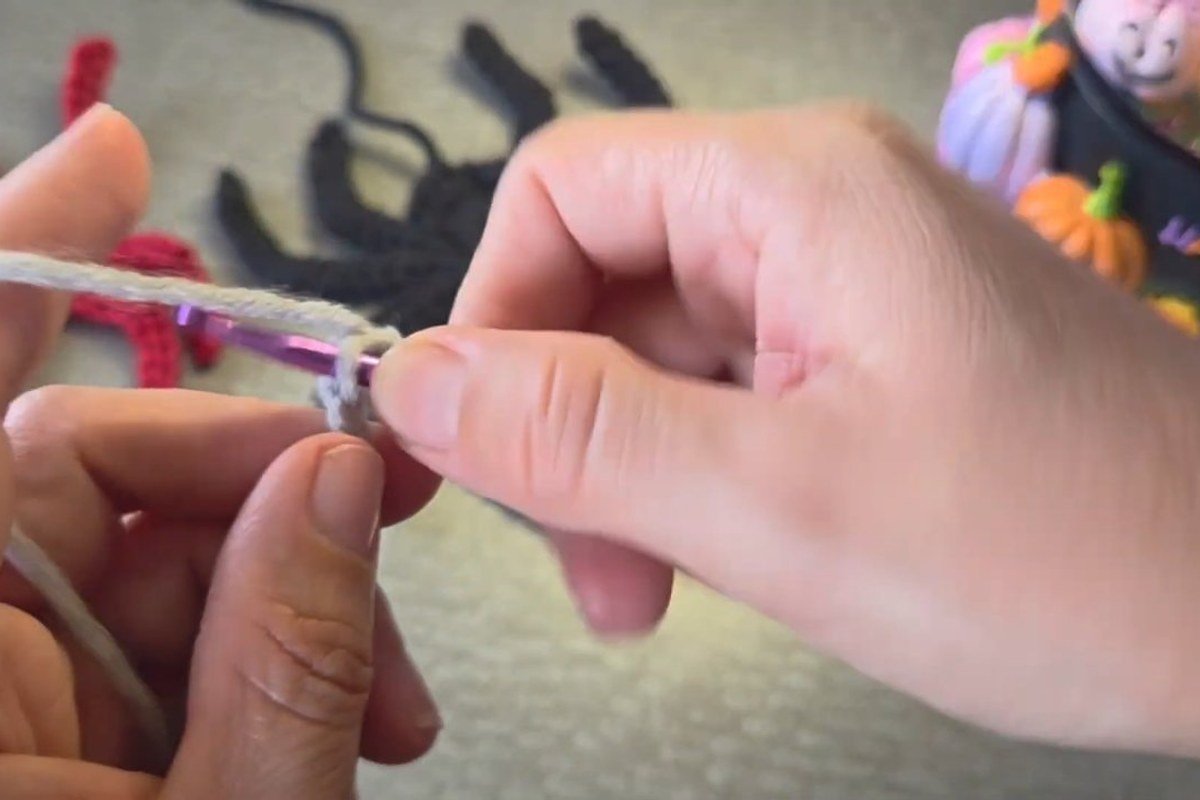
Chain 14, skip the first chain, work 6 sl st, the increase, and 6 sl st. Anchor it with a sl st in the body.
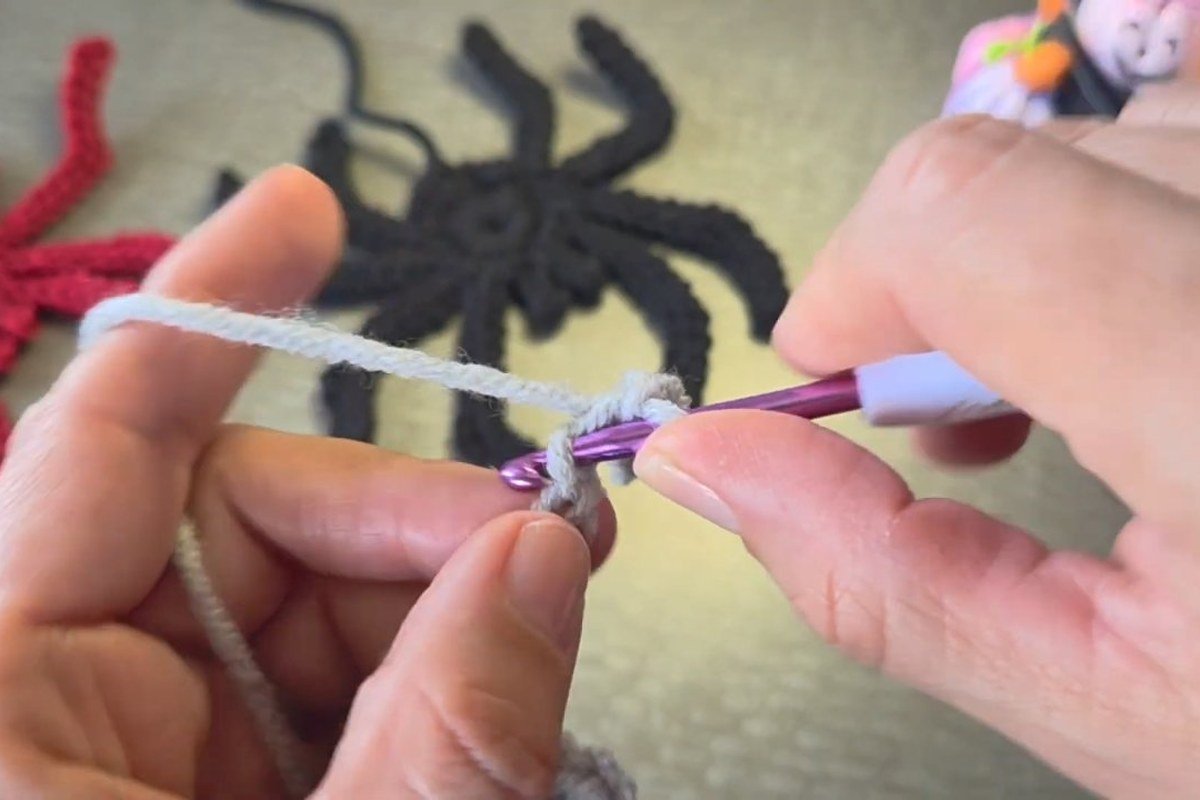
Step 7: make the third leg, curling up
Chain 14, skip the first chain, work 5 sl st, then skip 1 chain and sl st in the next for the decrease, then 6 sl st. Anchor in the next body stitch. This leg curls upward.
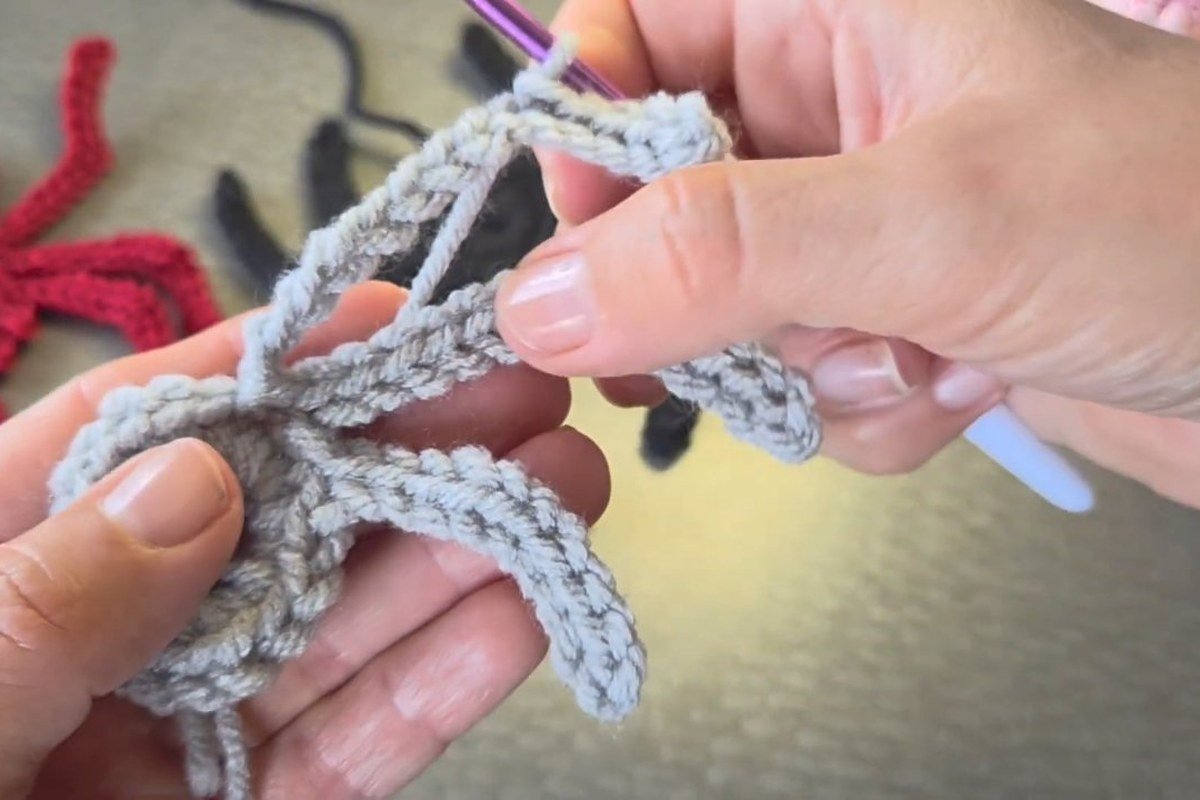
Step 8: make the fourth leg
Chain 14, skip the first chain, work 4 sl st, the decrease, and 7 sl st. Anchor it, then work one more sl st into the body before the fangs.
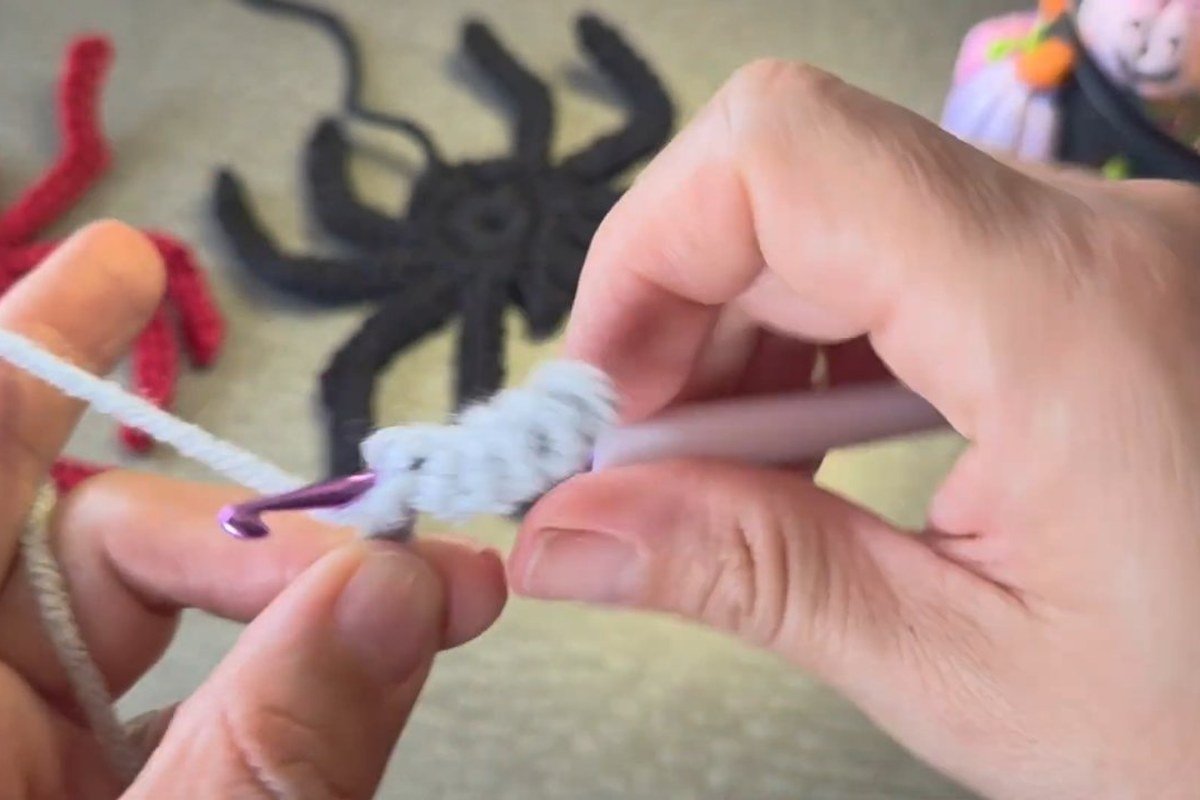
Step 9: make the two fangs
Each fang is chain 3, skip the first chain, 2 sl st, then a sl st into the body. Work an extra sl st in the next body stitch after the second fang.
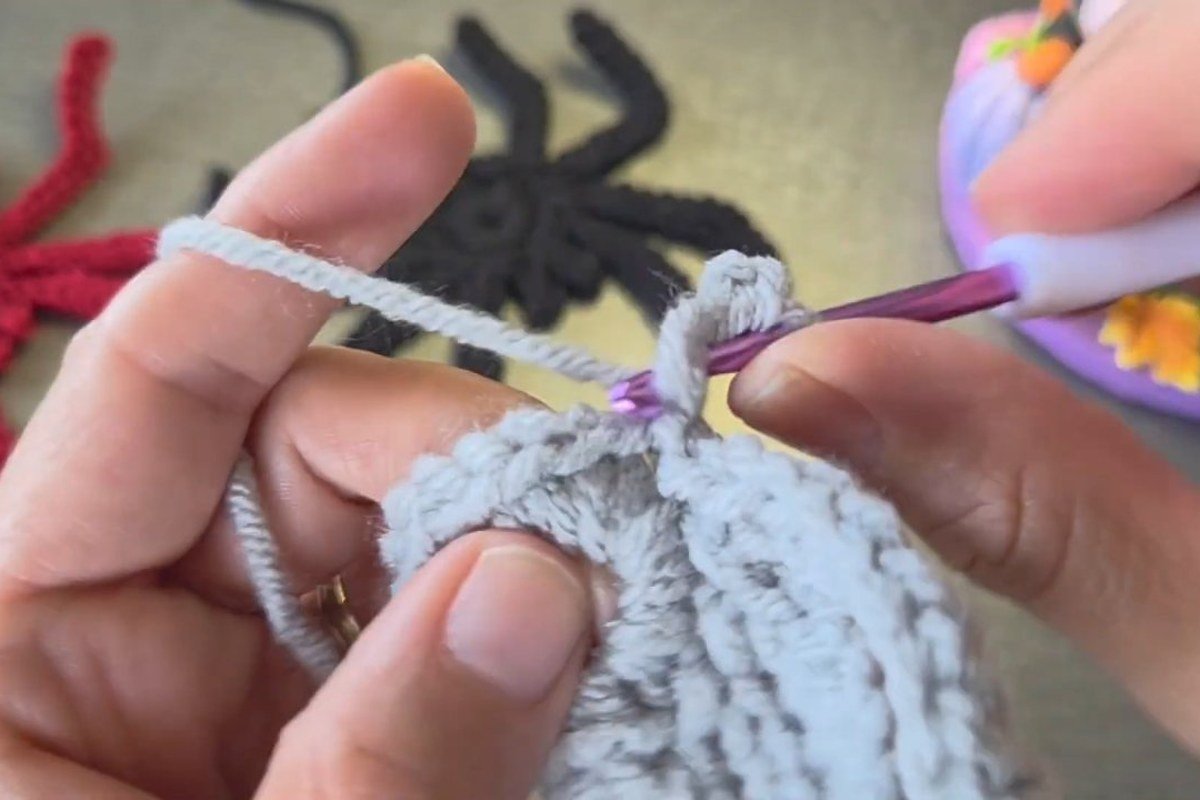
Step 10: make legs five and six
Leg 5 is chain 14, skip the first, 5 sl st, increase, 7 sl st, anchor. Leg 6 is chain 13, skip the first, 4 sl st, increase, 7 sl st, anchor. Both curve down.
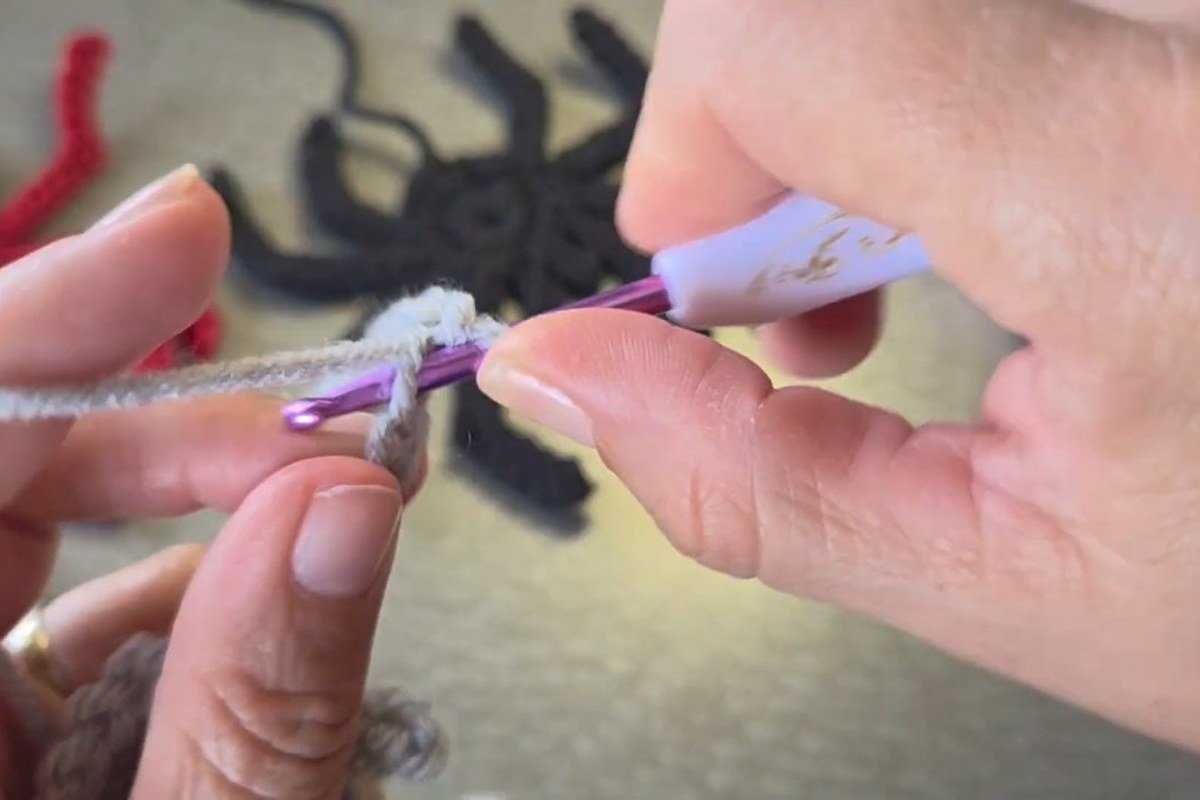
Step 11: make the seventh leg, curling up
Chain 14, skip the first chain, work 5 sl st, the decrease, and 6 sl st, then anchor in the body.
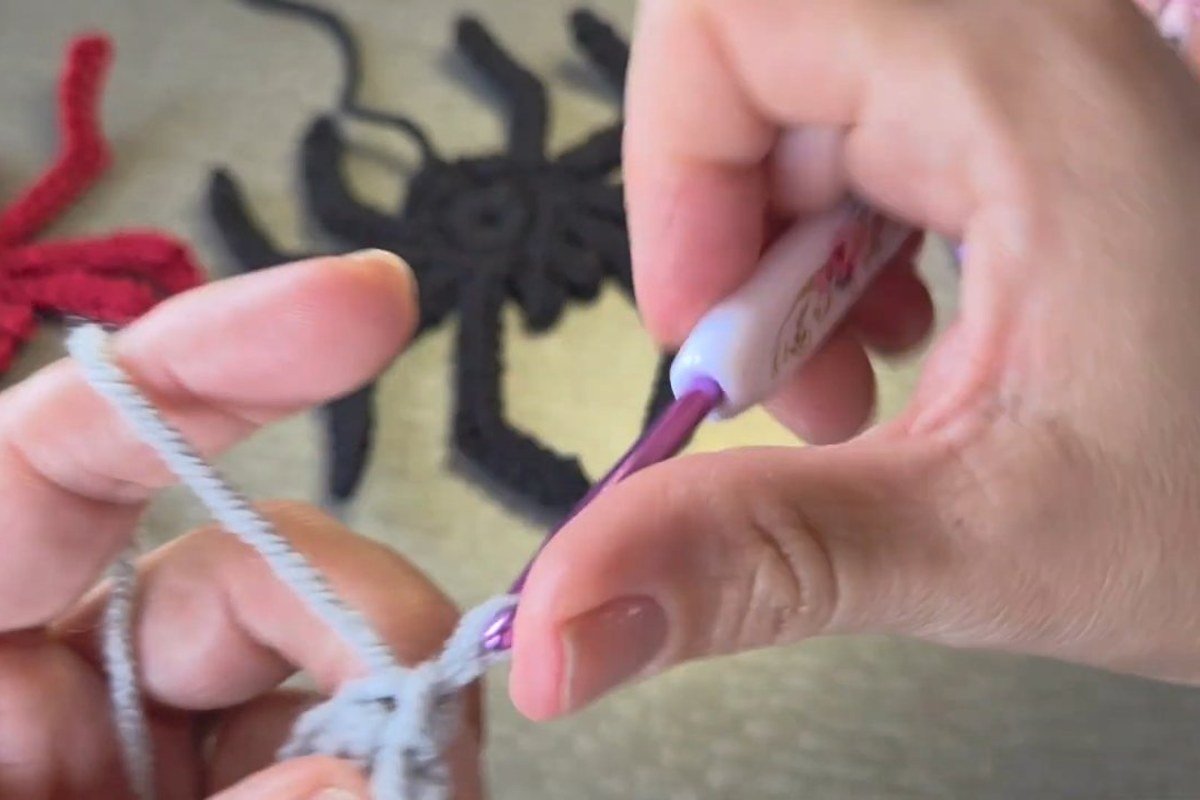
Step 12: make the eighth leg
Chain 11, skip the first chain, work 4 sl st, the decrease, and 4 sl st. Anchor it with a sl st and one extra sl st in the body.
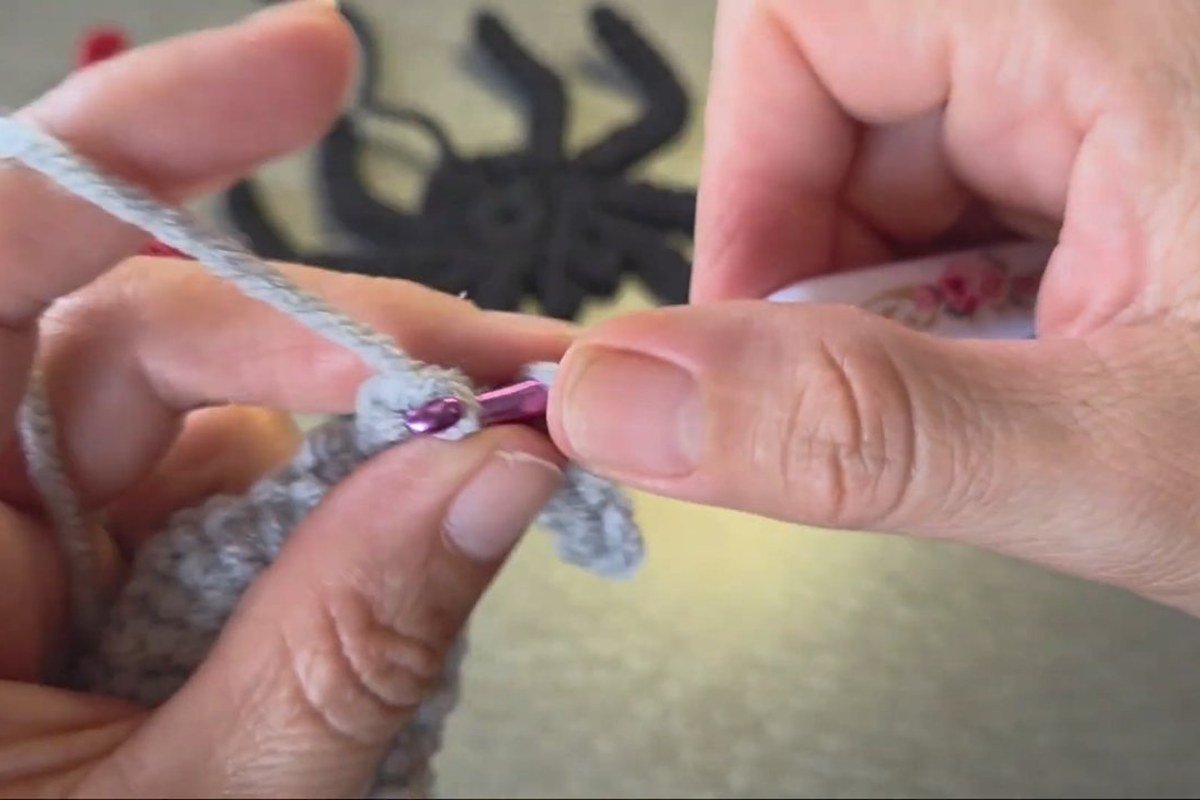
Step 13: close the body
Work 4 sc into the body, then a sl st in the last body stitch. Cut the yarn a little long and pull it through. Together with the leg anchors, this uses all 18 body stitches.
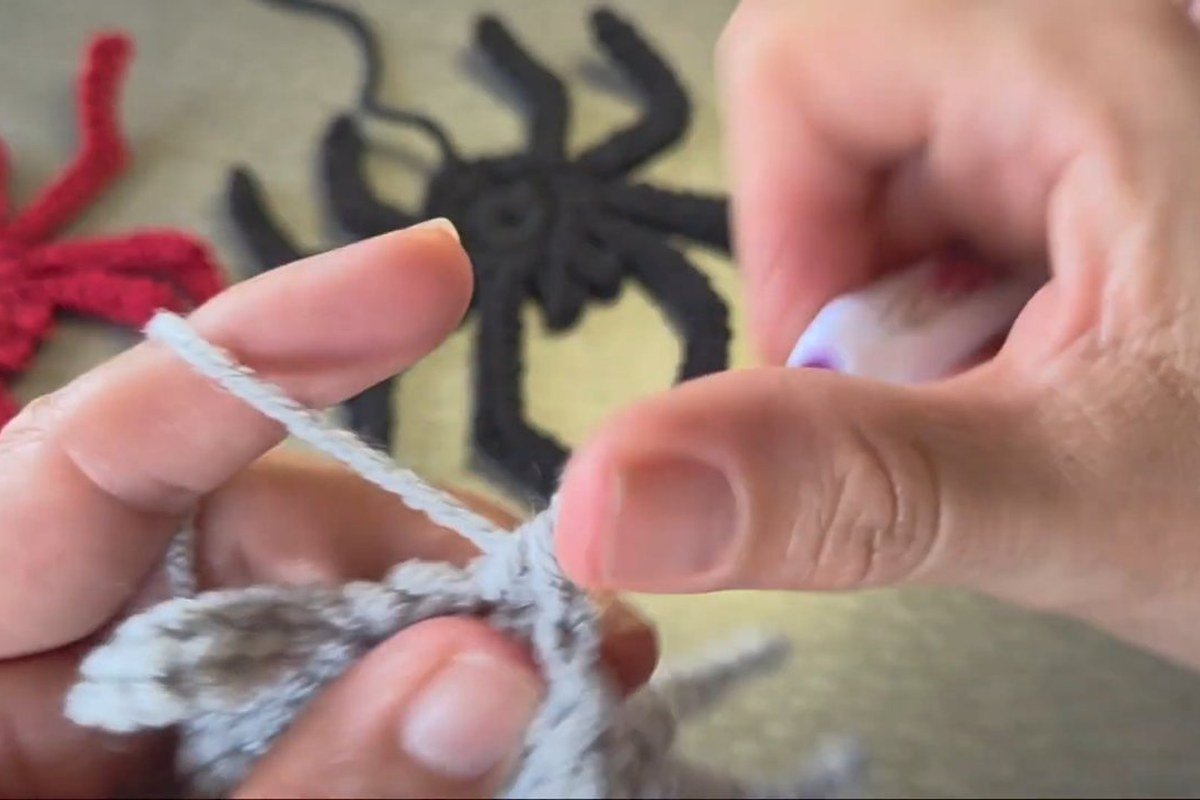
Step 14: tighten the centre
Tug the finishing yarn, then pull the starting tail to shrink the hole in the middle of the ring so the body sits flat and firm.
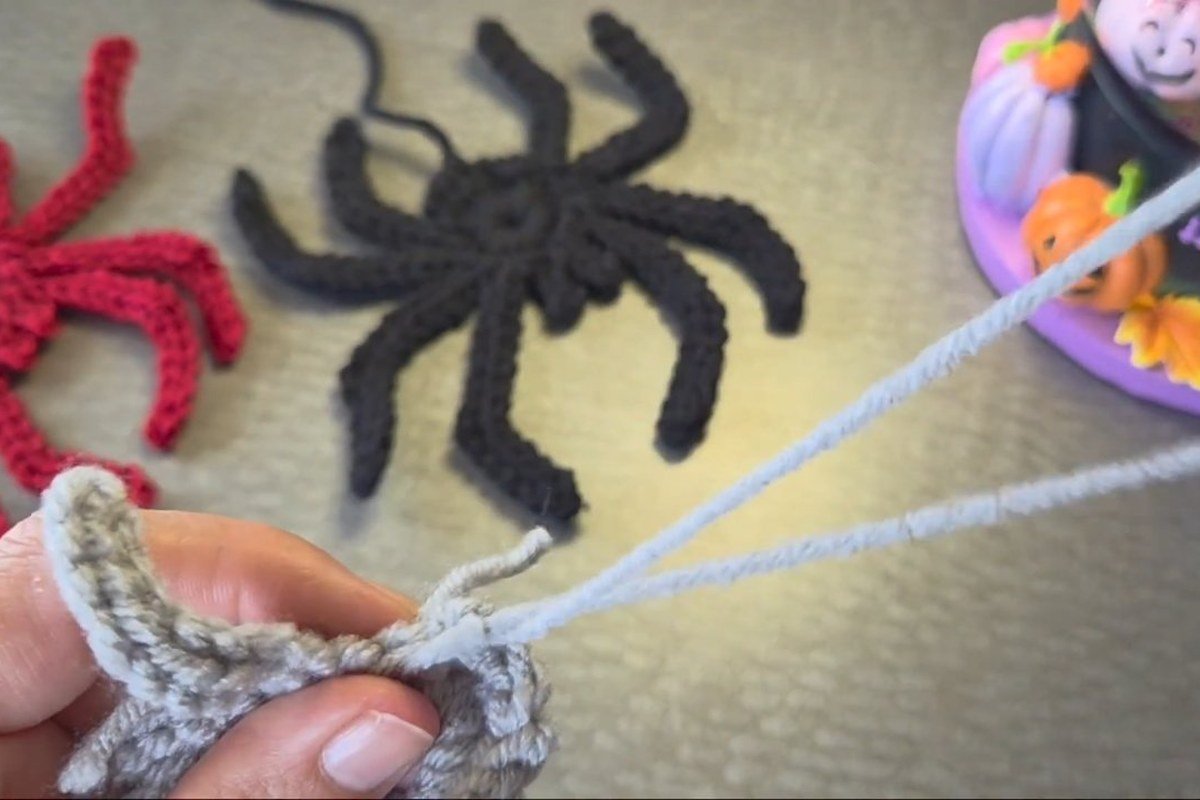
Step 15: add the hanging thread
Keep the long tail as a web thread. Pull it through the middle with the hook, knot it, and trim the leftover. Now the spider can hang from a branch, a garland or a doorway.
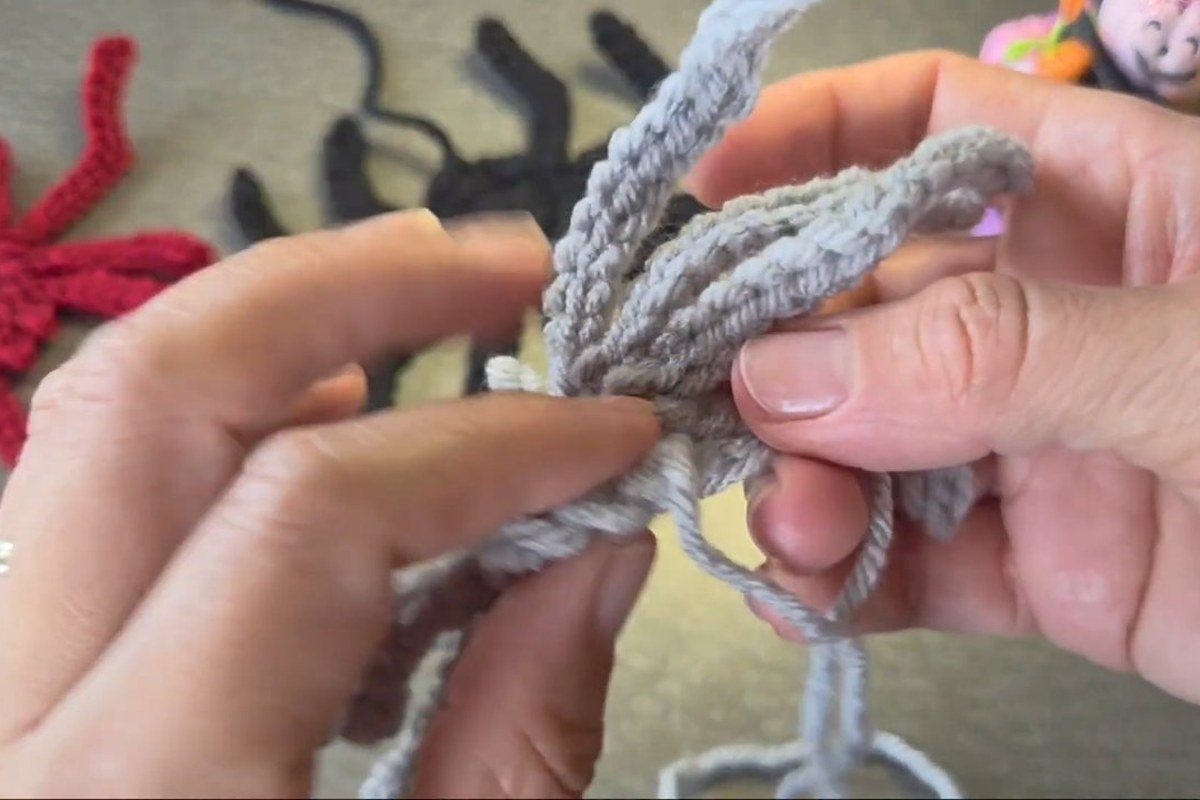
Step 16: shape the legs, and stiffen if you like
Set the spider on a table so the down-curving legs rest on it and the up-curving ones lift. For a stiffer spider, brush the legs with craft glue mixed with water and let them dry.
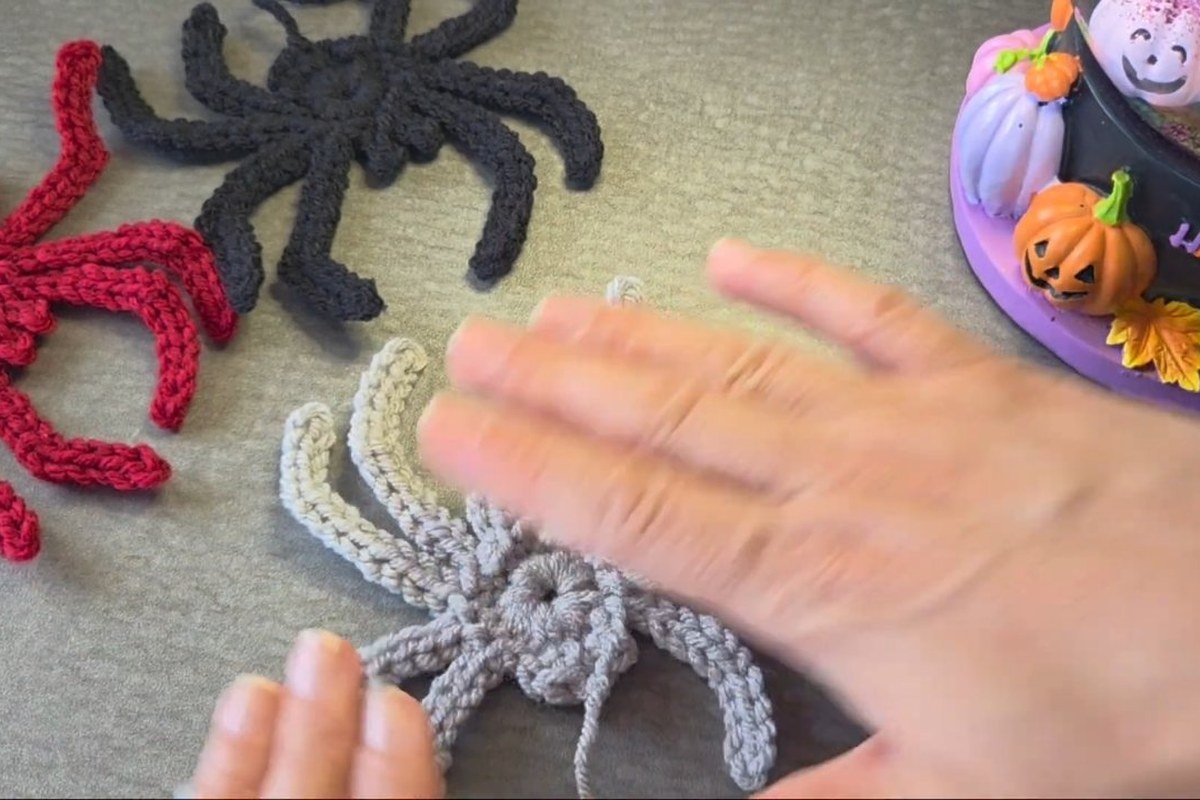
Where Your Free Crochet Spider Pattern Goes Wrong
Three problems ruin most attempts at a free crochet spider pattern.
- Legs that curl the same way. The decrease legs (3, 4, 7 and 8) curl up and the increase legs (1, 2, 5 and 6) curve down. If every leg comes out flat or all curl one way, you skipped an increase or a decrease. Recount the slip stitches against the table.
- Twisting slip stitches. Slip stitches worked back along a chain twist easily. Keep the chain’s front bumps facing you, and work each sl st through the same loop.
- A gap in the middle. If a hole is left in the centre, the starting tail was never pulled. Tug it as in step 14.
A fourth thing about this free crochet spider pattern is not a mistake at all: the spider curls at the edges until you shape it. That is normal, and the glue-and-water finish in step 16 fixes it.
Which Hook Should You Use for a Free Crochet Spider Pattern?
Use the hook in the pattern, not the one on the yarn label. The Craft Yarn Council yarn weight standard lists 5.5 to 6.5 mm for category 4 crochet yarn, but this free crochet spider pattern uses a 4 mm hook on that same yarn, and the designers of the round spiders do the same thing. A small hook gives a tight, stiff fabric that holds a shape without stuffing.
Here is what the designers we checked use, so you can compare like with like:
| Spider | Hook | Yarn weight |
|---|---|---|
| This flat spider | 4 mm | Medium (category 4) |
| No Sew Scraptacular Spider | 4 mm | Medium (category 4) |
| Spider Amigurumi, 8 in | 4 mm | Medium (category 4) |
| Cuddly Stitches spider | 2.5 mm | Sport (category 2) |
| Jelly Bean Spider | 5.0 mm | Super bulky, as the designer states |
| AmiguWorld spider | 3.0 mm | Not stated |
Every page on a free crochet spider pattern that we could read agrees with its own designer’s stated hook, yarn and size. The costly error is not on those pages. It is copying the label range onto a spider pattern, which gives you a loose, oversized spider. We could not open one of the top five results, so we did not audit it.
One owned number to plan by. The 8 legs use 104 chain stitches in total, from chains of 10, 14, 14, 14, 14, 13, 14 and 11, on top of an 18 stitch body. We calculated that from the video’s leg counts. We did not make and test the spider ourselves, so treat it as a check on your own count, not a guarantee.
How Much Yarn Does a Free Crochet Spider Pattern Take?
The video does not say, and none of the flat-spider counts give a yardage, so we have no verified figure. What we can report is the designer figure for a different, stuffed spider: the Jelly Bean Spider uses about 25 yd of super bulky yarn. Do not carry that number over, because it is a different shape and a different yarn. Use a leftover ball and you will not run short.
Five More Free Crochet Spider Patterns
These five are free on the designers’ own pages. None of the written instructions are copied here.
- No Sew Scraptacular Spider by StringyDingDing: about 3 in long, 4 mm hook, medium yarn, joined while making the 8 legs, so no sewing.
- Spider Amigurumi by StringyDingDing: 8 in long, 4 mm hook, medium yarn, 43 rounds, a big plush spider.
- Free Crochet Spider Pattern by Cuddly Stitches Craft: 6 in long and 7.5 in wide, 2.5 mm hook, sport yarn, beginner friendly.
- Jelly Bean Spider by Darling Maple Designs: 5.0 mm hook, super bulky yarn, part of a no-sew amigurumi series.
- Spider Amigurumi by AmiguWorld: 3.0 mm hook, a small keychain-style spider with 8 separate legs.
These pages are free, but they carry ads and some load slowly, so give them a moment.
Free Crochet Spider Pattern FAQ
Is this free crochet spider pattern good for beginners?
Yes. This free crochet spider pattern uses only single crochet, slip stitch and chain, and there is no stuffing or sewing. The legs take patience, but every leg is the same three moves.
What hook and yarn does the free crochet spider pattern use?
A 4 mm hook and medium weight acrylic yarn, category 4. A thinner yarn with a smaller hook gives a smaller spider.
How big is the finished crochet spider?
About 12 cm wide and 13 cm long, or roughly 4.7 by 5.1 in, leg tip to leg tip.
Does the crochet spider need eyes or stuffing?
No. It is a flat spider, so it has no eyes and no stuffing. The two fangs are chained into the body.
How do I stop the crochet spider curling?
Shape it on a table, then brush the legs with a little craft glue mixed with water and let it dry flat.
How do I hang a crochet spider?
Keep the long starting tail, pull it through the middle of the body with the hook, and knot it. The thread becomes the web line.
Where to Go Next
Halloween is short, so after this free crochet spider pattern plan a few more small makes. Try the Halloween granny squares, the pumpkin granny square or the wheat stitch pumpkin. For carrying the treats home, browse the free crochet bag patterns, or see every pattern in the free patterns category.
Sources
- Craft Yarn Council yarn weight system
- No Sew Scraptacular Spider, StringyDingDing
- Spider Amigurumi, StringyDingDing
- Free Crochet Spider Pattern, Cuddly Stitches Craft
- Jelly Bean Spider, Darling Maple Designs
- Spider Amigurumi, AmiguWorld
Video credit: The steps in this guide are retold in our own words from the video tutorial Arañas a Crochet Fáciles y Rápidas by EmiCrochet on YouTube, and the step photos are frames from that video. Watch it for the full demonstration and support the creator. We did not make the spider ourselves for this article.