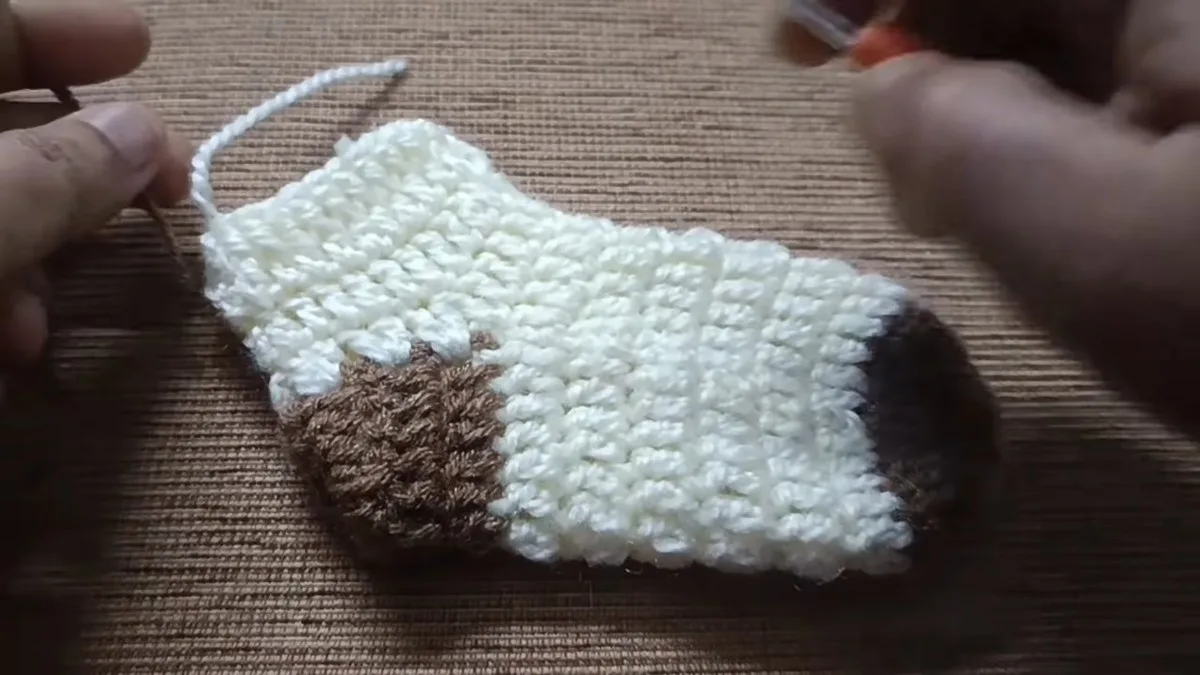
Crochet Baby Socks: Easy Gift to Make for 0-3 Months
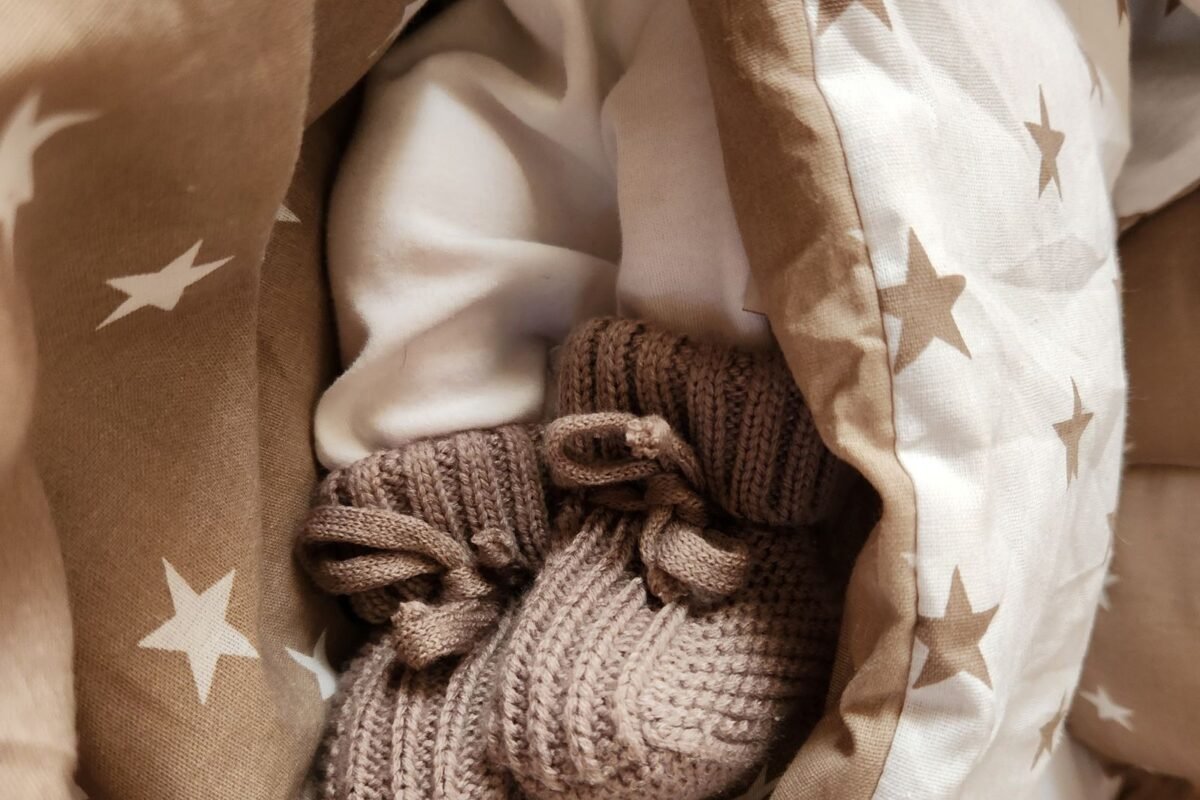
A pair of crochet baby socks for a newborn starts as a flat brown disc for the toe, grows into a cream tube for the foot, and ends with a heel patch and a ribbed cuff. This guide walks through all 18 steps with a photo for each, explains what the printed counts mean, and says plainly where the pattern leaves a gap, so you can make the socks without guessing.
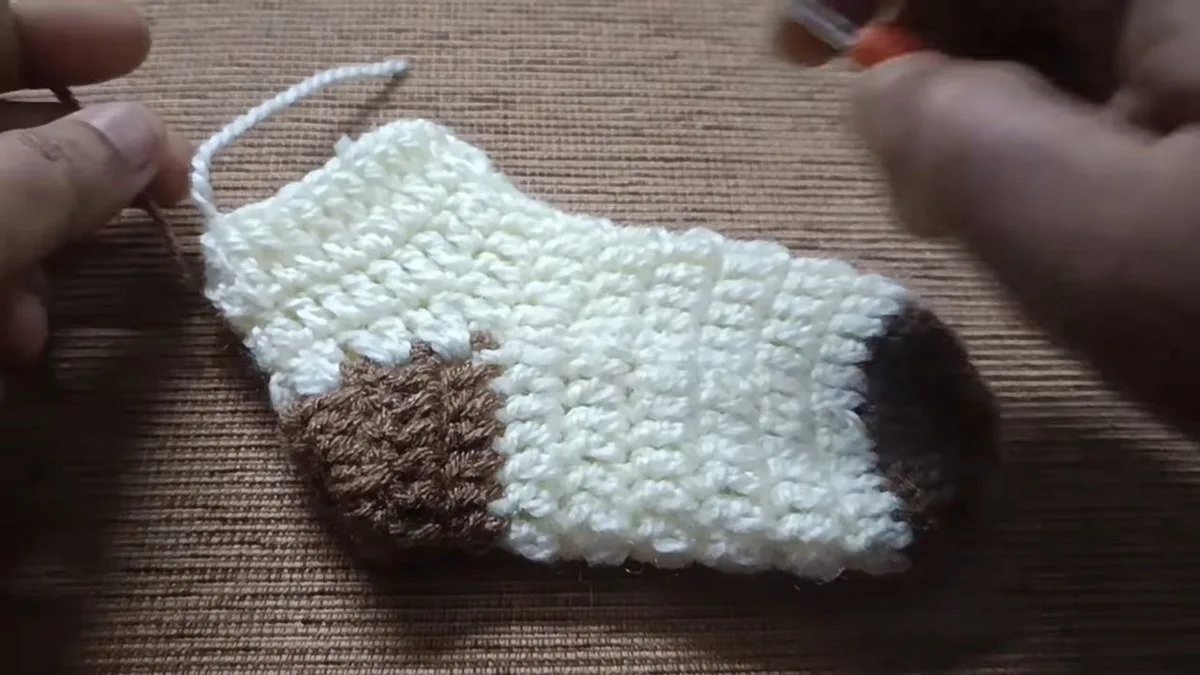
What you are making: the design is a toe-up sock in two colours, sized for babies from birth to 3 months. Everything below is worked with a 2.5 mm hook, the size the creator prints. The creator names no yarn, no yarn weight and no yardage, and gives no measurements for the finished sock, so we have not invented any. Where a number is ours, we label it as ours.
Honest note on the pattern: the design gives short stitch labels, not full written rows. We turn each label into a plain step and say when we are reading it ourselves. Because we have not crocheted this pair, make the toe disc and the first tube round before you commit to a whole pair of crochet baby socks.
- Crochet Baby Socks at a Glance
- Two Ways to Name the Stitches
- What You Need for Crochet Baby Socks
- Crochet Baby Socks Size and Fit
- Crochet Baby Socks: Step by Step
- Where Crochet Baby Socks Go Wrong
- Safety for Crochet Baby Socks
- Four More Free Crochet Baby Socks Patterns
- Crochet Baby Socks FAQ
- More Baby Makes to Crochet After the Socks
Crochet Baby Socks at a Glance
The construction is simple to describe. You make a small flat disc, work rounds of 24 stitches on top of it to form the foot, add a flat brown strip for the heel, fold it, and finish with a ribbed cuff. Here is each part as the creator labels it.
| Part | Printed label | What it means |
|---|---|---|
| Toe, round 1 | magic ring; ch 3 + 12 dc | 12 double crochets into a magic ring |
| Toe, round 2 | ch 2 + 2dc all stitches | 2 double crochets in every stitch, so 12 becomes 24 |
| Foot | 3 ch + 1dc same stitch + dc all stitches; ch 2 + repeat pattern (24 stitches) | rounds of 24 stitches in cream |
| Heel patch | 3ch + 12 dc stitches; repeat pattern; fold the pattern; 5 sc | a flat brown strip, folded and joined with single crochet |
| Heel shaping | 3 ch + 2dc + 2dc + hdc; 11 dc; hdc + 2dc + 2dc + slst | a shaped section of double and half double crochets |
| Leg and cuff | 3 row; 3ch + front 1 dc all stitches; 1 sc all stitches | plain rows, a ribbed round, then a single crochet edge |
Stitch multiple: the two toe rounds hold 36 stitches in all (12 plus 24), and every foot round has 24 stitches, which is a stitch multiple of 12 on the toe disc (12, then 24). If you change hook or yarn, keep the round a multiple of 12 and the disc will still lie flat. The creator prints no row counts for the foot or leg, so count your own rounds against the length of your baby’s foot (see the size section).
Two Ways to Name the Stitches
The labels use short forms: dc, hdc, sc and slst. In the naming convention used in this guide, a double crochet has a yarn over before you insert the hook, a half double crochet has a single yarn over pulled through three loops, and a single crochet has no yarn over. In other conventions a double crochet is called a treble and a single crochet is called a double, so check which one your pattern uses before you begin your crochet baby socks.
| Label | What you do | Called in other conventions |
|---|---|---|
| ch | Yarn over and pull through the loop on the hook | Same |
| slst | Insert the hook, yarn over and pull through stitch and loop | Same |
| sc | Insert, yarn over, pull up a loop, yarn over and pull through 2 loops | Double crochet |
| hdc | Yarn over, insert, pull up a loop, yarn over and pull through all 3 loops | Half treble |
| dc | Yarn over, insert, pull up a loop, then yarn over and pull through 2 loops twice | Treble |
The creator writes every label in this short form and does not mix conventions, so follow the stitch descriptions here and your crochet baby socks will match the photos. If a stitch looks too tall or too short, you are probably working the wrong convention.
What You Need for Crochet Baby Socks
The kit for crochet baby socks is small: two colours of soft yarn, a small hook, scissors and a yarn needle for the ends. The creator uses a cream yarn for most of the sock and a brown for the toe and the heel patch.
| Item | What to use |
|---|---|
| Hook | 2.5 mm (printed by the creator) |
| Yarn | Soft cream and brown yarn; brand, weight and yardage are not printed, so choose a soft baby yarn that suits a 2.5 mm hook |
| Tools | Scissors and a yarn needle for the tails |
| Size | 0 to 3 months (the only size shown) |
| Skill level | Comfortable beginner: magic ring, double crochet, half double crochet, single crochet, slip stitch |
Hook note: the Craft Yarn Council puts a 2.25 to 3.5 mm hook with fingering weight yarn, so a 2.5 mm hook points to a thin yarn. The creator prints no yarn weight. Three designers who do print a hook for newborn socks use bigger ones: Oombawka 3.75 mm with DK yarn, Crochet ‘n’ Create 3.5 mm with sport weight yarn and Adorecrea 3 mm. If your sock comes out stiff or too small, go up a hook size rather than changing the stitch count.
Yardage, honestly: none of the four designers we read prints the yarn a pair needs. A newborn sock is tiny, so a single small ball is usually plenty, but we will not give a figure we cannot source. Buy one ball of each colour and keep the receipt.
Crochet Baby Socks Size and Fit
The creator shows one size, 0 to 3 months, and prints no length or width. To help you check fit, here is what three designers print for the same age range, and a table of our own that links stitches per inch to the width of the 24-stitch tube.
| Designer | 0 to 3 months size as printed |
|---|---|
| Oombawka Design Crochet | about 3.25 in (8.25 cm) long and 2 in wide |
| Crochet ‘n’ Create | sole length 3.5 in |
| Adorecrea | foot 9.5 cm, full length 16 cm |
Our own table: a tube of 24 stitches lies flat at half its stitch count across. At 5 stitches per inch that is 2.4 in wide, at 6 stitches per inch it is 2.0 in, and at 7 stitches per inch it is 1.7 in. The 6 stitches per inch row matches the 2 in flat width Oombawka prints for a newborn sock. This is our arithmetic, not a tested gauge: make the toe disc and measure it before you work a whole sock.
| Stitches per inch | Flat width of a 24-stitch tube | Fits |
|---|---|---|
| 5 | 2.4 in | a little loose for a newborn; fine for a growing baby |
| 6 | 2.0 in | matches the newborn width Oombawka prints |
| 7 | 1.7 in | snug; keep for very small feet |
A stitch-per-inch check takes a minute: crochet the toe disc, measure across it, and compare. If the disc is wider than about 2 in, your crochet baby socks will be loose, and a smaller hook is the fix.
Crochet Baby Socks: Step by Step
Work every step of these crochet baby socks with the 2.5 mm hook. Steps 1 to 5 make the brown toe disc, steps 6 to 9 build the cream foot, steps 10 to 12 add the heel patch, steps 13 to 16 shape the heel and leg, and steps 17 and 18 finish the cuff and the edge.
Step 1: Gather the hook and the yarn
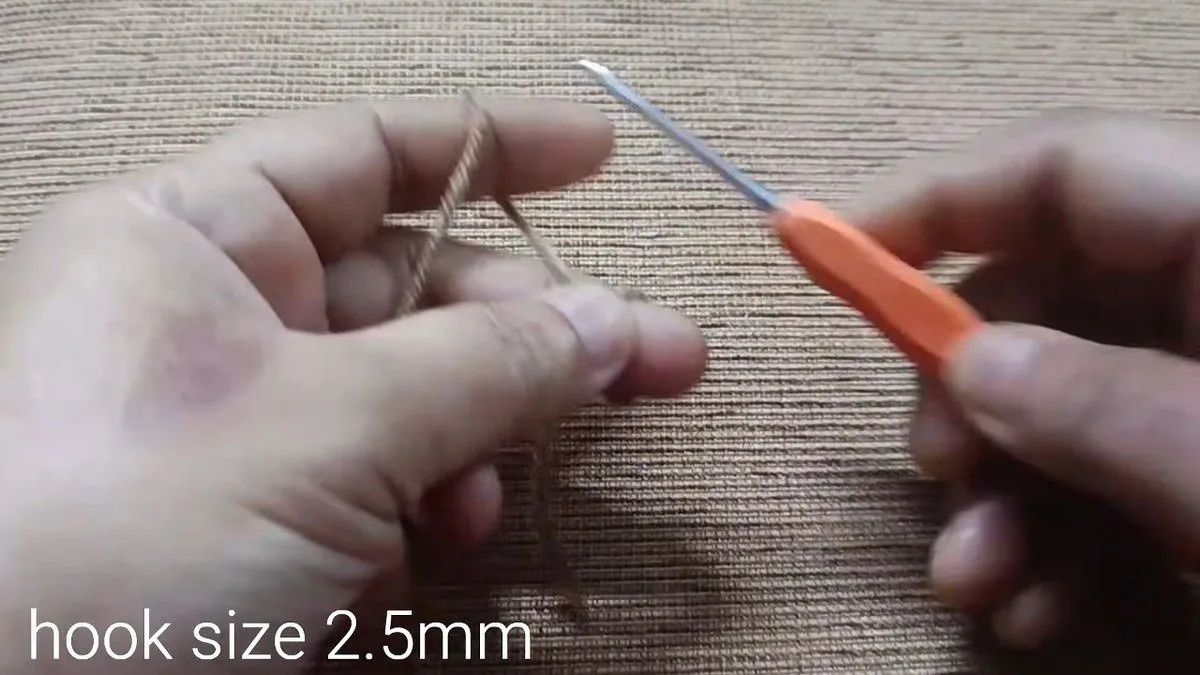
Pick up the 2.5 mm hook and the brown yarn. The brown is for the toe disc and later for the heel patch, and the cream takes over after the toe. Keep both colours and the scissors in reach.
Step 2: Make a magic ring
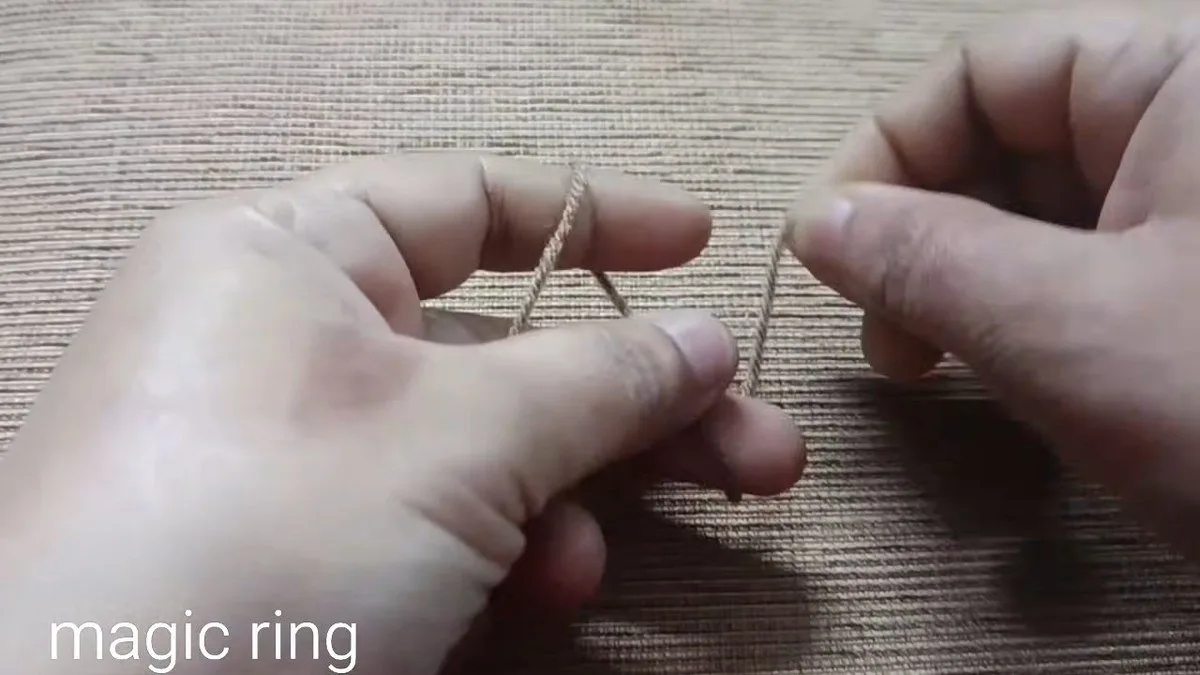
Form a magic ring, the adjustable loop that closes the middle of a flat disc. Leave a tail of a few inches and hold the ring between your finger and thumb. The printed label reads simply magic ring.
Step 3: Round 1: chain 3 and 12 double crochets
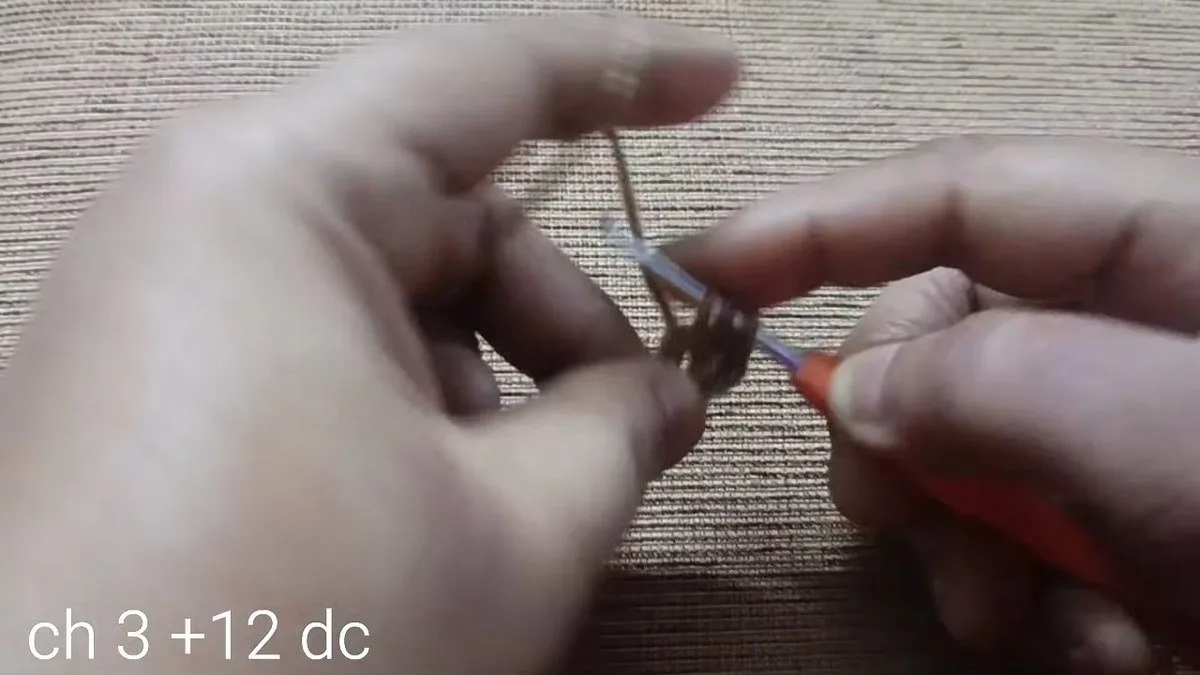
Chain 3, then work 12 double crochets into the ring. The label reads ch 3 + 12 dc. By our count the chain 3 stands in for a stitch, so check that you finish with 12 stitches around, then pull the tail to close the centre.
Step 4: Round 2: two double crochets in every stitch
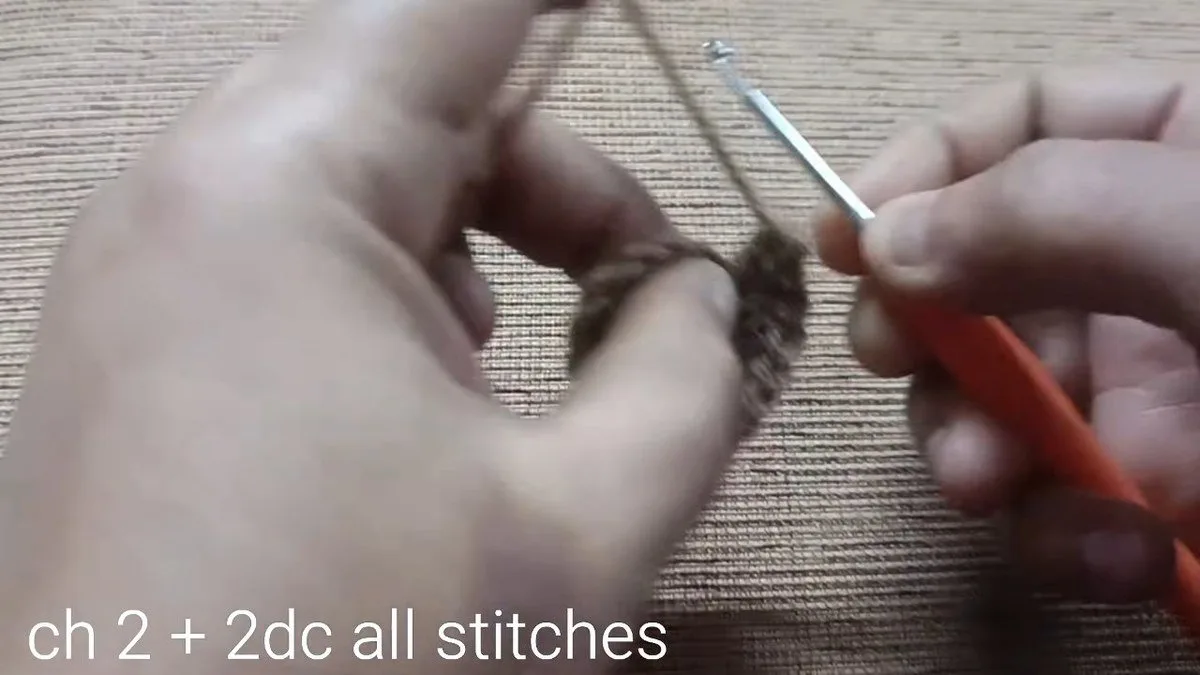
Slip stitch to join round 1, then chain 2 and work 2 double crochets in every stitch around. That doubles the 12 stitches to 24, which is why the disc lies flat. The label reads ch 2 + 2dc all stitches.
Step 5: Finish the toe disc
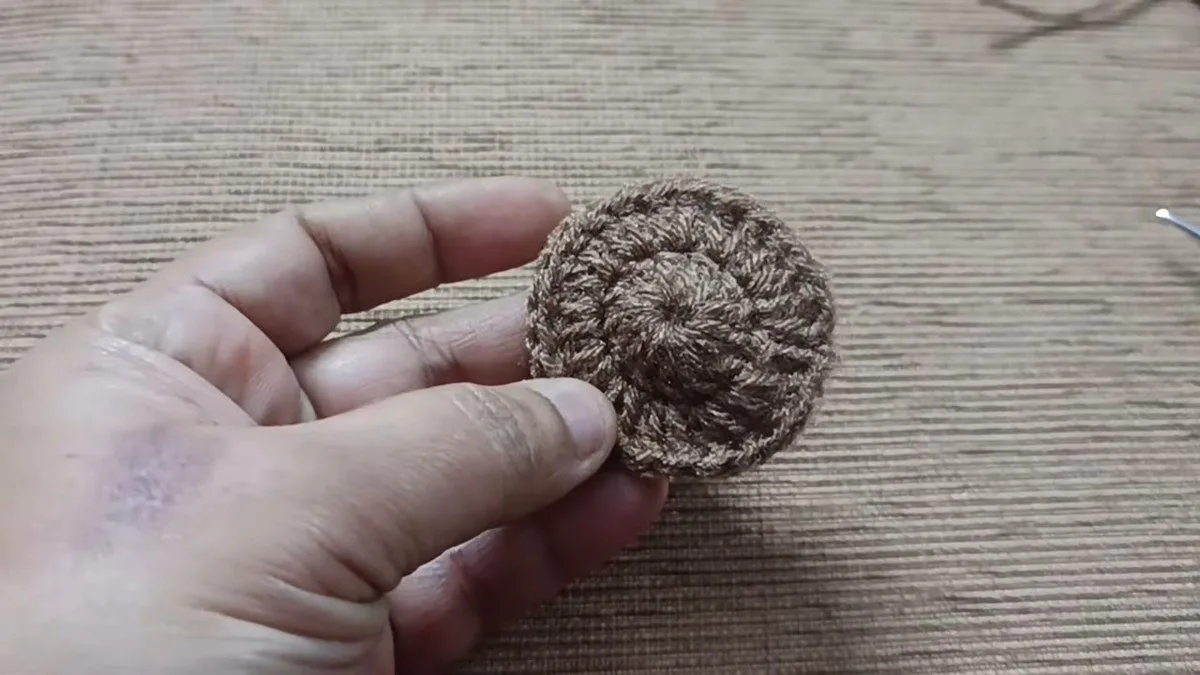
Slip stitch to close the round and fasten off the brown. You now hold a small flat disc of 24 stitches, about the size of a coin. This disc is the very tip of the sock.
Step 6: Join the cream yarn for round 3
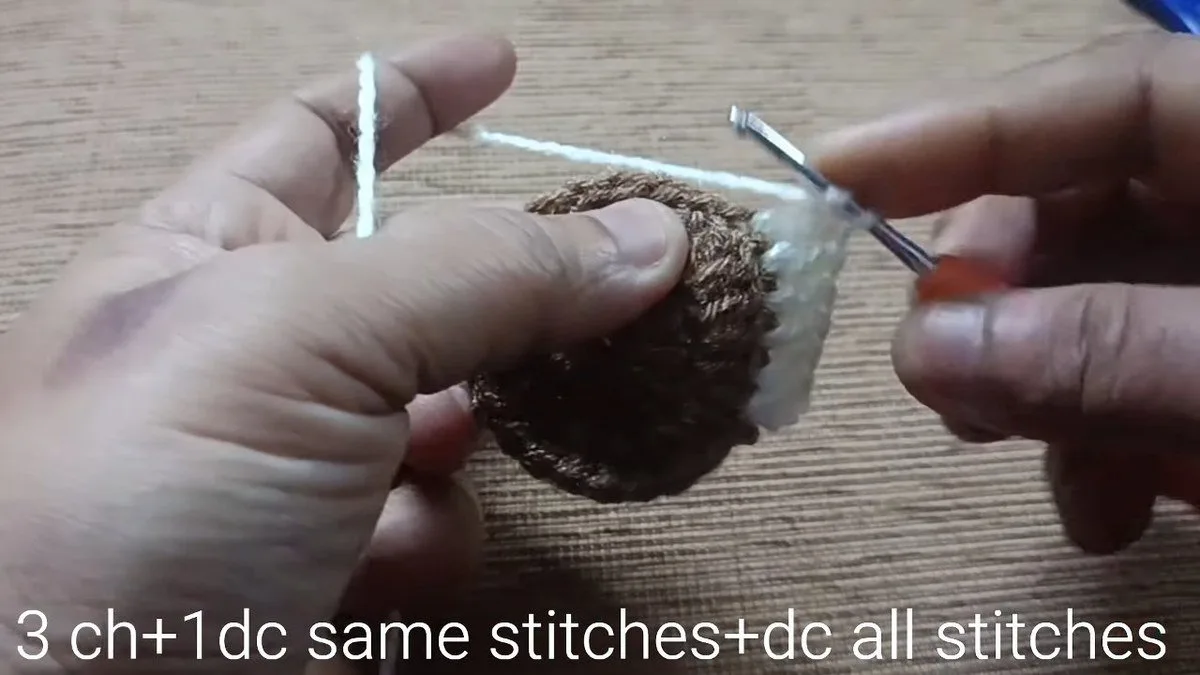
Join the cream yarn to the edge of the disc. The label reads 3 ch + 1dc same stitch + dc all stitches. Our reading: chain 3, one more double crochet in the same stitch, then a double crochet in every stitch. That reading gives 25 stitches, while the next label says 24, so count after this round and adjust the first stitch if needed.
Step 7: Work rounds of 24 stitches
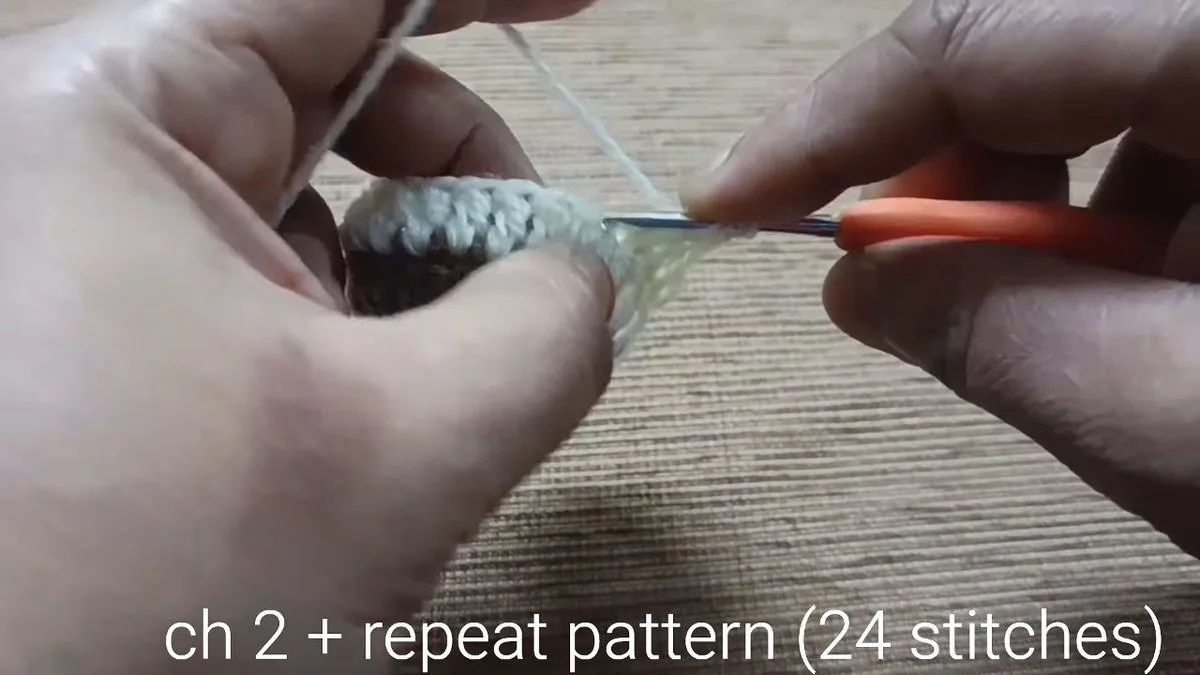
From here the label reads ch 2 + repeat pattern (24 stitches). Chain 2, work around in double crochets, slip stitch to join, and repeat. The tube grows with each round. The number of rounds is not printed, so stop when the foot is about as long as your baby’s foot minus the cuff.
Step 8: Close the foot tube
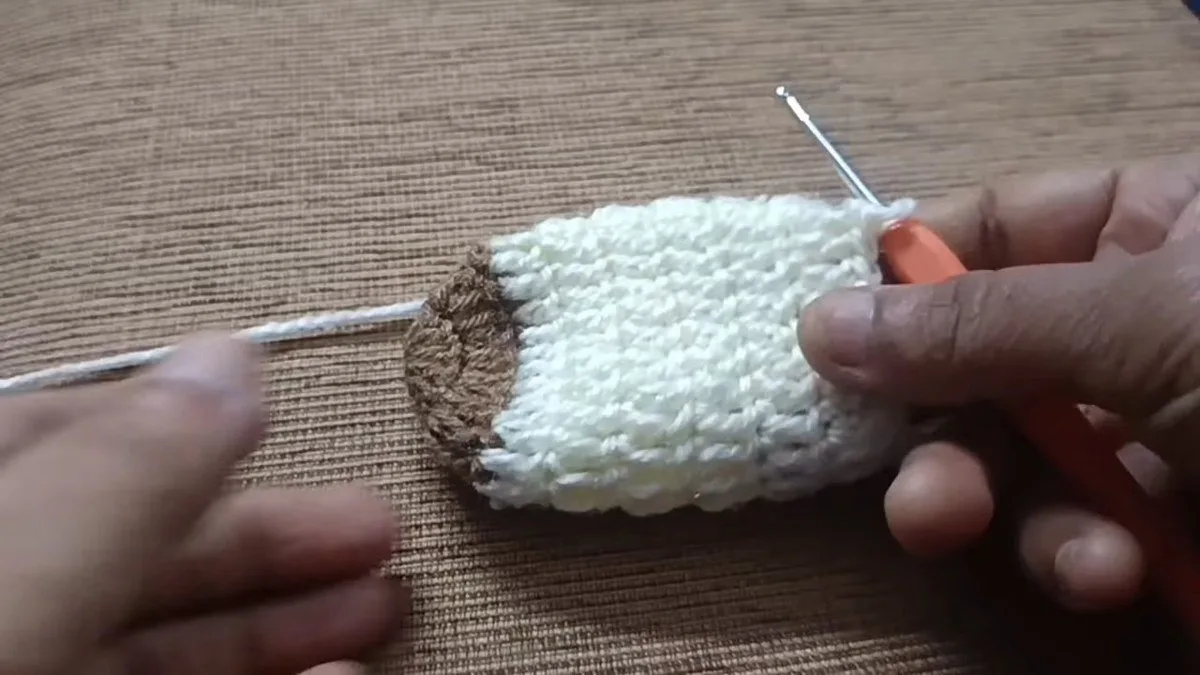
Finish the last foot round with a slip stitch. You now have a short cream tube with the brown toe at one end, shown here with the hook still in the work. Check the length against the foot you are making for.
Step 9: Work the rows of 12 double crochets
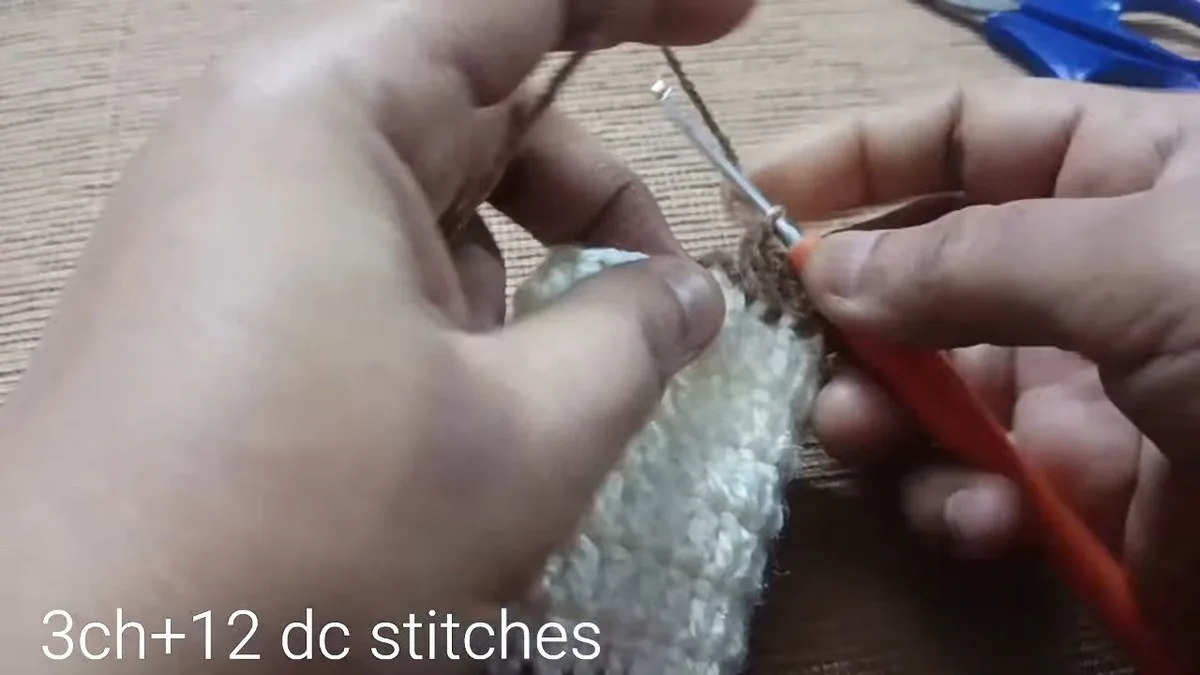
The next label reads 3ch + 12 dc stitches, and the same label stays printed through several rows. Our reading: chain 3 and double crochets over 12 stitches, which is half of the 24 in the round, repeated row after row. This is the part of the pattern with the least detail, so work a few rows, hold the piece against the foot, and keep going until it looks right.
Step 10: Add the brown strip
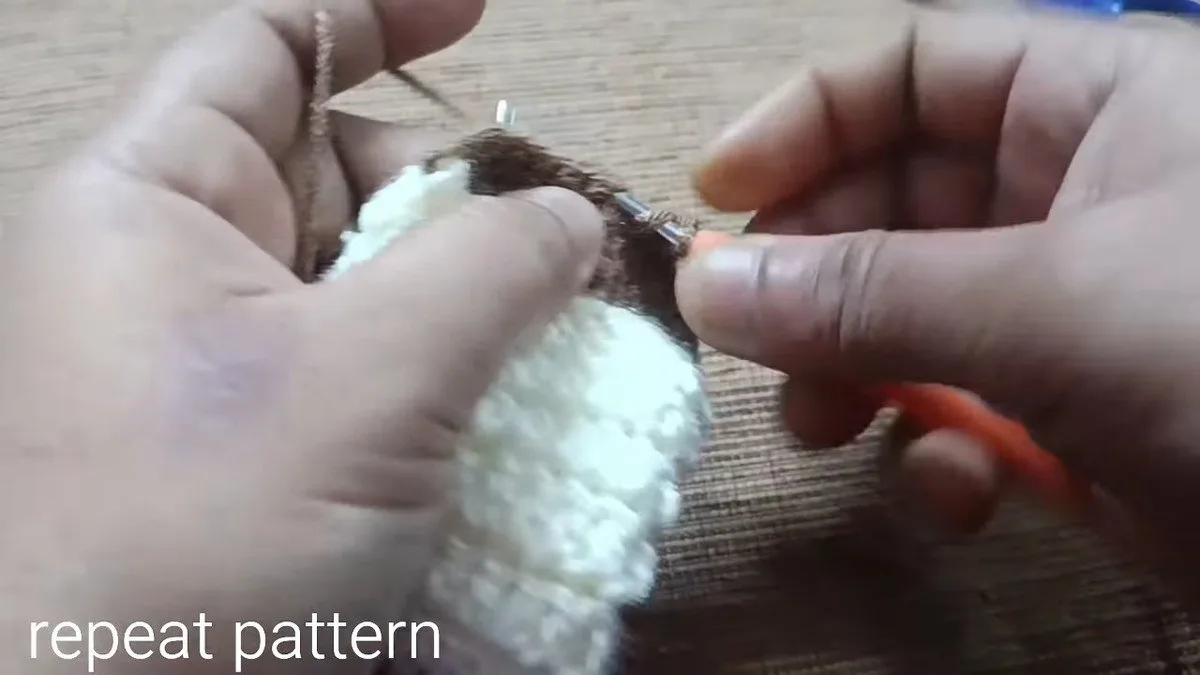
Switch to brown and repeat the pattern. The label reads repeat pattern, and the photos show a flat brown strip growing out of the cream piece. The strip becomes the heel patch.
Step 11: Fold the pattern

The label reads fold the pattern. Fold the brown strip over so that it lies against the cream and forms the shape of a heel. Hold the fold with your fingers while you work the next stitches.
Step 12: Join with 5 single crochets
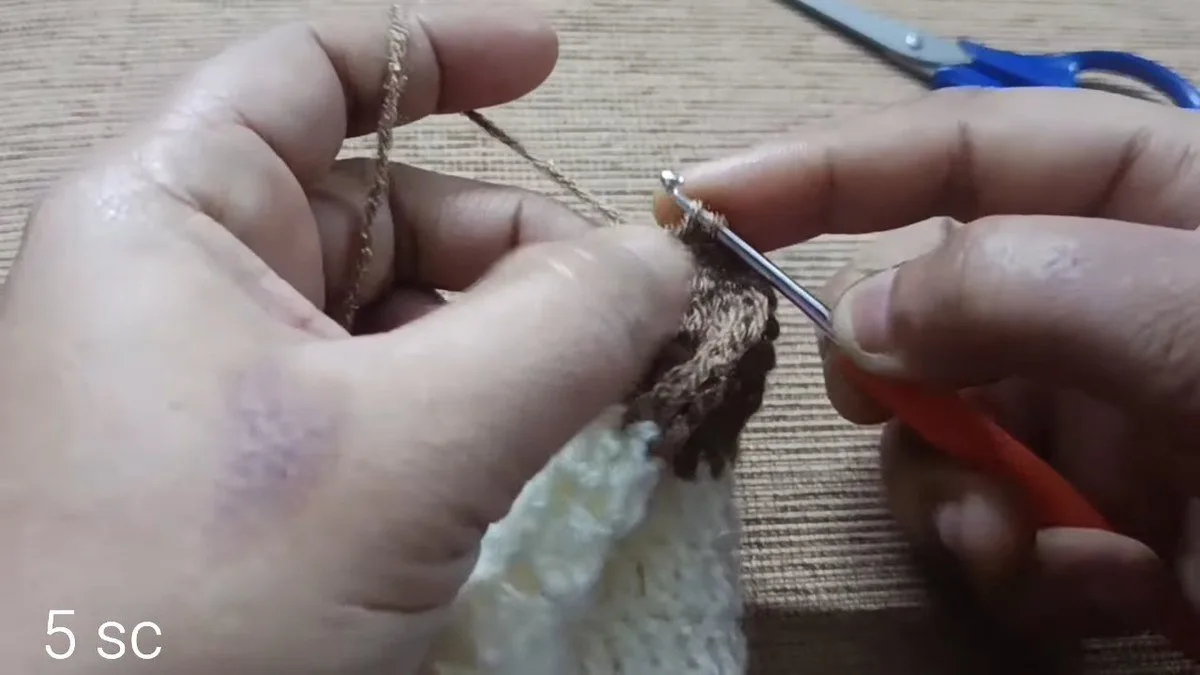
Work 5 single crochets along the folded edge, as the label says: 5 sc. The creator repeats this several times along the fold, and the stitches hold the heel patch in place.
Step 13: Start the heel shaping
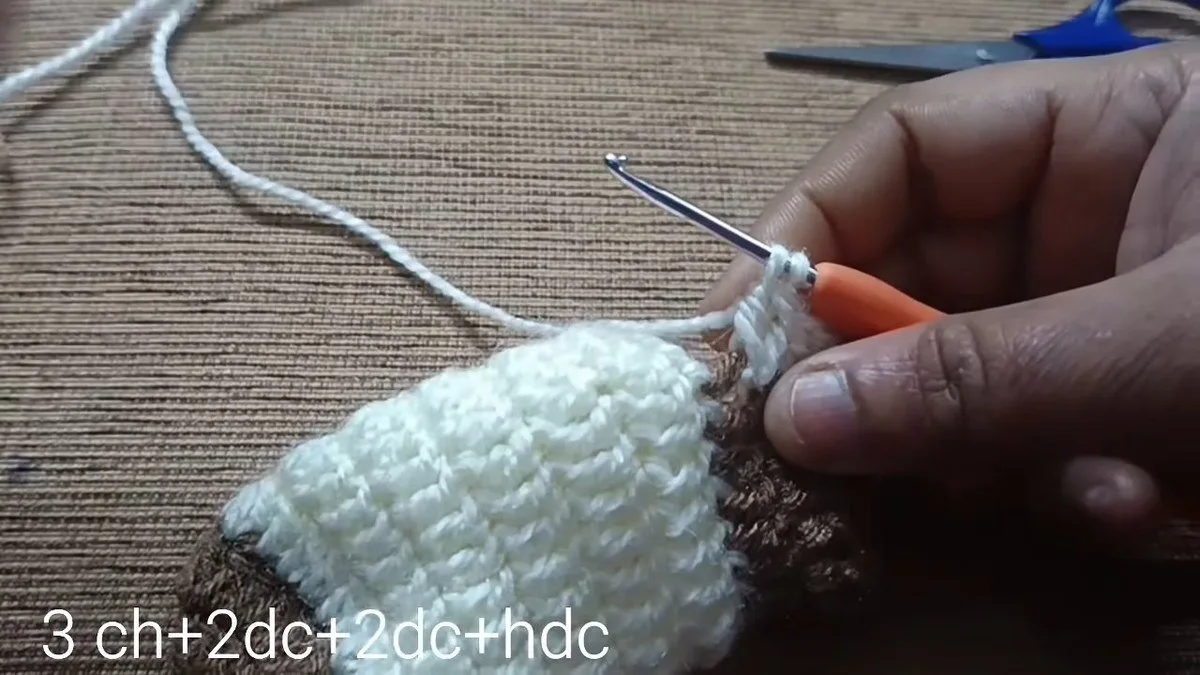
Switch back to cream. The label reads 3 ch + 2dc + 2dc + hdc, a shaped group of stitches that makes the heel curve. Work it as printed, in order, and keep the stitches even.
Step 14: Work 11 double crochets
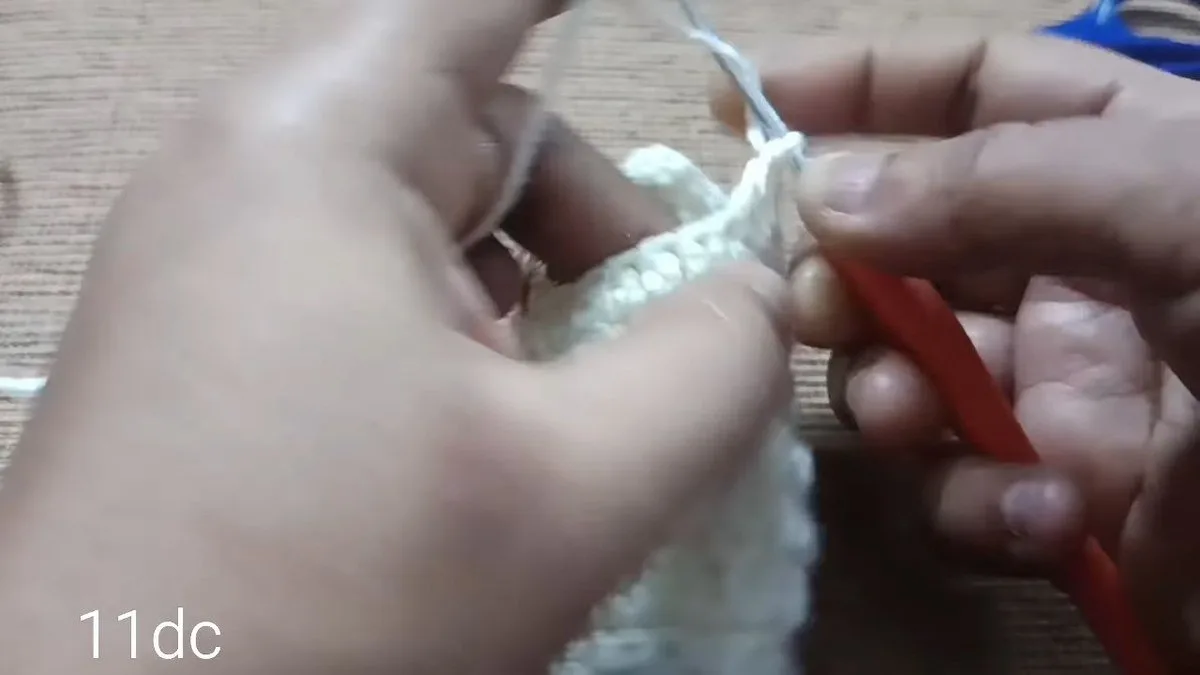
The next label reads 11 dc. Work 11 double crochets across, one in each stitch, and count them as you go. A miscount here is the usual reason the two socks end up different.
Step 15: Close the heel shaping
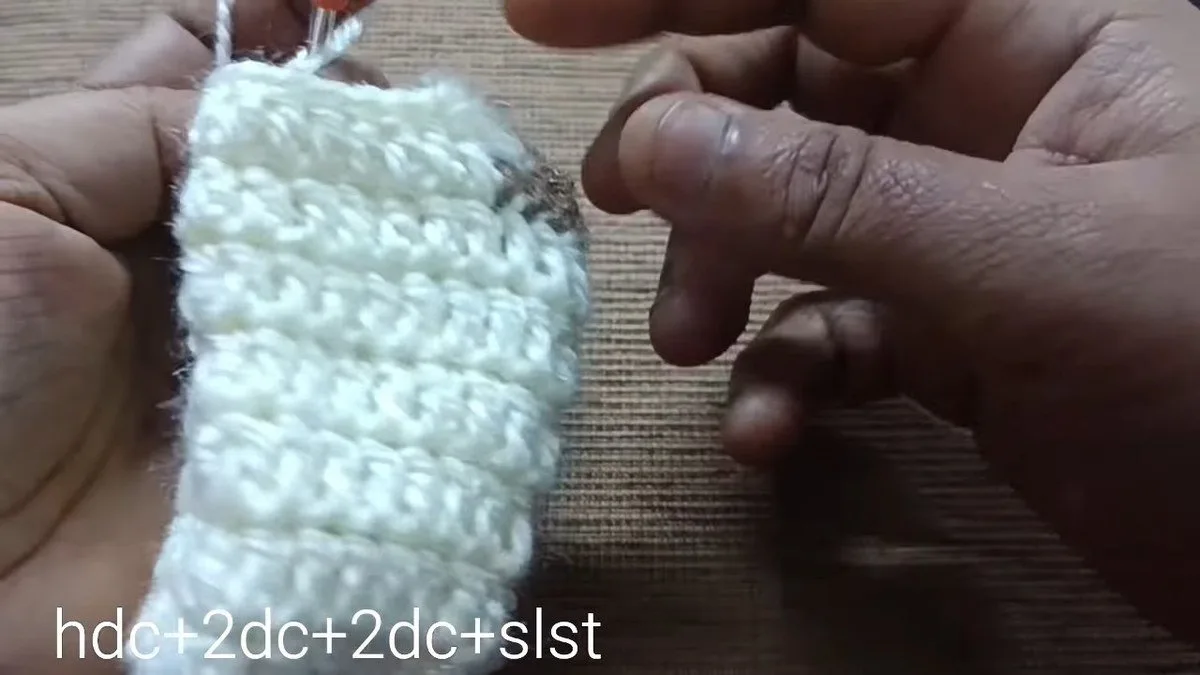
The label reads hdc + 2dc + 2dc + slst. This mirrors the start of the heel shaping and closes it with a slip stitch. The heel is now shaped, and the leg can grow above it.
Step 16: Work 3 rows for the leg
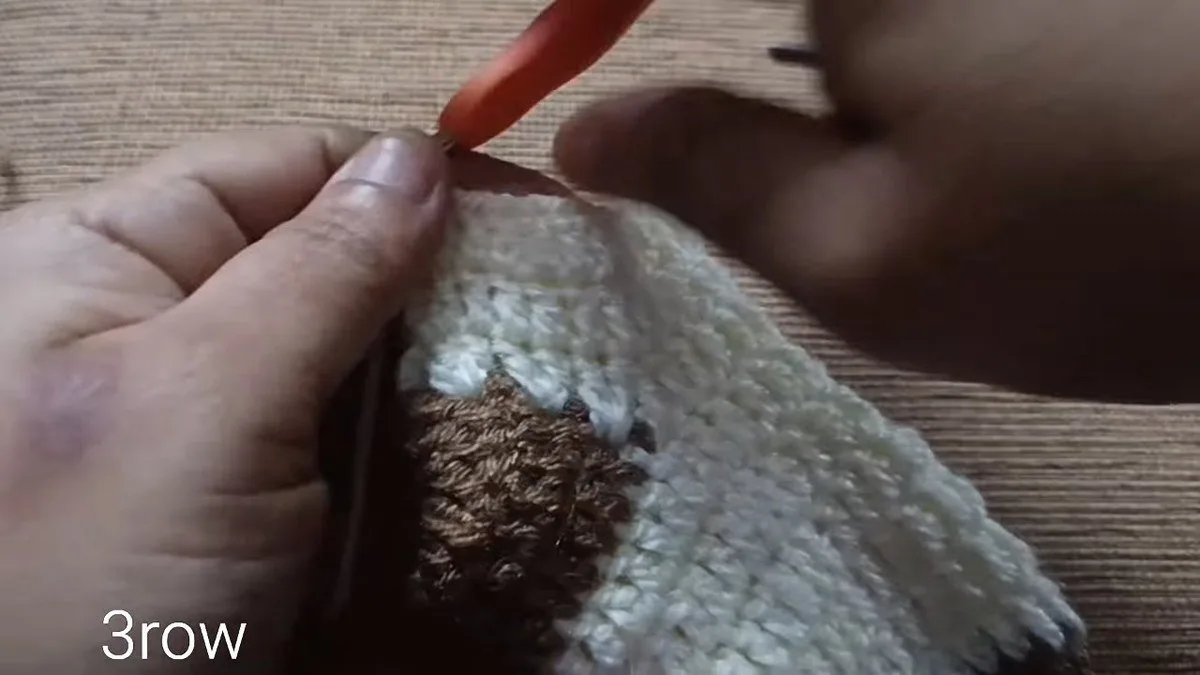
The label reads 3 row. Work 3 plain rows above the heel to start the leg. The photo shows the brown heel patch sitting at the back of the cream sock.
Step 17: Make the ribbed cuff round
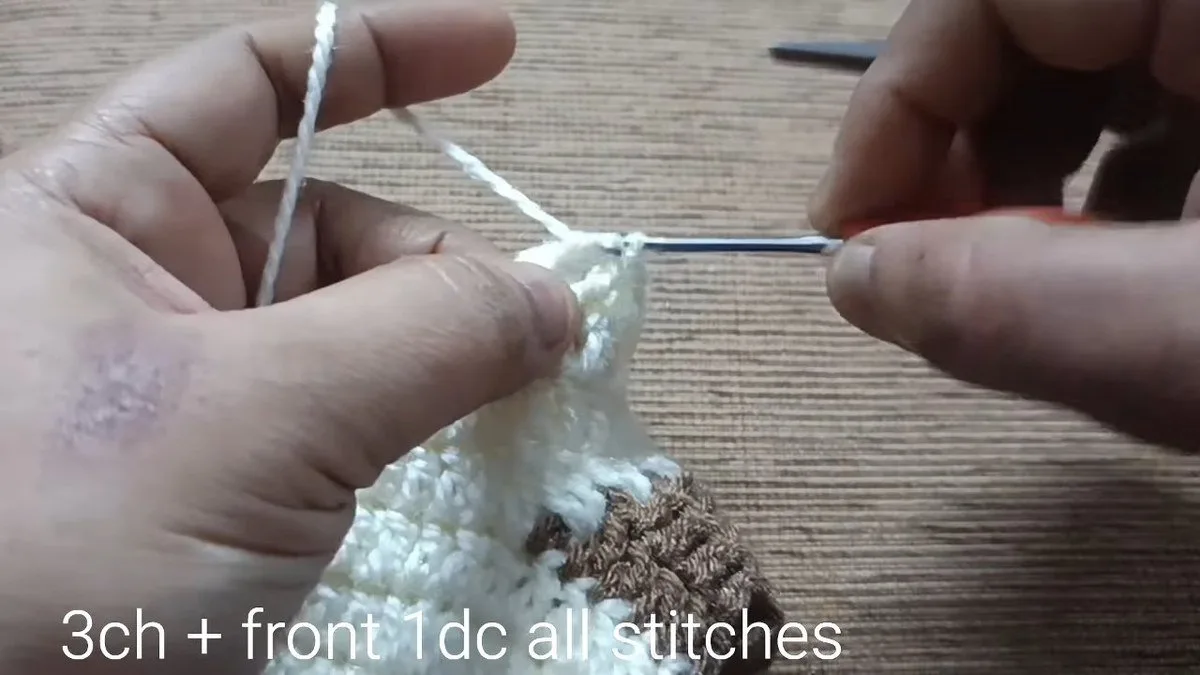
The label reads 3ch + front 1 dc all stitches. Chain 3, then work one double crochet in every stitch, worked at the front. The label does not say whether it is a post stitch, so test it on a small swatch: a front post double crochet gives the stretchy rib baby socks need.
Step 18: Finish with single crochet
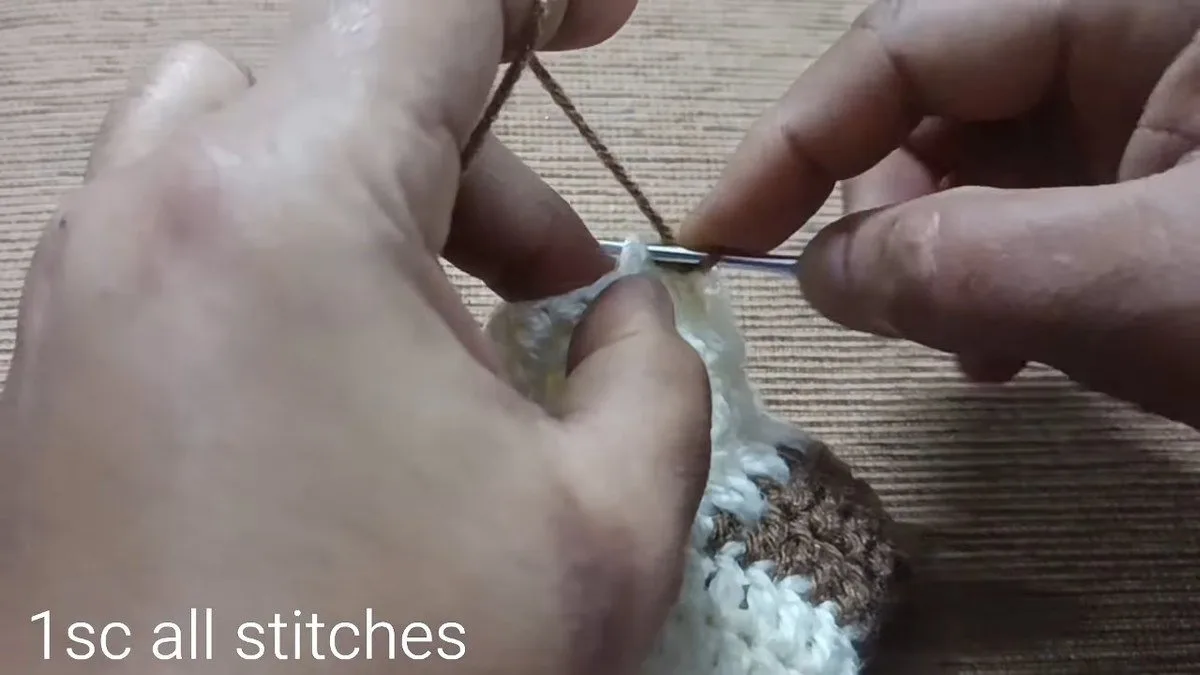
Last, work 1 single crochet in every stitch, as the label says, and slip stitch to close. A neat single crochet edge stops the cuff from curling. Fasten off, weave in the ends on the inside, and make the second sock the same way.
Where Crochet Baby Socks Go Wrong
The toe disc cups instead of lying flat
If the round 2 count is above 24, the disc ruffles, and if it is below, the disc cups. Count to 24 before you join the cream. A flat disc is what makes crochet baby socks sit properly over the toes.
The first foot round has 25 stitches
Reading the label ch 3 + 1dc in the same stitch + dc all stitches literally gives one stitch too many. Count after round 3. If you have 25, skip the extra double crochet in the first stitch and carry on in rounds of 24.
The two socks are different lengths
No row count is printed for the foot or the leg, so the socks only match if you count. Write down how many rounds you make on sock one, and copy it on sock two. Matching crochet baby socks are mostly a matter of keeping a tally.
The heel patch puckers
A folded strip puckers when the stitches along the fold are tight. Work the 5 sc loosely, and check that the fold lies flat before you move on to the heel shaping.
Safety for Crochet Baby Socks
Babies put everything in their mouths, so crochet baby socks should have nothing that can come off. The Consumer Product Safety Commission recalled a brand of baby socks because the flowers and bows on them could detach, which is a choking hazard. This design has no decoration, so keep it that way: no buttons, beads or sewn-on flowers.
Loose yarn is the other risk. The HealthyChildren.org toe injury page lists hair wrapped around a toe, the toe tourniquet, among the causes of a swollen or discoloured baby toe. That page does not mention yarn, but it is our view that long loose ends inside a sock can do the same job, so weave in every tail firmly and check the inside of each sock before you put it on.
Four More Free Crochet Baby Socks Patterns
These are four other free patterns we read for the 0 to 3 month size. We list only what each page prints, and say what is missing.
| Pattern | Yarn and hook | Printed size | Printed yarn |
|---|---|---|---|
| Little Baby Socks (Oombawka Design Crochet) | DK weight; 3.75 mm | about 3.25 in long x 2 in wide | not printed per pair |
| Baby Socks (Crochet ‘n’ Create) | sport weight 4ply; 3.5 mm | sole 3.5 in | not printed |
| Free Crochet Baby Girls Socks (Crochet ‘n’ Create) | sport weight 4ply; 3.5 mm | sole 3.5 in | not printed |
| Crochet Baby Socks (Adorecrea) | Drops Baby Merino; 3 mm | foot 9.5 cm, full length 16 cm | not printed |
What the four pages leave out: none prints a gauge or a yardage for a pair. Two are worked from the toe up, like the design in this guide, and two are worked from the cuff down, so you can pick the direction you find easier. The Adorecrea page covers only the 0 to 3 month size for free.
Crochet Baby Socks FAQ
How do you make crochet baby socks?
Make a flat toe disc, build the foot in rounds of 24 stitches, add a folded heel patch, shape the heel, and finish with a leg and a ribbed cuff. The design here is sized for 0 to 3 months and uses a 2.5 mm hook.
What size hook is best for crochet baby socks?
The creator uses 2.5 mm. Designers who print a hook for newborn socks use 3 to 3.75 mm, so go up a size if your fabric feels stiff. Swatch the toe disc first.
How long should crochet baby socks be for a newborn?
Three designers print 3.25 in, 3.5 in and 9.5 cm for the 0 to 3 month foot. The design here prints no length, so measure your baby’s foot or use those figures as a guide.
What yarn is best for crochet baby socks?
Choose a soft baby yarn that suits a 2.5 mm hook. The creator prints no yarn name or weight, and a 2.5 mm hook points to a thin yarn. A soft wool-free or washable yarn is gentler on small feet.
Are crochet baby socks safe for newborns?
Yes, if they are plain. Avoid buttons and sewn-on flowers, which can detach, and weave in every tail so loose yarn cannot wrap around a toe.
Can a beginner crochet baby socks?
Yes, if you can make a magic ring and work double crochet, half double crochet and single crochet. The unclear parts are the rows of 12 double crochets and the cuff rib, so swatch them before the real sock.
More Baby Makes to Crochet After the Socks
Once the crochet baby socks are done, keep the set going with a crochet baby hat in the same colours, a crochet baby cardigan for the bigger gift, or a pair of free crochet baby shoes for a different look on the feet. Browse all baby clothes patterns on the site.
Sources
- Oombawka Design Crochet, Little Baby Socks
- Crochet ‘n’ Create, Baby Socks
- Crochet ‘n’ Create, Free Crochet Baby Girls Socks
- Adorecrea, Crochet Baby Socks
- Craft Yarn Council, yarn weight system
- CPSC, Baby Socks Recalled by Trumpette
- HealthyChildren.org, toe injury symptom checker
Pattern credit: this sock design is by the crochet channel Knotty and Nice.