Free Crochet Fingerless Gloves Pattern: 18 Easy Steps
This free crochet fingerless gloves pattern makes a close-fitting pair of crochet fingerless gloves with a ribbed cuff, a shaped hand and a real thumb hole, worked in double crochet rounds on a 2.5 mm hook. It is a fast project, the designer calls it a one-evening make, and it is written out below from the first chain to the last thumb round.
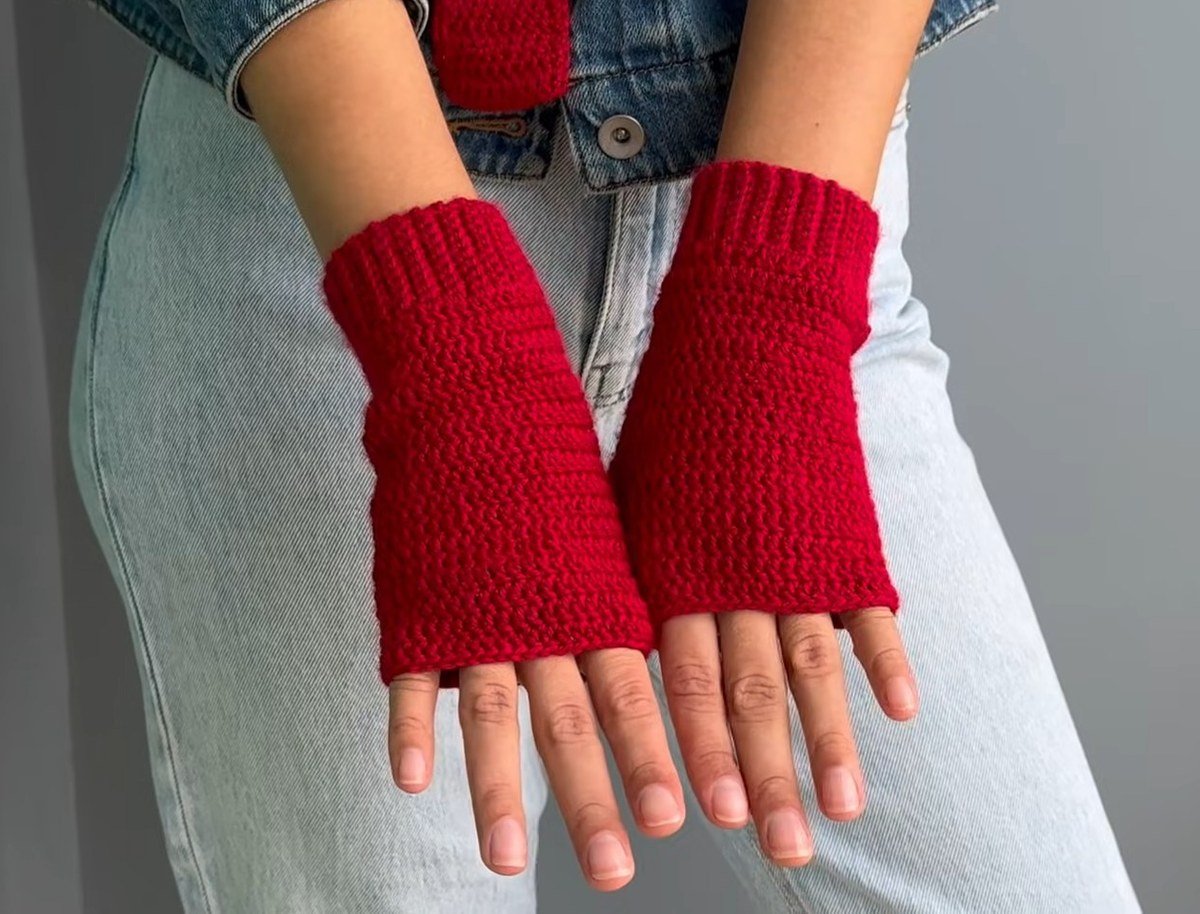
You get the whole free crochet fingerless gloves pattern in 18 photo steps, then a stitch-count plan, the four places it goes wrong, the hook and yarn question, and five more free fingerless glove patterns to compare. Left and right gloves are not the same, so the last two steps show how to mirror the pair.
One note before you start: this free crochet fingerless gloves pattern lists a hook, a yarn amount and every stitch count, but no gauge and no glove size in centimetres. We don’t invent them. Where a number is missing we say so, and where two counts disagree we show the sum.
- What you need
- Stitches and abbreviations
- The plan at a glance
- Step by step
- Where it goes wrong
- Hook, yarn and fit
- Five more free crochet fingerless gloves patterns
- FAQ
- Where to go next
- Sources
What You Need for This Free Crochet Fingerless Gloves Pattern
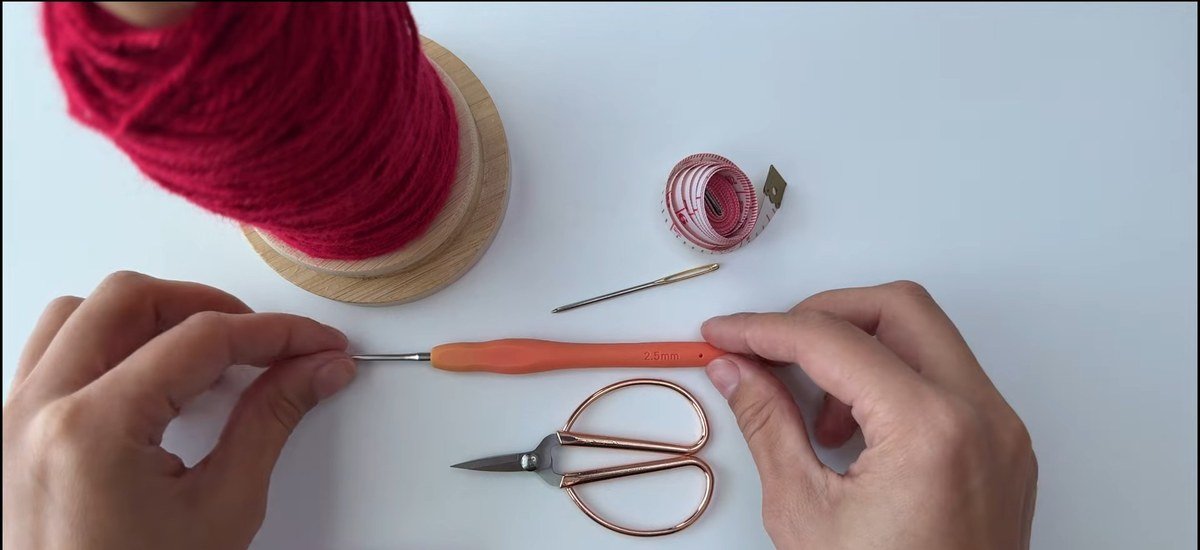
The free crochet fingerless gloves pattern needs one ball of yarn, a small hook, a tape measure and a yarn needle. The yarn shown is a red acrylic labelled Nm 2.5, and the designer lists 100 g / 250 m (about 273 yd) of yarn and a 2.5 mm hook.
| Item | What to use |
|---|---|
| Yarn | About 100 g / 250 m (273 yd), the amount the designer lists. The label shown reads Nm 2.5 and suggests a 3 mm hook |
| Hook | 2.5 mm. The designer went half a size under the label because it makes the stitches neater and a bit tighter |
| Tools | Scissors, a tape measure and a yarn needle |
| Cuff | 10 stitches wide and 43 rows long, about 15 cm / 6 in, worked flat and seamed into a ring |
| Body | Double crochet in the round: 41 stitches, growing by 1 a round, then a thumb hole |
| Extra | A swatch first, because the pattern gives no gauge |
The Stitches Behind Crochet Fingerless Gloves
This free crochet fingerless gloves pattern uses only a handful of stitches. Crochet has two naming conventions, so we give both and you never work the wrong stitch.
| Abbreviation | Name used here | Other naming convention |
|---|---|---|
| ch | Chain | Chain |
| sl st | Slip stitch | Slip stitch |
| sc | Single crochet | Double crochet |
| dc | Double crochet (yarn over, insert, pull up a loop, pull through 2, pull through 2) | Treble crochet |
| inc | Increase: 2 dc in the same stitch | Same |
| dc2tog | Decrease: 2 dc worked together | Same |
| BLO | Back loop only | Same |
There is no stitch multiple to divide by in this pattern: the cuff is a flat 10 stitches and the body starts at 41, so you never have to fit a repeat. What matters is that the increase moves from the start of the round to the end when you make the second glove.
The Plan at a Glance
Here is the whole free crochet fingerless gloves pattern in one table. The designer’s own counts are marked as stated, and the rest are our sums.
| Part | Rows or rounds | Stitches | Source of the number |
|---|---|---|---|
| Cuff | 43 rows, flat | 10 sc in every row | Stated |
| Body | Rows 1 to 3 | 41 dc in every round | Stated |
| Body | Rows 4 to 10 | 42, 43, 44, 45, 46, 47, 48 | Our sum: 41 plus 1 in each of 7 rounds |
| Thumb hole | Row 11 | Chain 8, skip 12 | Stated |
| Body | Rows 12 to 16 | Same count as row 11 | Stated |
| Thumb | Row 1 | 23, counting the starting chain | Stated |
| Thumb | Row 2 | 21 | Our sum: 23 minus 2 decreases |
| Thumb | Row 3 | 19 | Stated, but 21 is what the arithmetic gives |
Our own number: the ribbed cuff alone is 430 single crochet (10 stitches in each of 43 rows), before you start the body. That is the part of this free crochet fingerless gloves pattern where a row-counter earns its keep.
Step by Step: Make a Free Crochet Fingerless Gloves Pattern from Cuff to Thumb
Make the cuff flat, seam it into a ring, then work the hand in the round and finish with the thumb. Do the right glove first as written, then mirror it to finish the free crochet fingerless gloves pattern as a pair.
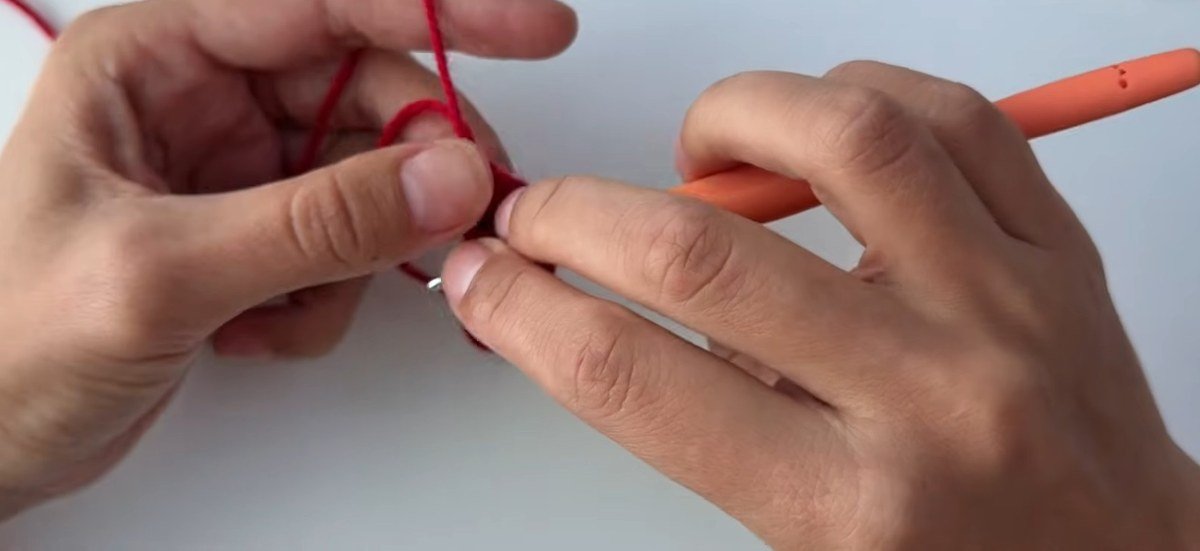
Step 1: Chain 10 and add a turning chain
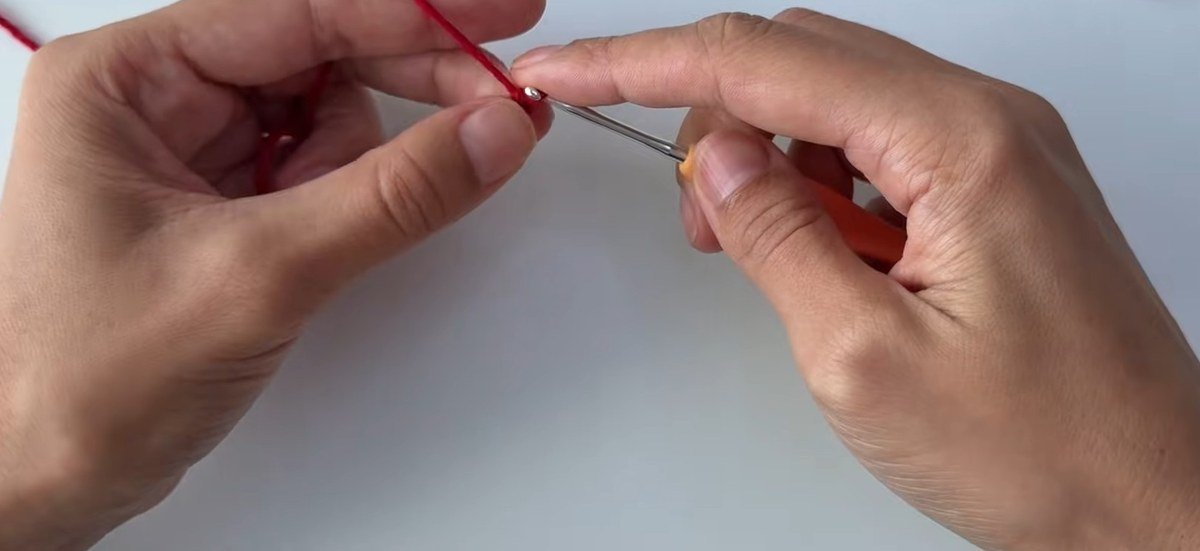
Make a slip knot, then chain 10. Add one more chain as a turning chain, so you have 11 chains on the hook. This little chain is the whole start of the ribbed cuff, and it is worth counting twice.
Step 2: Work row 1 in single crochet
Skip the first chain and insert the hook in the next one. Pull up a loop and pull through both loops on the hook for your first single crochet. Work one single crochet into each remaining chain to the end. You should have 10 stitches, then turn the work.
Step 3: Rows 2 and 3 in the back loops only
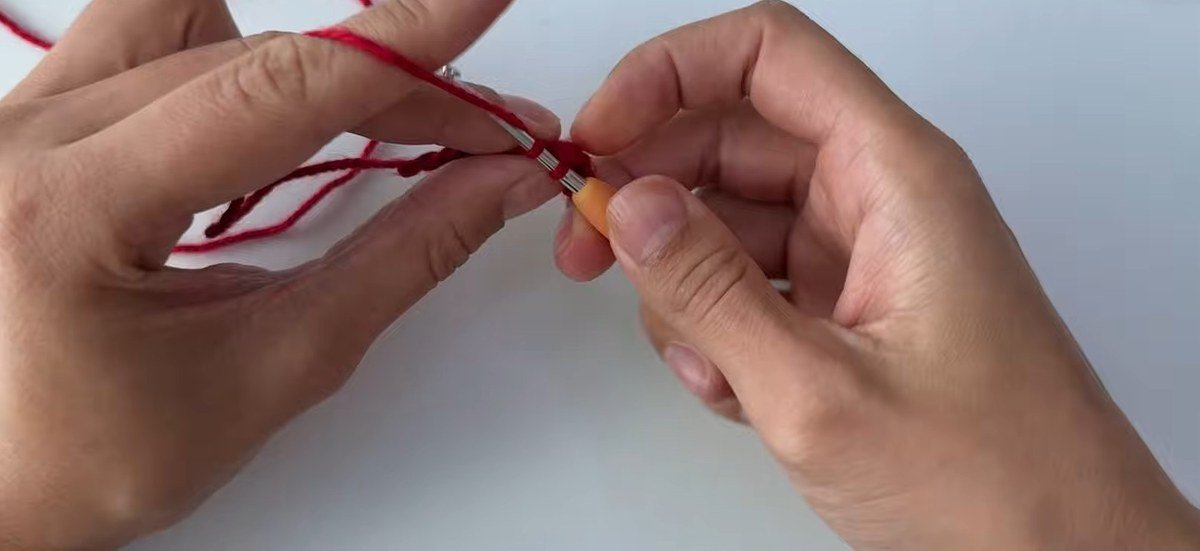
Chain 1, turn, and work a single crochet into the back loop only of every stitch. Stay on the same loop every row and be consistent about which side you are on, because that is what gives the cuff of this free crochet fingerless gloves pattern its knit-look ribbing and its stretch. Row 3 is the same: turn, chain 1, back loops only.
Step 4: Keep going until the cuff is 43 rows
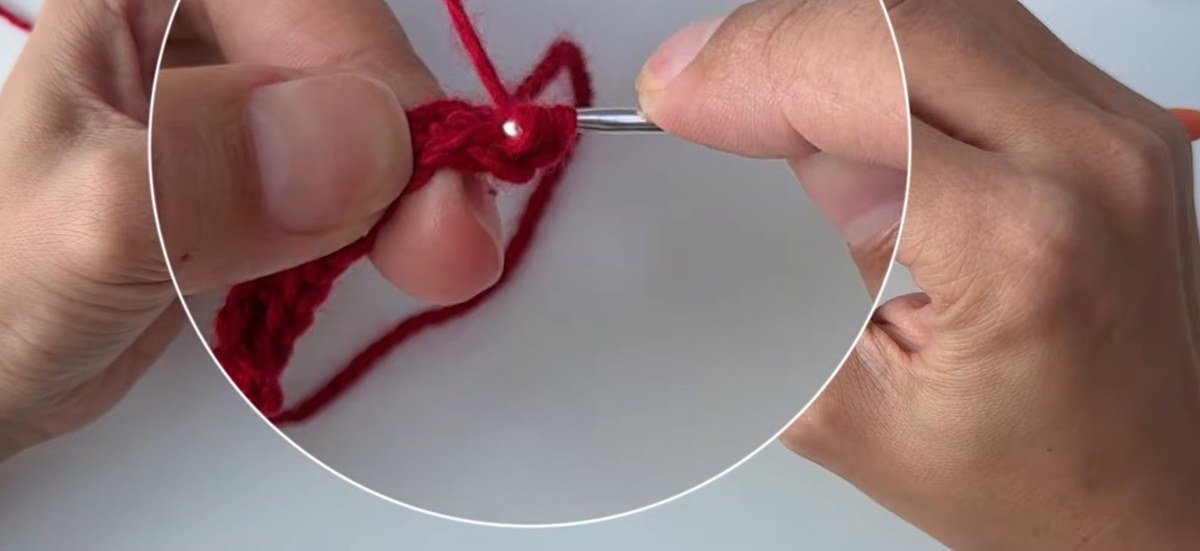
Repeat the back-loop row until the cuff of your free crochet fingerless gloves pattern is long enough. The designer’s cuff is 43 rows. Don’t worry if the first few rows look messy, because the ribs get clearer as the strip grows. Keep your tension even so that both edges stay straight.
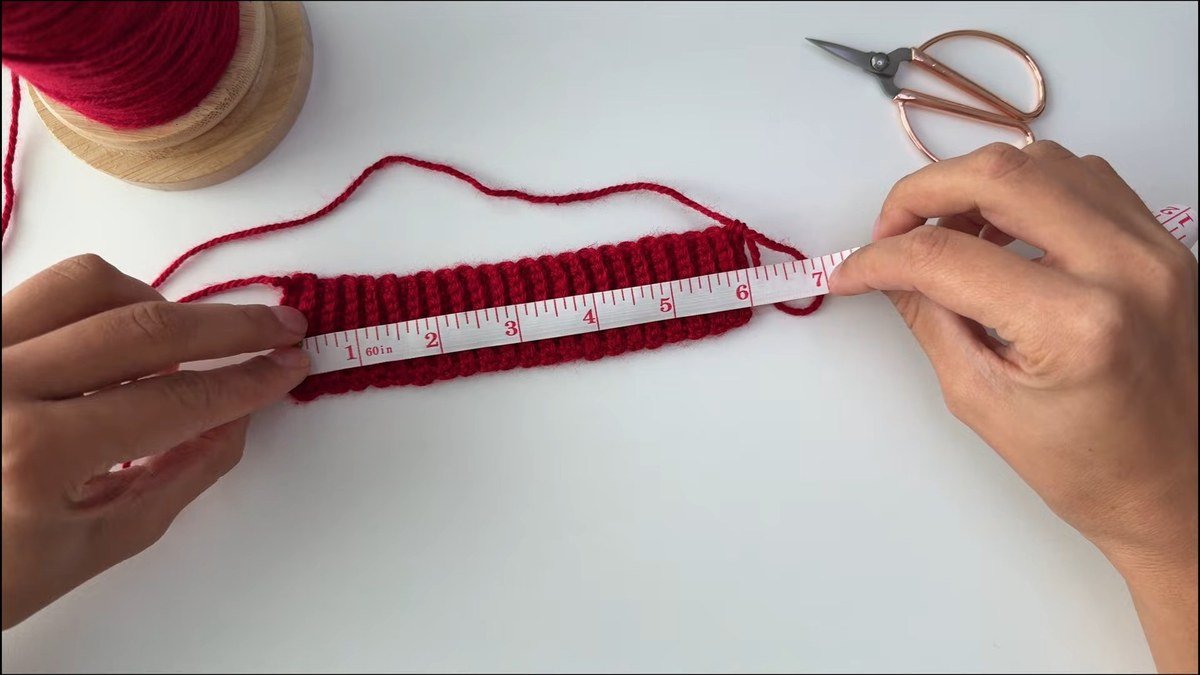
Step 5: Measure the cuff
At 43 rows the cuff measures about 15 cm or 6 in. Lay it against a tape measure and hold it round your wrist. Make it slightly smaller than your wrist, because ribbing stretches out once it is worn.
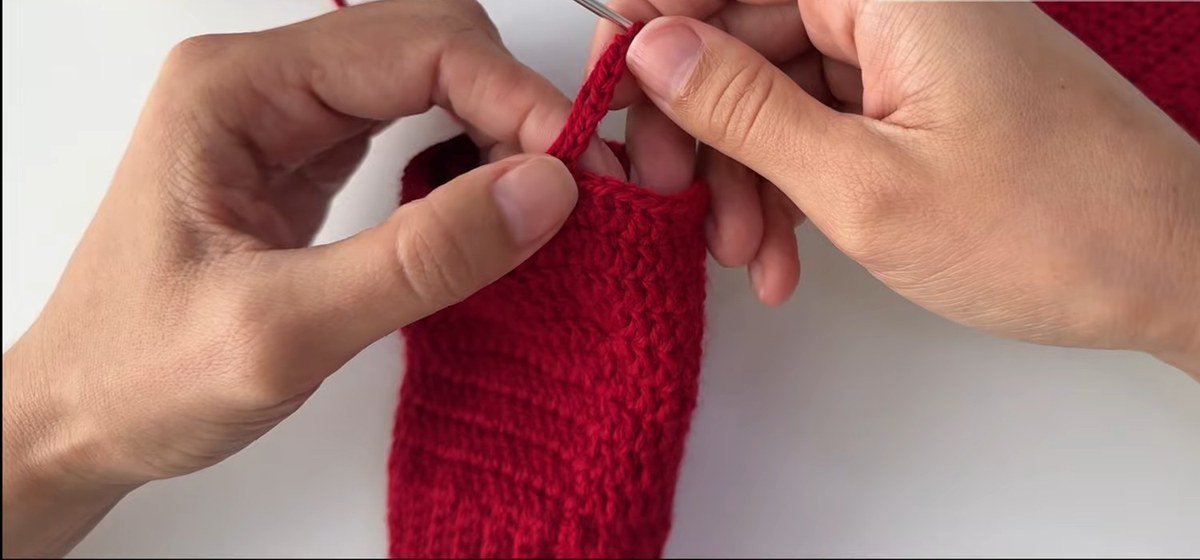
Step 6: Start the mattress-stitch seam
Fold the strip in half and line up the stitches so they match on both sides. Thread the needle with the tail and use mattress stitch for an invisible join. First put the needle under the top loops of the opposite side and pull the yarn through. Then go back to the first side, insert the needle between the stitch walls and catch the horizontal bars.
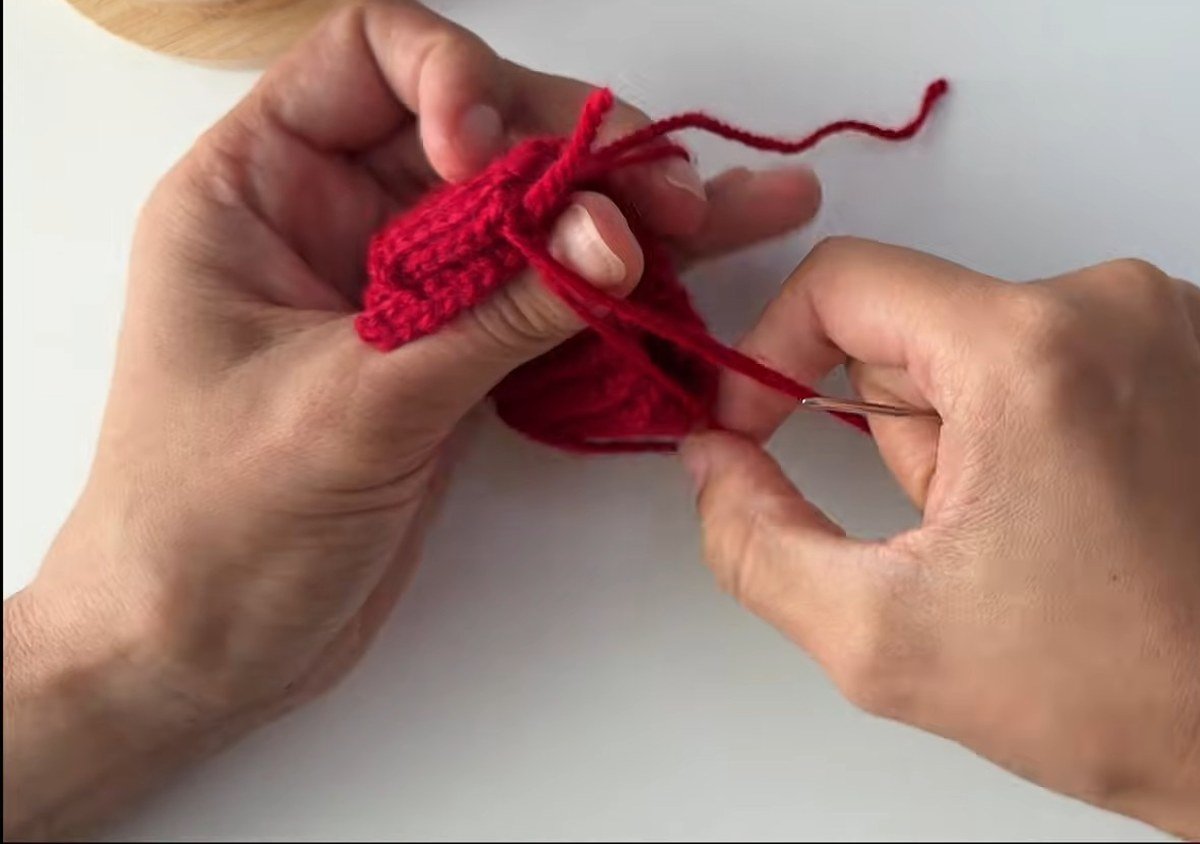
Step 7: Finish the seam
Keep alternating sides, moving up one stitch at a time. Pull the yarn, but not too tight, so the seam lies flat and stays hidden. When you finish, the join should be almost invisible, and it won’t make the cuff bulky or stiff.
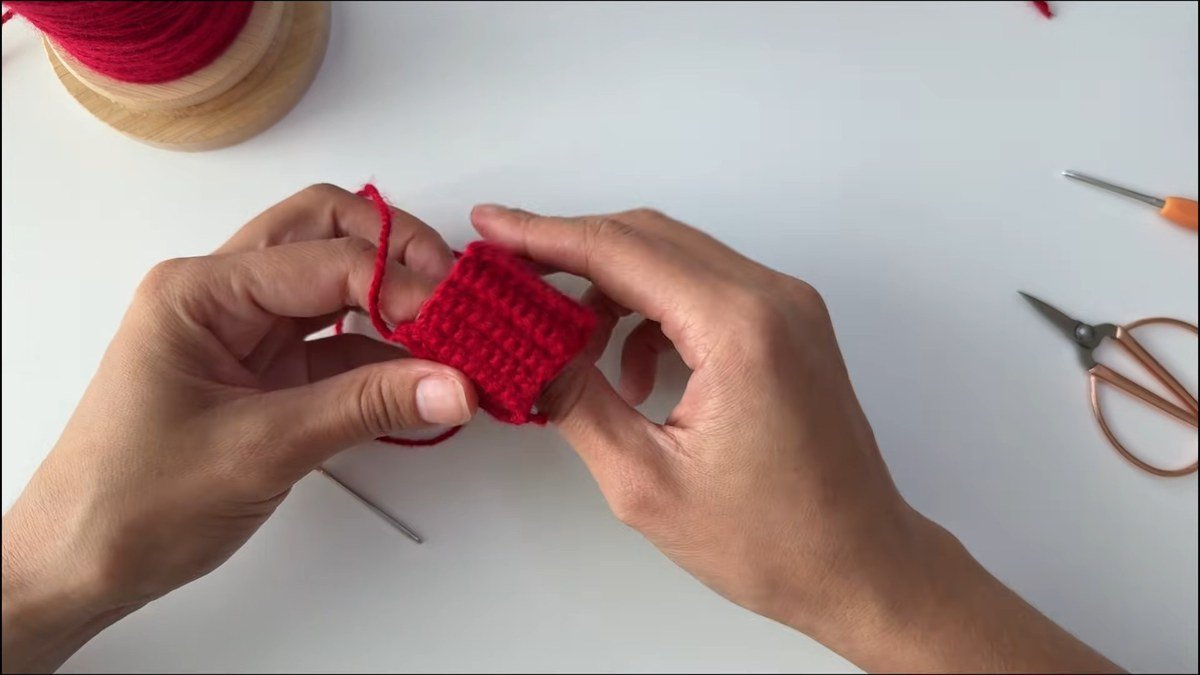
Step 8: Weave in the tail and check the fit
Weave the tail through the stitches, then back the other way. Give the cuff a quick stretch so the yarn settles, and snip it off. Slip the cuff on and check that it hugs your wrist without squeezing. The cuff of the free crochet fingerless gloves pattern is done.
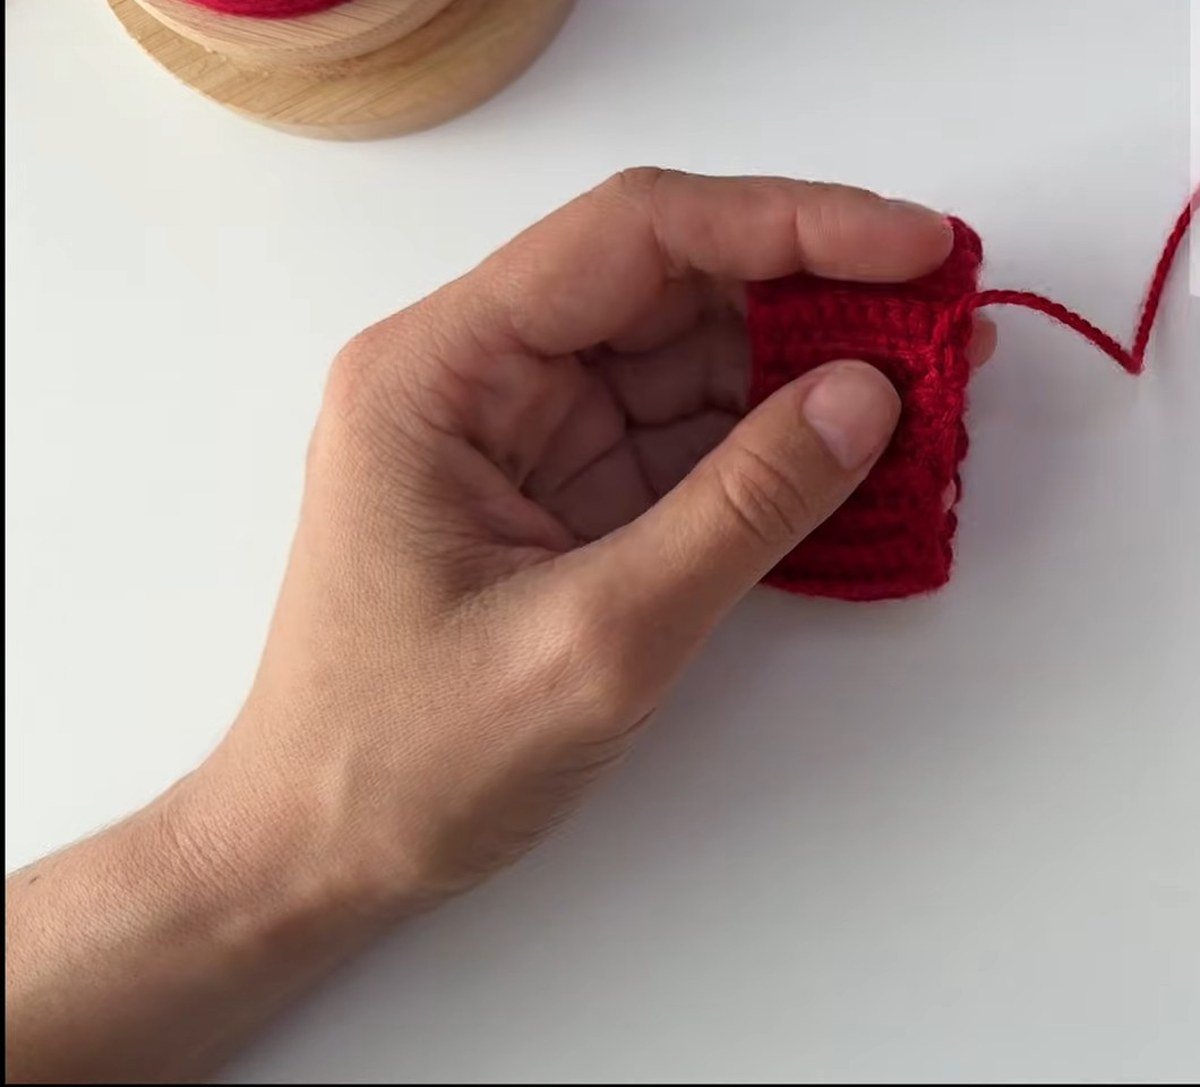
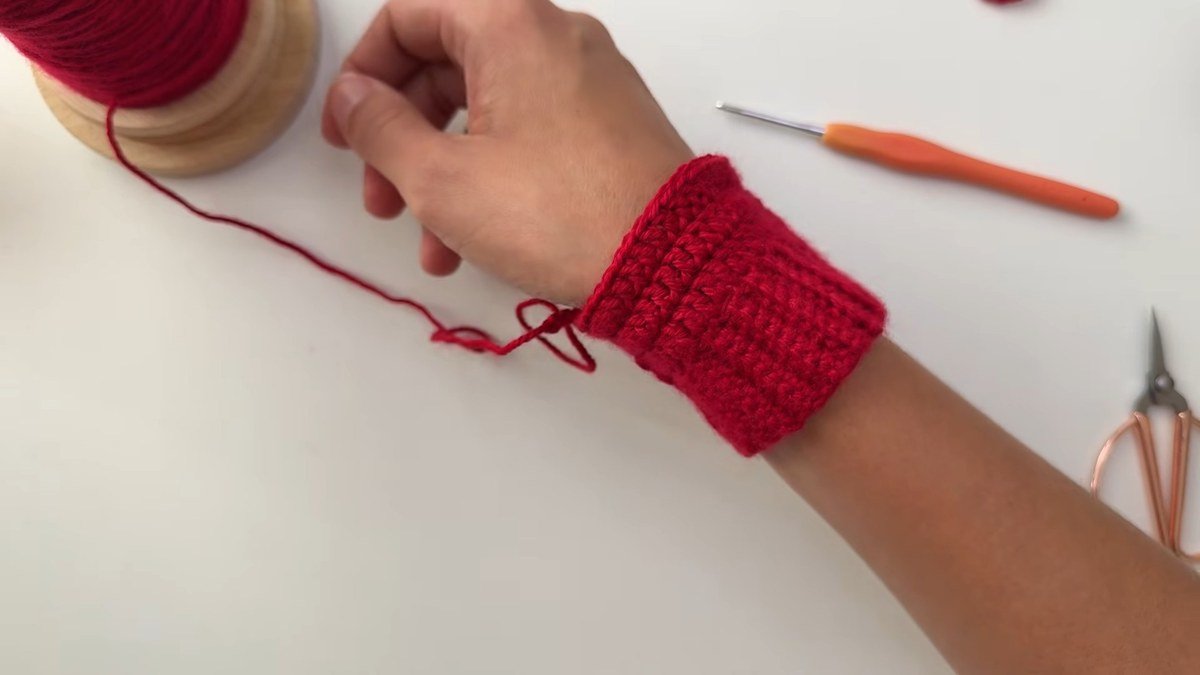
Step 9: Start the body with chain 3 and double crochet
Now the free crochet fingerless gloves pattern moves into rounds around the cuff. To begin, chain 3, which counts as your first double crochet. Yarn over, insert the hook in the next space and pull up a loop, so you have three loops on the hook. Yarn over and pull through the first two, then yarn over again and pull through the last two. Keep working one double crochet in every stitch all the way round until you have 41 stitches in total.
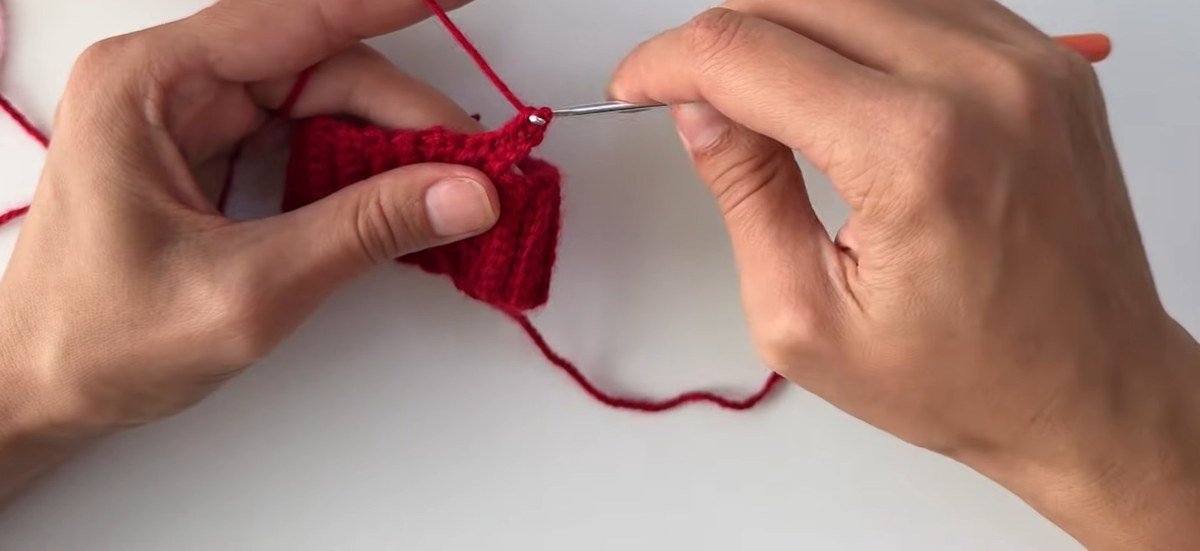
Step 10: Join the round and repeat for rows 1 to 3
Close each round with a slip stitch into the top of the starting chain 3. This gives a neat seamless finish. Chain 3 and repeat the round two more times until you have three full rounds of 41 stitches. There are no increases or decreases in these first three.
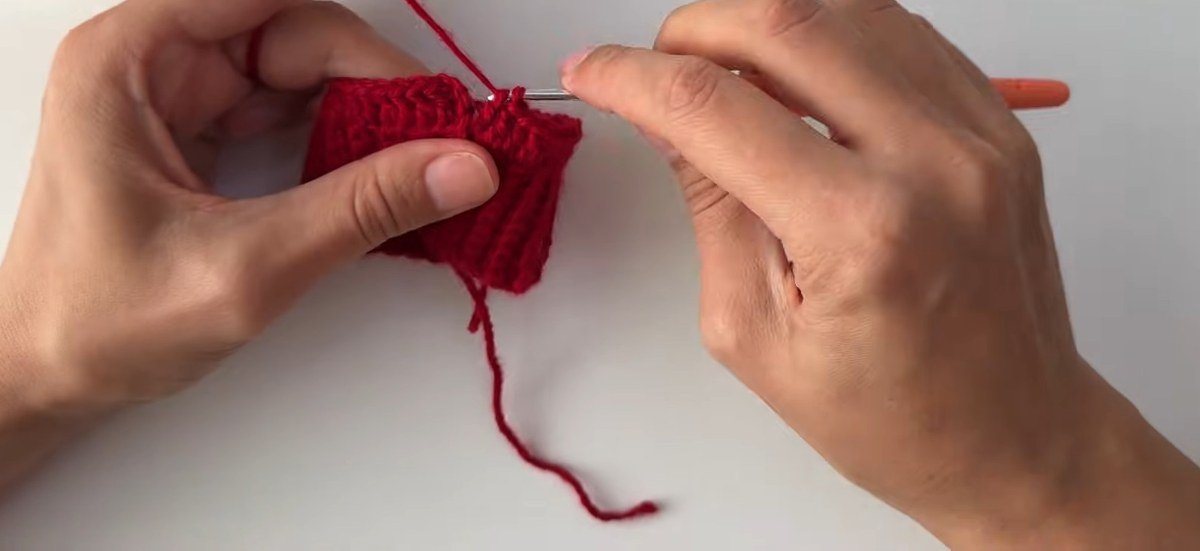
Step 11: Add one increase in every round (rows 4 to 10)
For rows 4 to 10, chain 3 and work the increase at the start: in the very next stitch, make two double crochet, one after the other into the same space. Then work one double crochet in each stitch to the end of the round and join. Repeat for seven rounds. By our sum this takes the round from 41 to 48 stitches, and it is the simple shaping that makes this free crochet fingerless gloves pattern follow the curve of the hand.
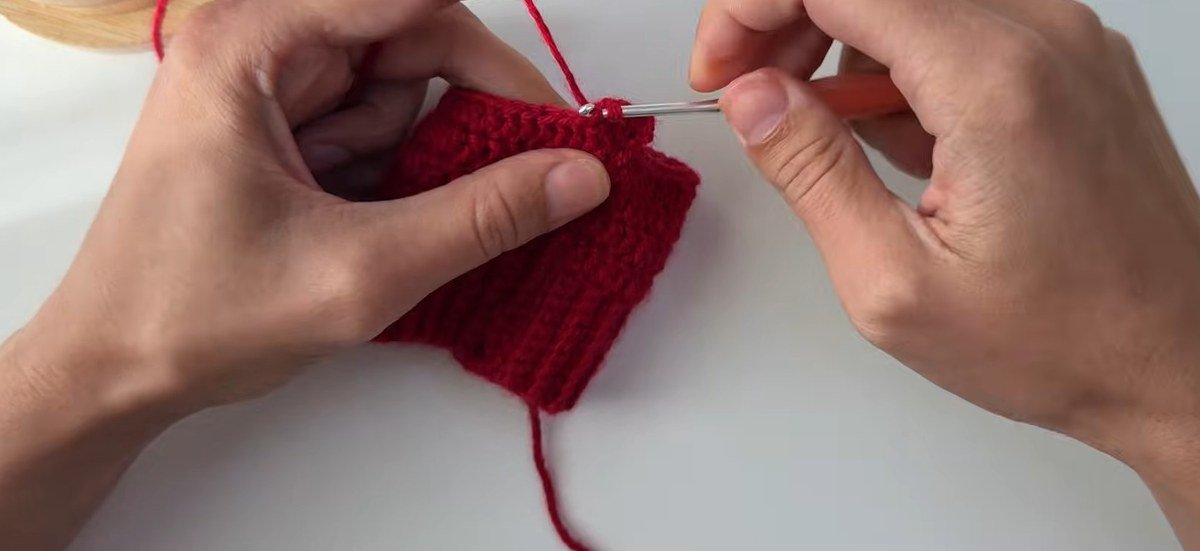
Step 12: Make the thumb hole (row 11)
Chain 8. That chain is the bridge that makes the opening for the thumb. Then count 12 stitches along the edge and work a double crochet into the 13th stitch to join the bridge. Carry on with one double crochet in each stitch to the end. Careful: the start of the round has now moved, so keep track of where it is. Join with a slip stitch as usual.
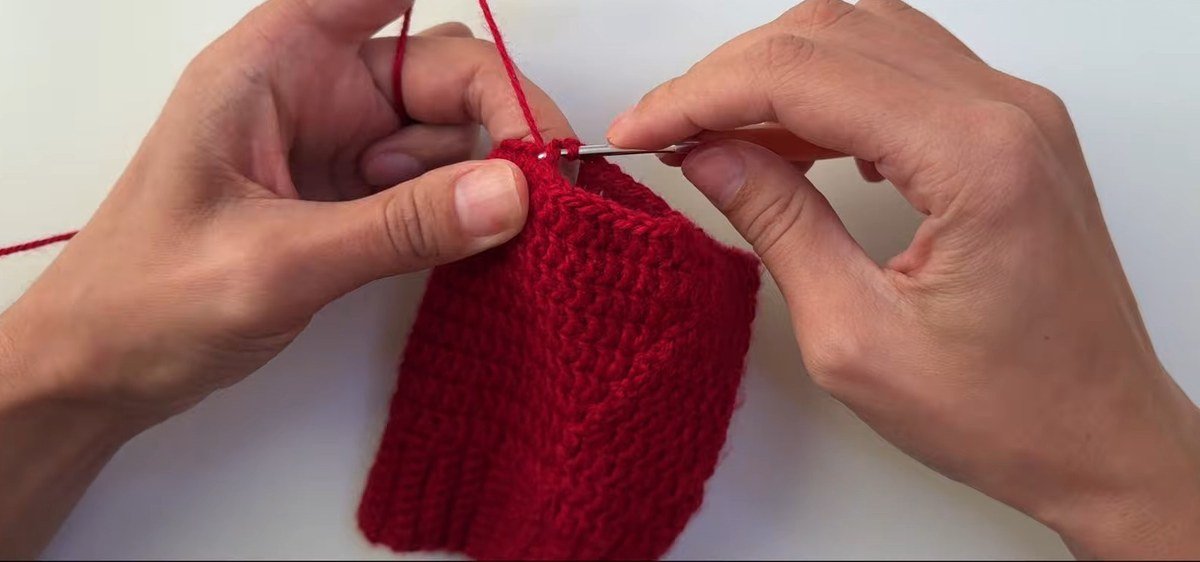
Step 13: Work rows 12 to 16 straight
Chain 3 and work one double crochet in every stitch round the glove, joining each round with a slip stitch. Do this for rows 12 to 16. There are no increases or decreases, so the stitch count stays exactly the same. When you finish row 16, the hand of the free crochet fingerless gloves pattern is done.
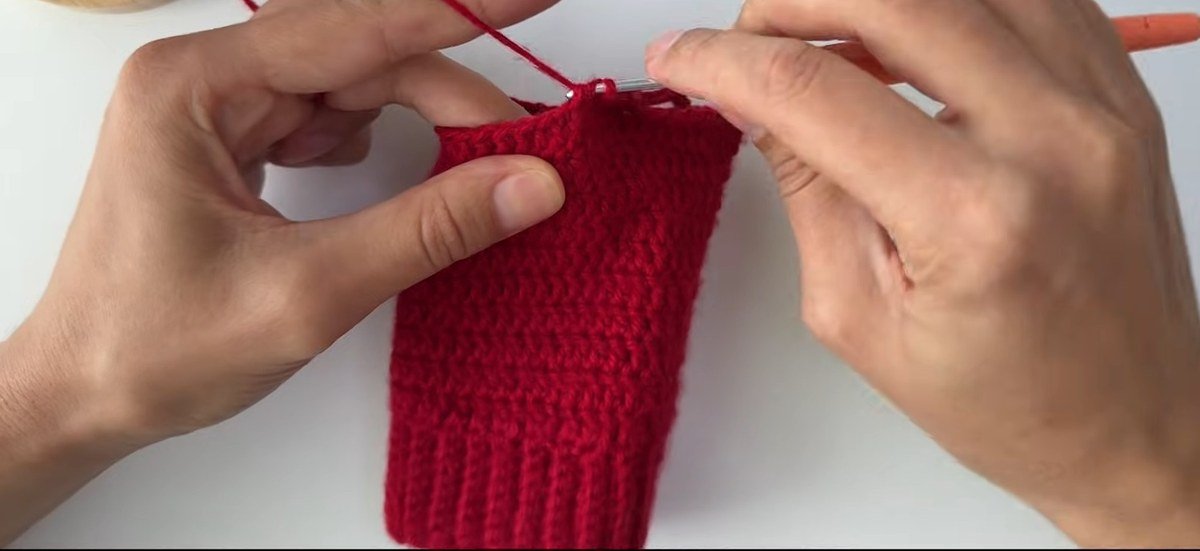
Step 14: Thumb row 1 with two decreases
Attach the yarn in the corner near the seam and chain 3. Right away, make the first decrease: start a double crochet in the next stitch, start another in the following one and pull through to work them together. Then double crochet round to stitch 14. For stitches 15 and 16, work another decrease. Double crochet to the end and join with a slip stitch. You should have 23 stitches in total, counting the starting chain.
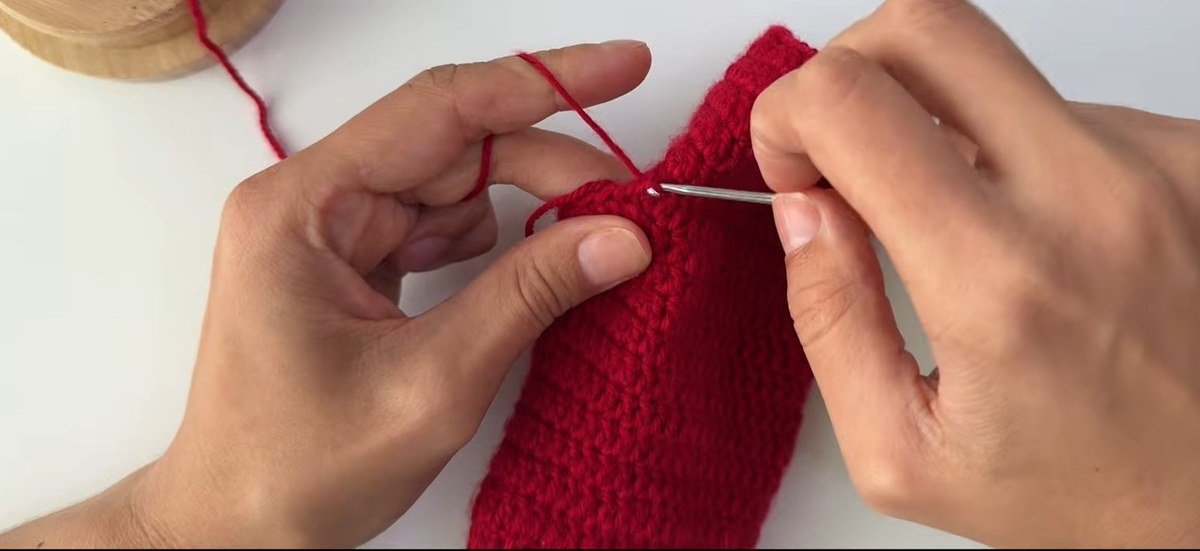
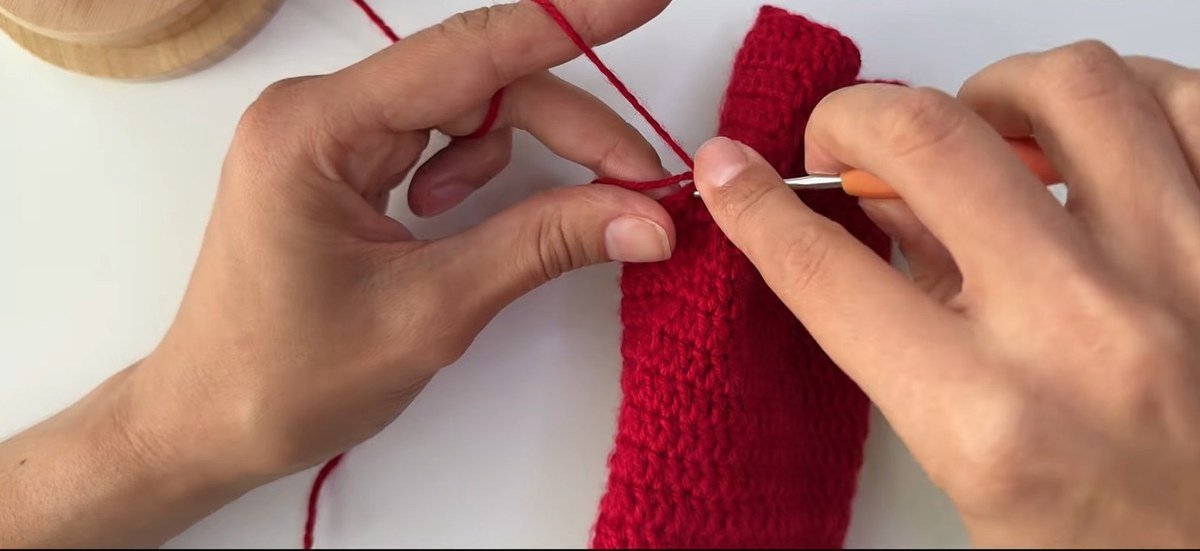
Step 15: Thumb row 2, shifting the decreases
Chain 3 and start with a decrease again, working the second and third stitches together. Work round until you reach the next decrease. Since the count is smaller now, that decrease falls on the 14th and 15th stitches. Then double crochet to the end and join with a slip stitch. It is the same as row 1, just shifted by a stitch.
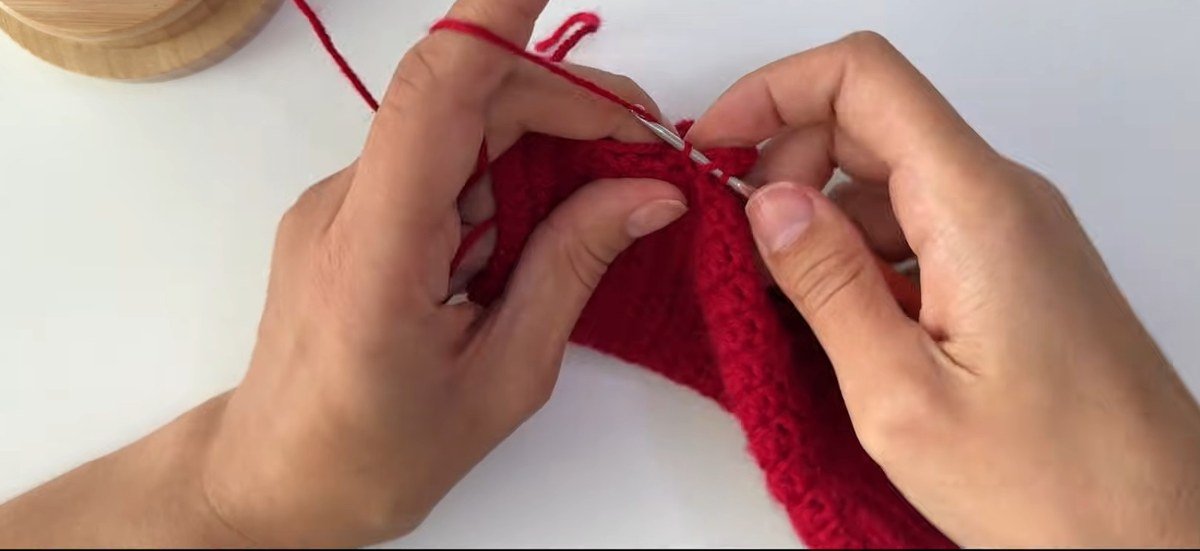
Step 16: Thumb row 3, fasten off and weave in
For the last row, chain 3 and work one double crochet into every stitch all the way round. There are no more decreases. The designer gives 19 stitches for this round. Join with a slip stitch, fasten off and weave in your ends. The thumb is finished, and so is the right glove of your free crochet fingerless gloves pattern.
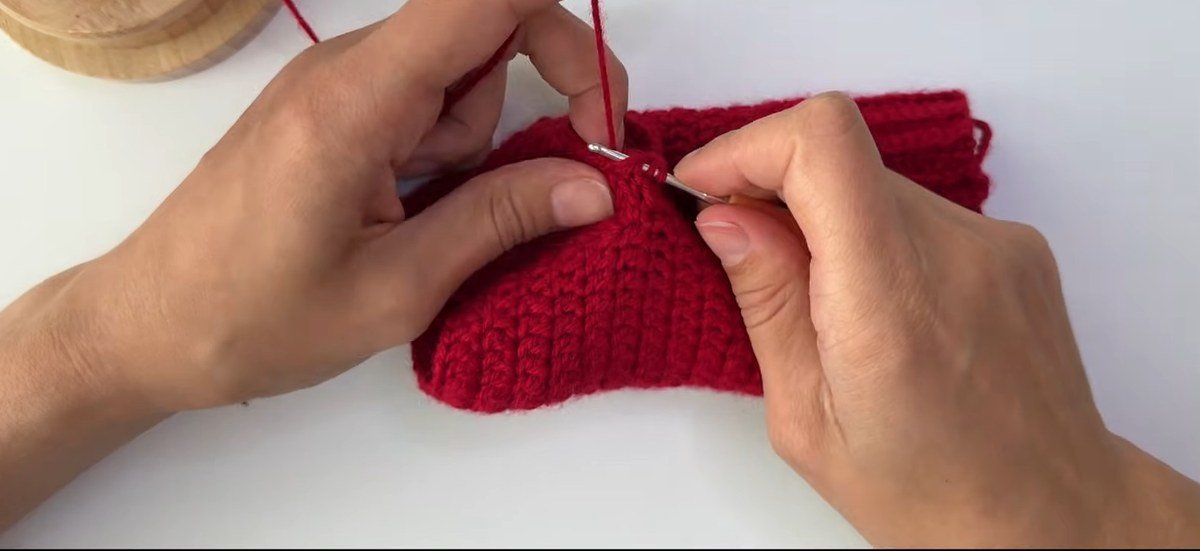
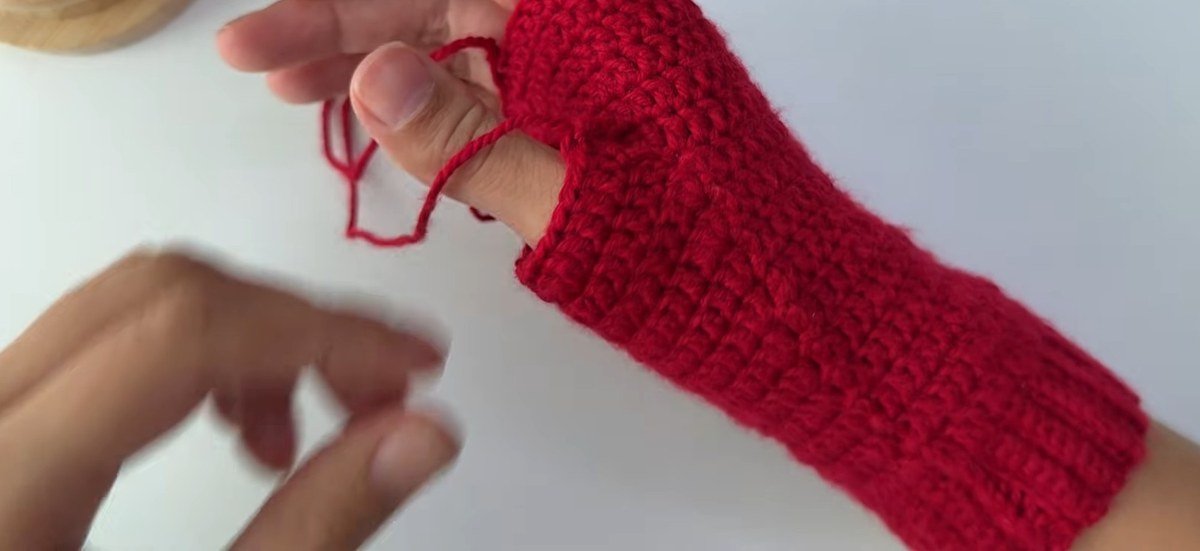
Step 17: Move the increase to the end of the round
For the second glove to be a true mirror image, the increase moves. Instead of increasing at the start of the round, work one double crochet in every stitch until the very last one, then put your two double crochet into that final stitch. Do this through rows 4 to 10 of the body. The designer’s chapter is titled rows 3 to 10, but row 3 has no increase in the first glove, so the counts are the same.
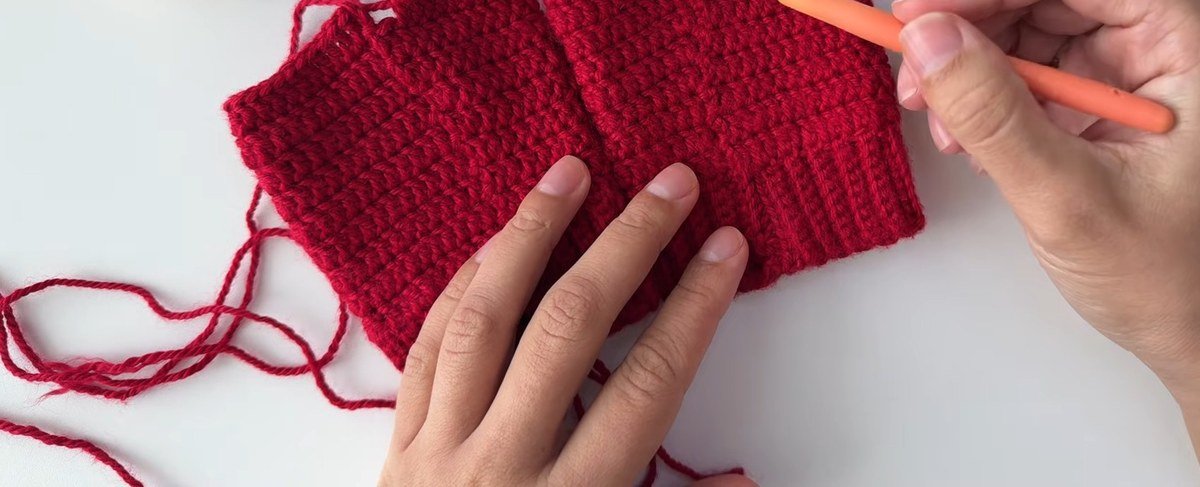
Step 18: Reverse the thumb hole (row 11)
At row 11, change direction. Count 13 stitches back from the end of the previous round and attach the yarn there. Work your 8-chain bridge back towards the start, then continue with double crochet clockwise round the body. Because the thumb hole starts backwards instead of forwards, you get a true left and right pair. It feels different at first, but it is what makes the pair symmetrical. Then finish the thumb exactly as in steps 14 to 16 of this free crochet fingerless gloves pattern.
Where a Free Crochet Fingerless Gloves Pattern Goes Wrong
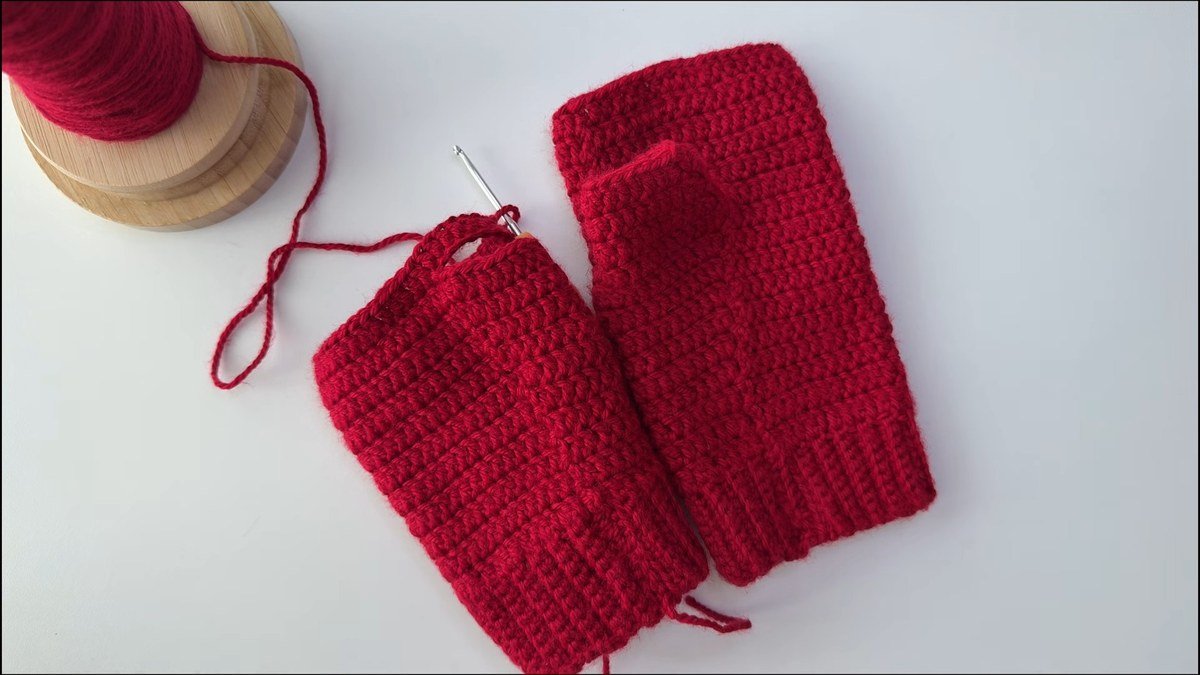
Four mistakes account for most of the trouble with a free crochet fingerless gloves pattern like this one:
- A cuff that is too big. Ribbing stretches with wear. The designer says to make the cuff slightly smaller than your wrist, so measure after 43 rows and pull a few rows out if it is loose.
- Losing the start of the round after row 11. The chain-8 bridge shifts where the round begins, so put a stitch marker in the first stitch of every round from that row on.
- Making two of the same glove. If you repeat steps 9 to 16 exactly, you get two right gloves. Move the increase to the end of the round and start the thumb hole 13 stitches back for the second one.
- Trusting a count that does not add up. Two decreases in thumb row 2 turn 23 stitches into 21, but the designer gives 19 for row 3. Count your own stitches against the fit, not against the last number, and the free crochet fingerless gloves pattern will still work.
A tip that saves the whole project: make a swatch first, because this free crochet fingerless gloves pattern gives no gauge. Yarn and hook change how tightly the ribbing pulls, and a different yarn changes the 41-stitch round too.
Hook, Yarn and Fit for Crochet Fingerless Gloves
This free crochet fingerless gloves pattern uses a 2.5 mm hook with a yarn whose label suggests 3 mm. The designer chose the smaller hook on purpose, because it makes the stitches neater and a little tighter, which is what a glove wants. Both 2.5 mm and 3 mm sit inside the 2.25 to 3.5 mm hook range the Craft Yarn Council lists for its thinnest yarn category, so this is a thin-yarn pattern.
The other five free crochet fingerless gloves patterns below use much thicker yarn and bigger hooks, from 4.0 mm on worsted weight to 8.0 mm on super bulky. Several of them go under the label hook on purpose, for a dense fabric. That is why you should never swap yarn without a swatch: a thicker yarn on this pattern’s 41 stitches gives a glove that fits a much larger hand.
The pattern lists 100 g / 250 m of yarn but does not say whether that covers one glove or the pair, so weigh your leftovers if you want your own figure. It also gives no glove length or circumference in centimetres. The cuff is the one measured part: about 15 cm / 6 in, a bit under your wrist.
Five More Free Crochet Fingerless Gloves Patterns to Compare
Each of these free fingerless glove patterns is on the designer’s own site. Check the hook, yarn and construction against yours before you start.
| Pattern | Hook | Yarn | Construction |
|---|---|---|---|
| The Brookie Gloves, HayHay Crochet | 4.0 mm | Worsted weight, about 72 g | Flat moss-stitch rectangle, seamed, thumb hole left in the seam |
| Freya Fingerless Gloves, Ned & Mimi | 4.5 mm | DK weight, 75 to 220 yd by size | Worked in the round, thumb gusset, seamed ribbed cuff, seven sizes |
| Country Cottage Fingerless Gloves, The Turtle Trunk | 5.0 mm | Worsted weight, 80 to 130 yd for the pair | In the round, front post ribbing, thumb opening from a chain space, three sizes |
| Eternal Dawn Fingerless Gloves, Simply Hooked by Janet | 5.0 mm | Worsted weight, 80 yd | In the round, mini bean stitch, thumb opening from 2 chains, one adult size |
| Chunky Fingerless Gloves, Lovable Loops | 8.0 mm | Super bulky weight, yardage not printed | In the round in double crochet, thumb hole in round 4, one size |
Want more accessories to match? Try the moss stitch crochet scarf, the free crochet head scarf or the crochet hat for men.
Free Crochet Fingerless Gloves Pattern FAQ
Is this free crochet fingerless gloves pattern good for beginners?
Yes, if you can chain, work single and double crochet and do a simple decrease. The designer calls it beginner friendly. The only new skill is a mattress-stitch seam on the cuff.
What hook and yarn should I use?
This free crochet fingerless gloves pattern uses a 2.5 mm hook and about 100 g / 250 m of yarn. The label on the yarn shown suggests a 3 mm hook, and the designer went smaller for a tighter fabric. Make a swatch first.
How many rows is the cuff?
The ribbed cuff is 10 stitches wide and 43 rows long, about 15 cm or 6 in. Make it slightly smaller than your wrist, because the back-loop ribbing stretches.
How do I make a left and a right glove?
Make the first glove of the free crochet fingerless gloves pattern as written. For the second, move the increase to the end of the round in rows 4 to 10, and start the thumb hole by counting 13 stitches back from the end of the round in row 11.
How long do these crochet fingerless gloves take?
The designer calls them a one-evening project. Most of that time is the cuff, which is 430 single crochet, so a comfortable pace makes the pair a weekend make.
Can I use thicker yarn or a bigger hook?
You can, but the counts change. The 41-stitch round and the 43-row cuff belong to a 2.5 mm hook and this yarn, so make a swatch, measure your hand and recalculate before you start.
Where to Go Next
Once your free crochet fingerless gloves pattern is finished, wear the pair with a moss stitch crochet scarf or keep the set going with a crochet hat. For more, browse our accessories or every free pattern on the site.
Sources
- Heather (HayHay Crochet), The Brookie Gloves
- Sarah Ruane (Ned & Mimi), Freya Fingerless Gloves
- Ali Wholihan (The Turtle Trunk), Country Cottage Fingerless Gloves
- Janet Pippin (Simply Hooked by Janet), Eternal Dawn Fingerless Gloves
- Melissa Hassler (Lovable Loops), Chunky Fingerless Gloves Crochet Pattern
- Craft Yarn Council, yarn weight system
Pattern credit: this fingerless glove design is by Pospolit Atelier. Find more of their crochet work on the YouTube channel Pospolit Atelier.