Crochet Granny Square Cardigan: Free Pattern With 16 Squares
This crochet granny square cardigan is made from just 16 big squares, and each square is sized from one measurement: half the length you want the cardigan to be. Most free granny square cardigan patterns use 37 to 124 small squares, so this one has far fewer pieces to make, far fewer seams to join, and it suits a first garment.
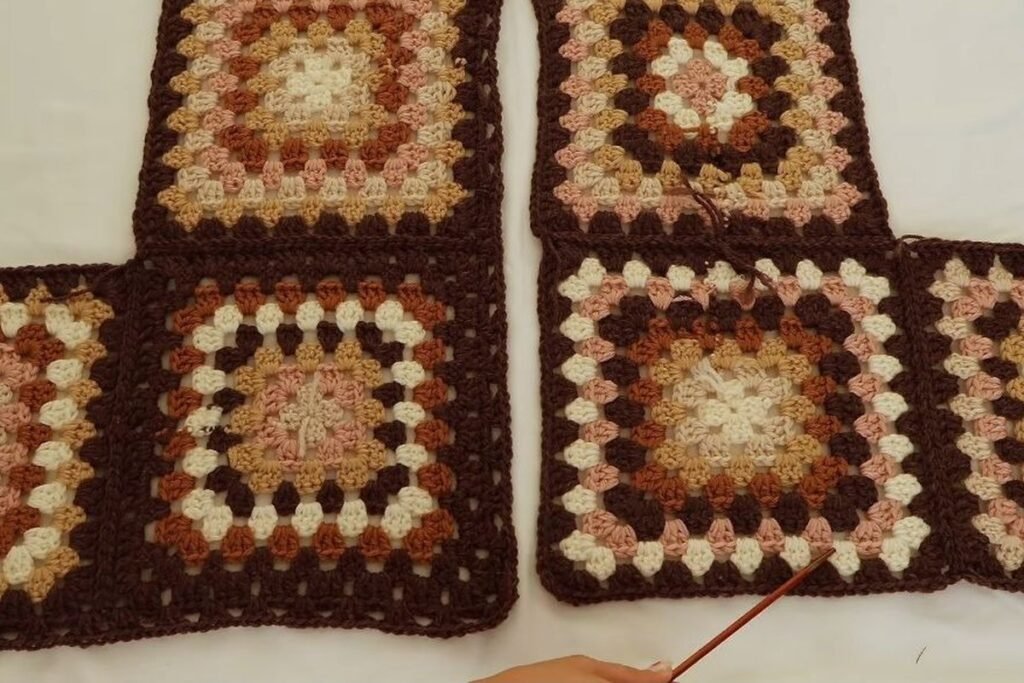
Below: the materials, the stitch count for every round, 18 photo steps from a video tutorial, three places a crochet granny square cardigan goes wrong, and the hook and yarn numbers.
- What you need
- Why 16 big squares
- Stitches and stitch counts
- Step by step
- Where it goes wrong
- Hook size
- How much yarn
- Five more free patterns
- FAQ
- Where to go next
- Sources
What You Need for This Crochet Granny Square Cardigan
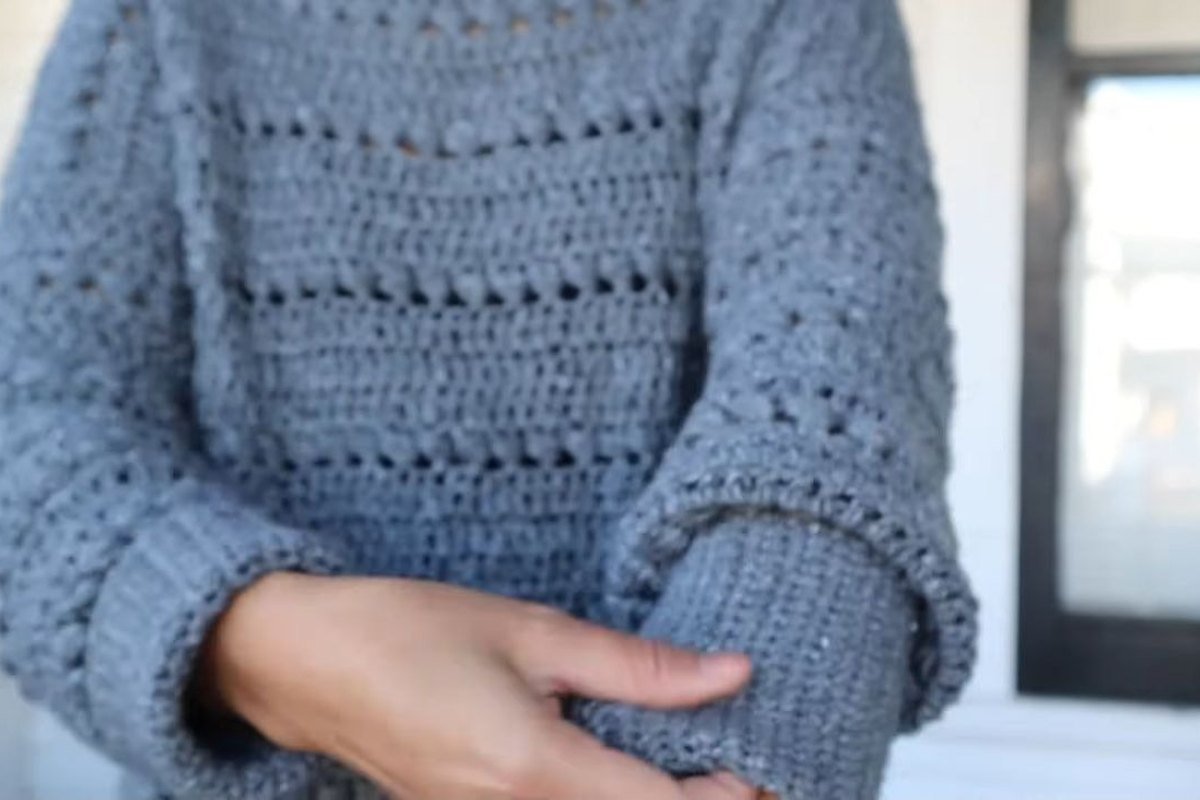
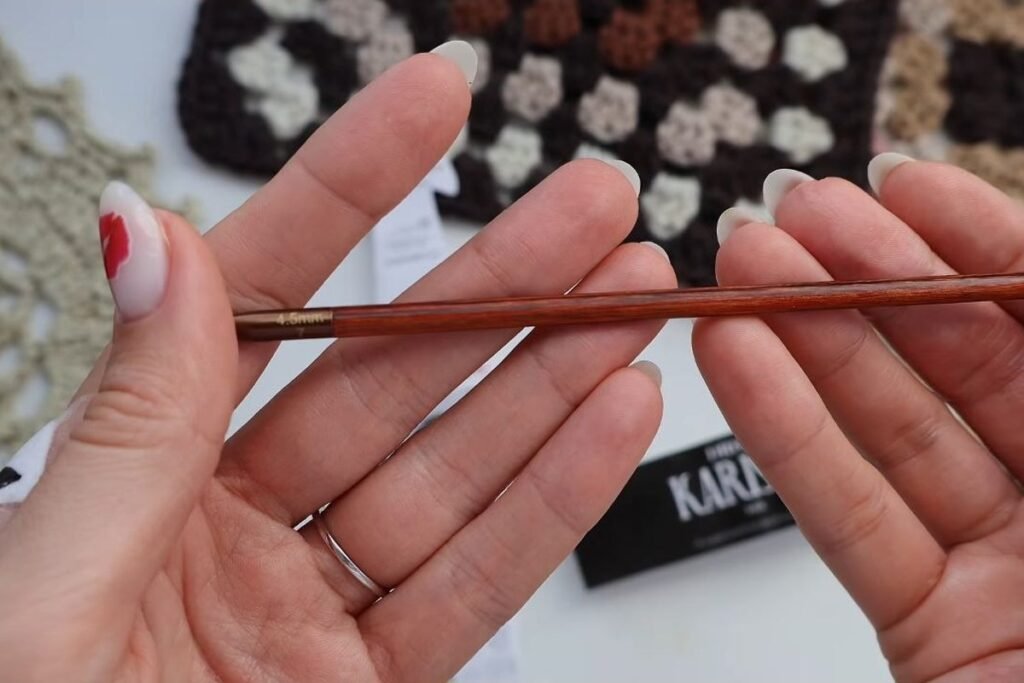
The crochet granny square cardigan in the video was made in size S to M with about 1 kg of wool and a 4.5 mm hook.
| Item | What the video uses |
|---|---|
| Finished length | 52 cm (about 20 in), your choice |
| Square size | Half the length: 26 cm (10.2 in) |
| Squares | 16: back 4, fronts 4, each sleeve 4 |
| Rounds per square | 8 |
| Yarn | About 1 kg of wool at about 110 m per 50 g, for S to M |
| Hook | 4.5 mm |
| Colours | 6: five accent colours plus one main colour |
| Time | About 20 hours |
| Tools | Scissors, measuring tape, yarn needle |
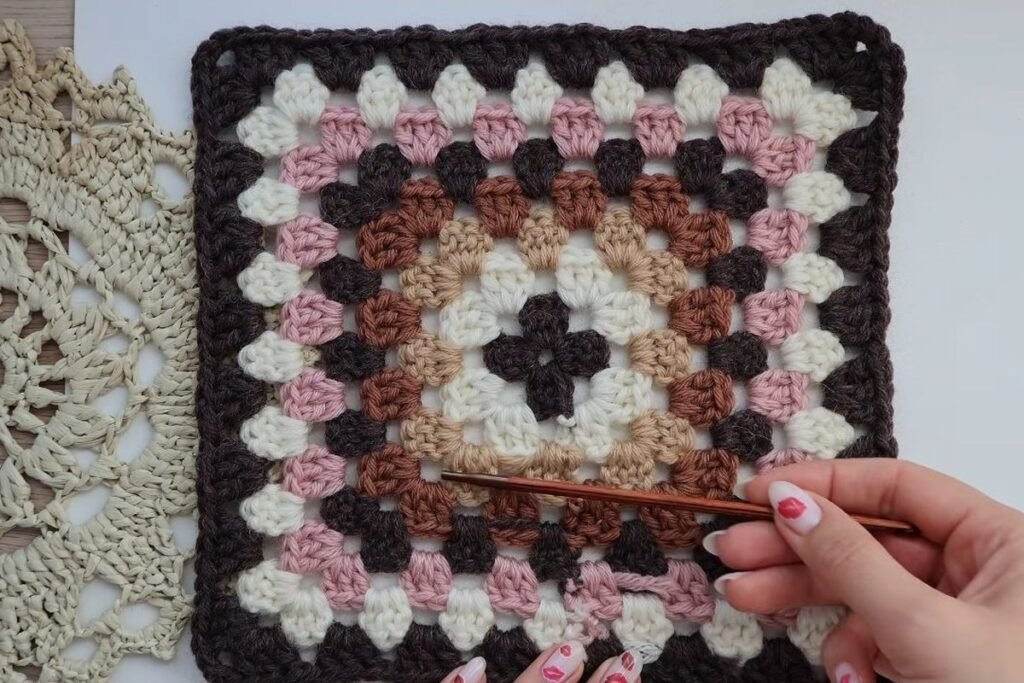
Every square ends with a round of the main colour (brown in the video), so the seams disappear into one colour.
Why Does This Crochet Granny Square Cardigan Use 16 Big Squares?
Because a bigger square covers the same body with far fewer pieces. The five free designer patterns we checked use 37 squares (the Clove Cardi) up to 124 (the largest Airie size). The roundups that rank for a crochet granny square cardigan print no square count at all: one lists 25 cardigans, another 16, and not one says how many squares to make.
Our calculation: one 26 cm square is about 10.24 in a side, about 104.8 sq in. Sixteen make about 1,677 sq in. A 4 in square covers 16 sq in, so the same fabric in small squares takes about 105 of them, right inside Airie’s 82 to 124. Calculated from the video’s stated measurements, not from a cardigan we made.
The sizing rule: measure from the shoulder seam to the hem you want and divide by 2. That is the height of one square.
Which Stitches Does the Crochet Granny Square Cardigan Use?
Only four stitches, plus a front loop and back loop join. The names depend on which of the two naming conventions your pattern uses, so we give both names.
| Abbreviation | Stitch | Called in the other convention |
|---|---|---|
| mr | Magic ring | Magic ring |
| ch | Chain | Chain |
| dc | Double crochet | Treble crochet |
| sl st | Slip stitch | Slip stitch |
| FL / BL | Front loop / back loop only | Front loop / back loop only |
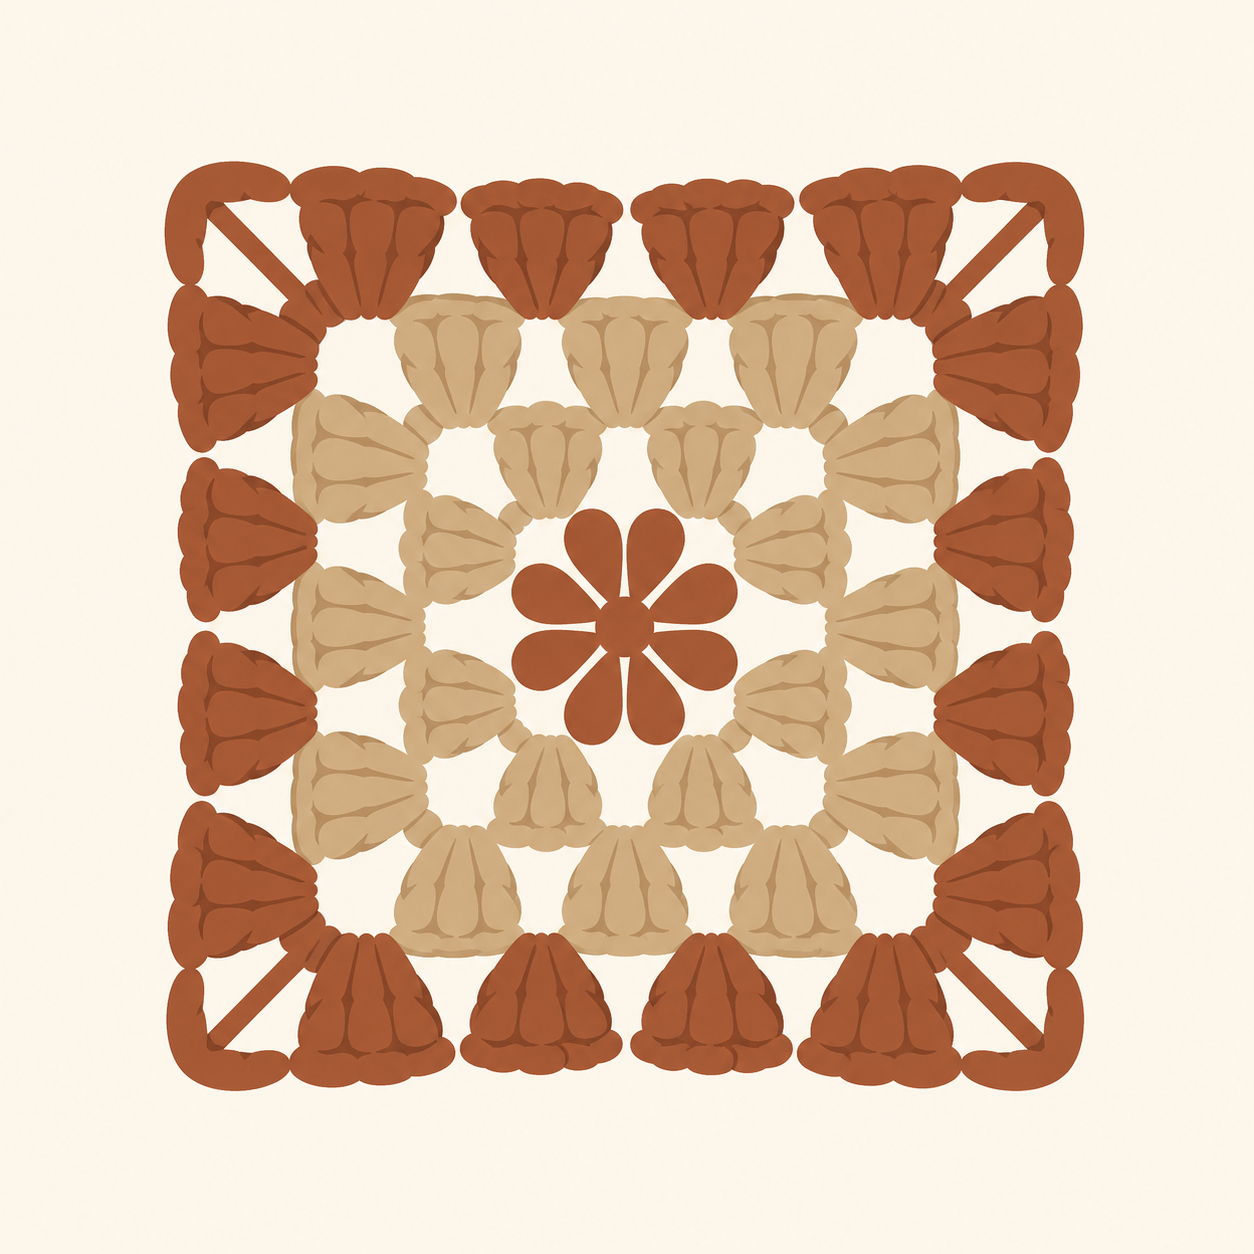
The stitch multiple is the cluster: every group is 3 dc. Each corner gets two clusters with ch 3 between them, and each side space gets one cluster with ch 1 after it. That gives a clean rule: round n has 12 times n double crochets.
| Round | Double crochets | Clusters |
|---|---|---|
| 1 | 12 | 4 |
| 2 | 24 | 8 |
| 3 | 36 | 12 |
| 4 | 48 | 16 |
| 5 | 60 | 20 |
| 6 | 72 | 24 |
| 7 | 84 | 28 |
| 8 | 96 | 32 |
| Total | 432 | 144 |
That is 432 dc per square and 6,912 dc across the whole crochet granny square cardigan, before seams and ties. A different count means a missed corner or side space.
How to Make a Crochet Granny Square Cardigan, Step by Step
The crochet granny square cardigan comes together in three stages: make the squares, join the body, then add the sleeves and ties.
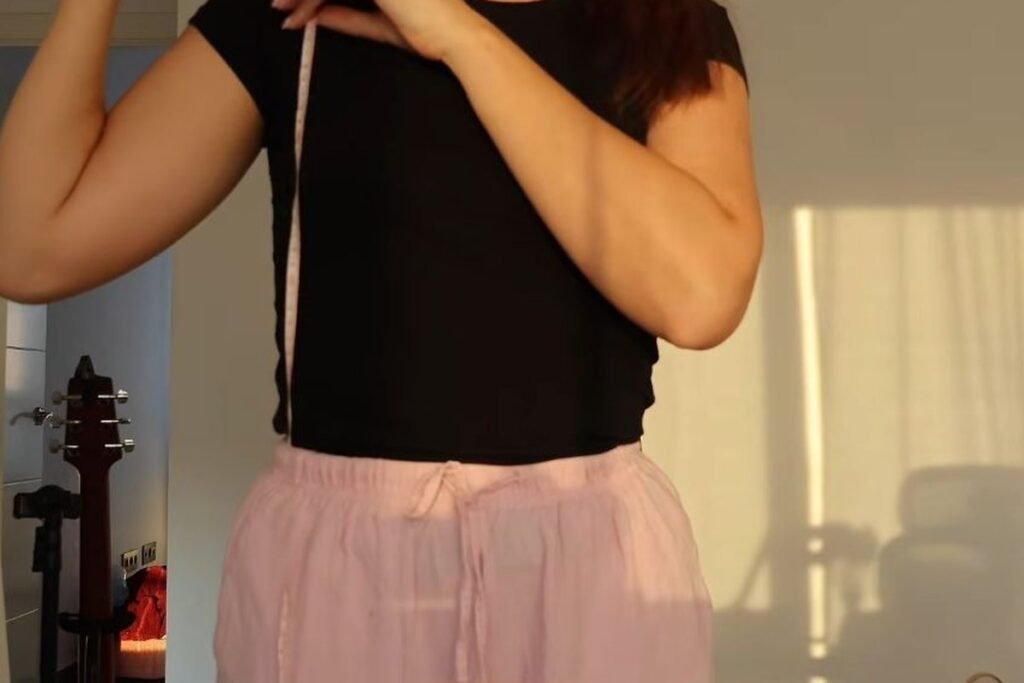
Step 1: Measure the length and size your squares
Run a tape measure from the shoulder seam to the hem you want. The video’s cardigan is 52 cm long, so each square is 26 cm. Check every square against this number.
Step 2: Make a magic ring
Take the colour you want in the centre. Wrap the yarn once around your finger, insert the hook into the ring and pull up a loop.
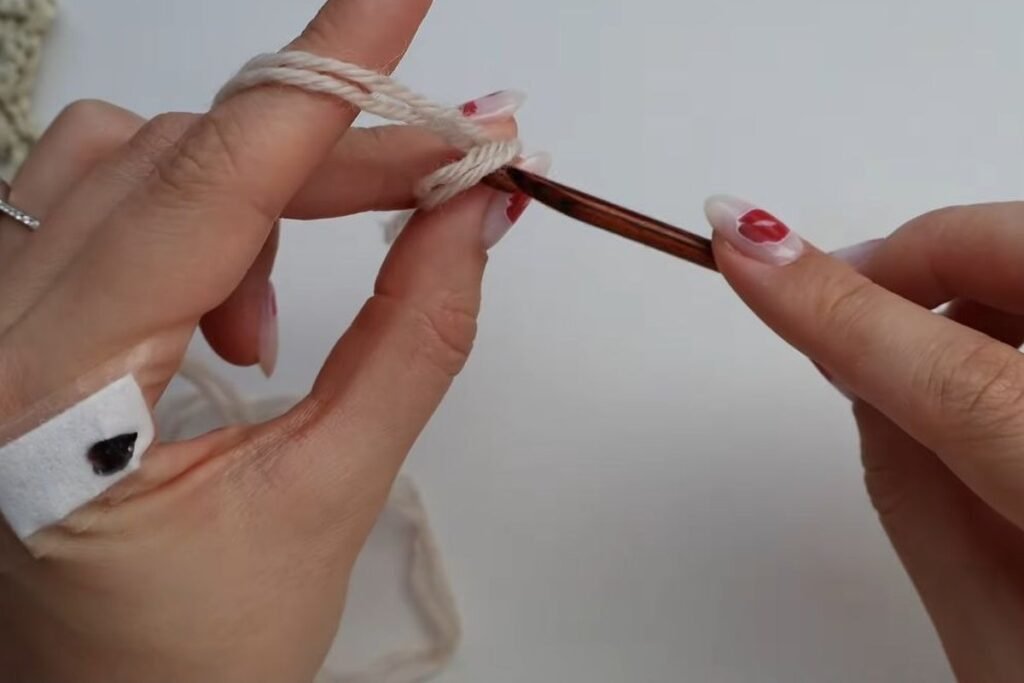
Step 3: Work round 1
Ch 3 (this counts as the first dc), then 2 dc into the ring. *Ch 3, 3 dc into the ring*, repeat twice more. Pull the ring closed, ch 3 and slip stitch into the top of the first ch 3. You have 4 clusters and 4 corner spaces. The side facing you is the right side.
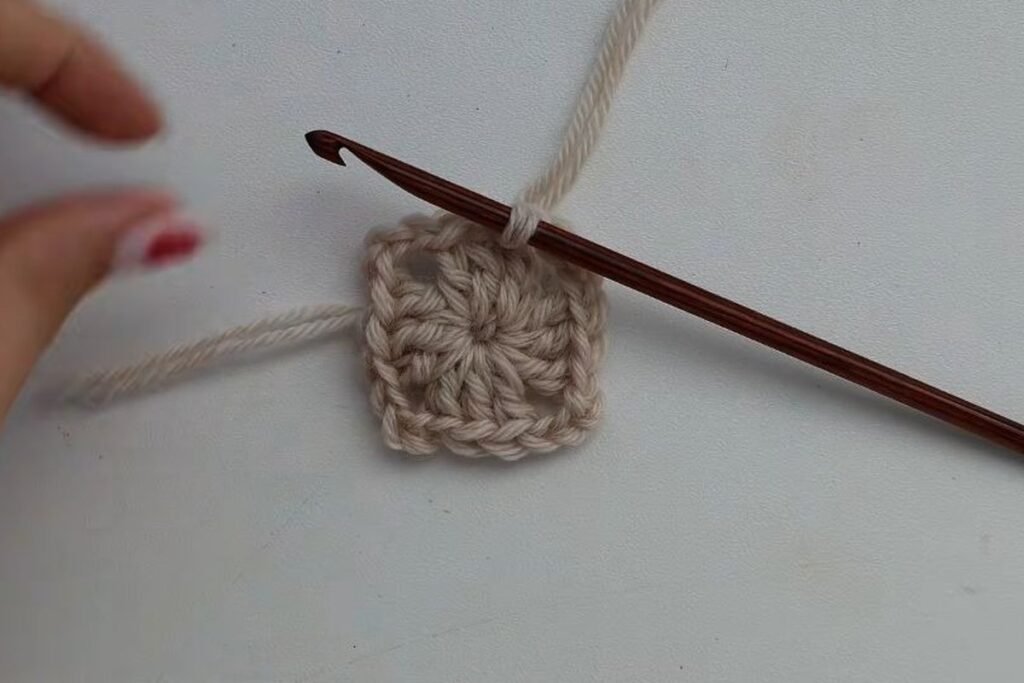
Step 4: Change colour and knot the tails
Cut the yarn. Lay the new colour’s tail beside the old one, hold both and ch 3 with the new colour. Turn and knot the tails together, three times so they cannot loosen.
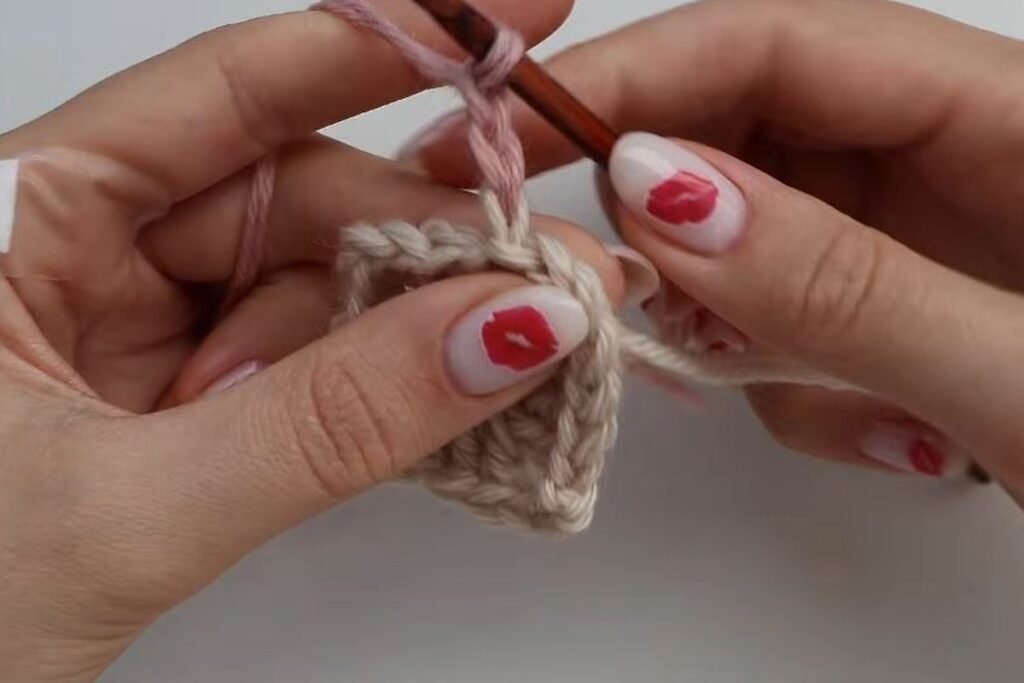
Step 5: Work round 2 over the tails
Lay the tails along the last round. Work 2 dc in the corner space, ch 3, 3 dc in the same space, ch 1. In each other corner work 3 dc, ch 3, 3 dc, ch 1. The dc wrap around the tails and hide them. Slip stitch into the top of the ch 3.
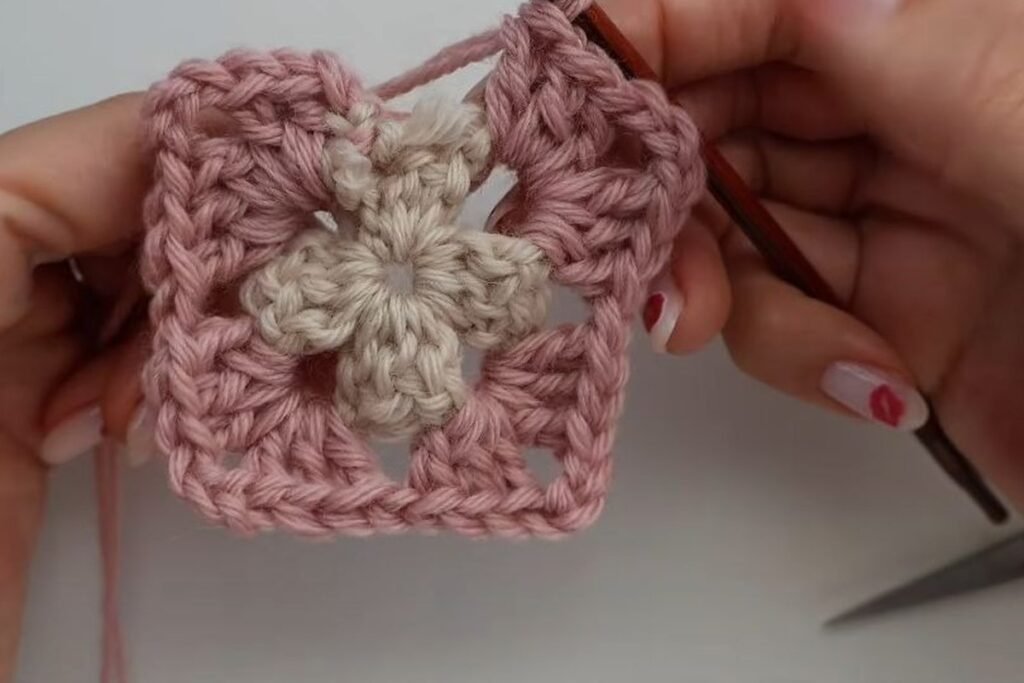
Step 6: Work round 3 and move the tail to the wrong side
Pull the old tail to the wrong side under the last stitch. Join the third colour, knot, and work 3 dc, ch 3, 3 dc in each corner and 3 dc, ch 1 in each side space. From round 4 the tail is already on the wrong side.
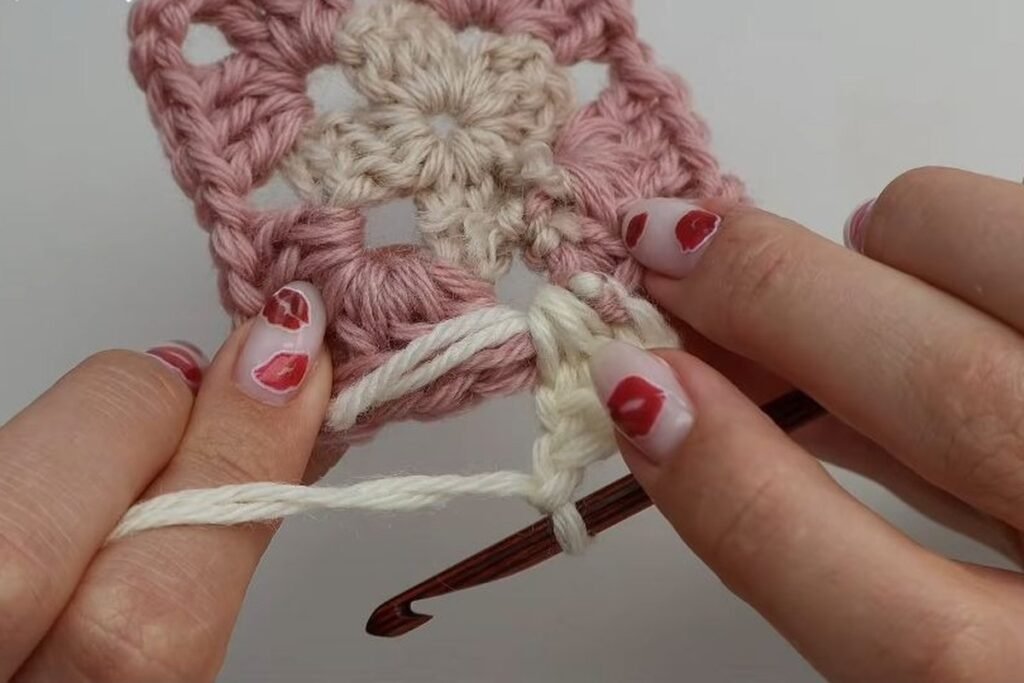
Step 7: Work rounds 4 to 7
Keep the same two rules every round: 3 dc, ch 3, 3 dc in each corner, and 3 dc, ch 1 in each side space. Change colour each round if you like. Each round adds 12 dc, so round 7 has 84.
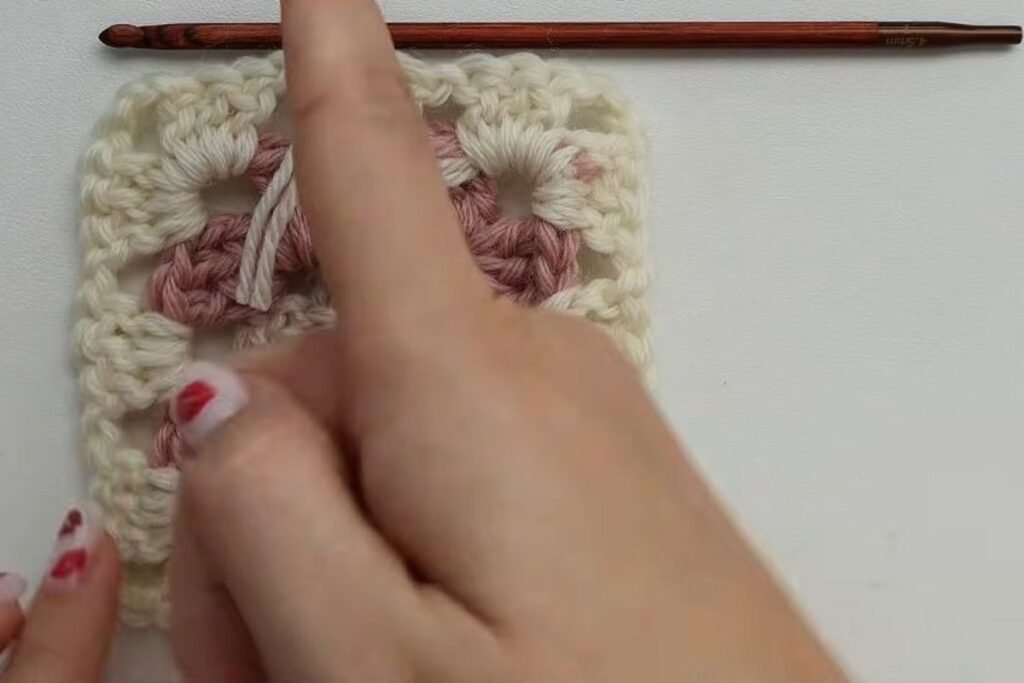
Step 8: Finish with round 8 in the main colour
Round 8 is always the main colour. Check the square against your number from Step 1. If it is short, add a round; if it is big, stop at 7. Just make all 16 squares the same.
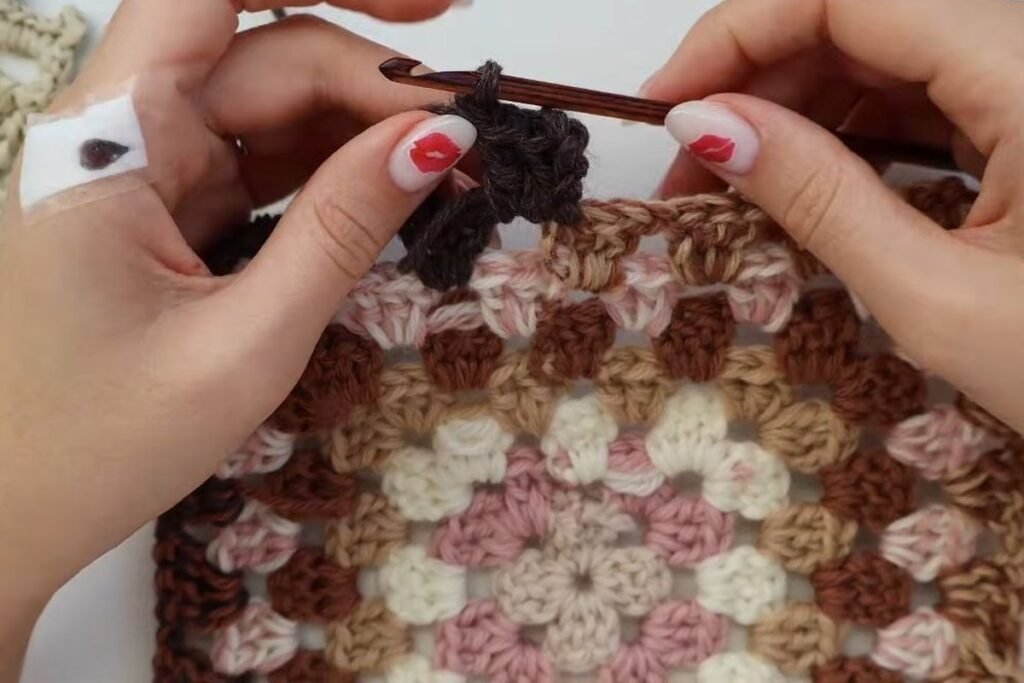
Step 9: Make 16 squares and block them
Make 15 more squares, 16 in total, and block them before joining: soak in warm water with a little conditioner for about 20 minutes, squeeze gently and dry flat.
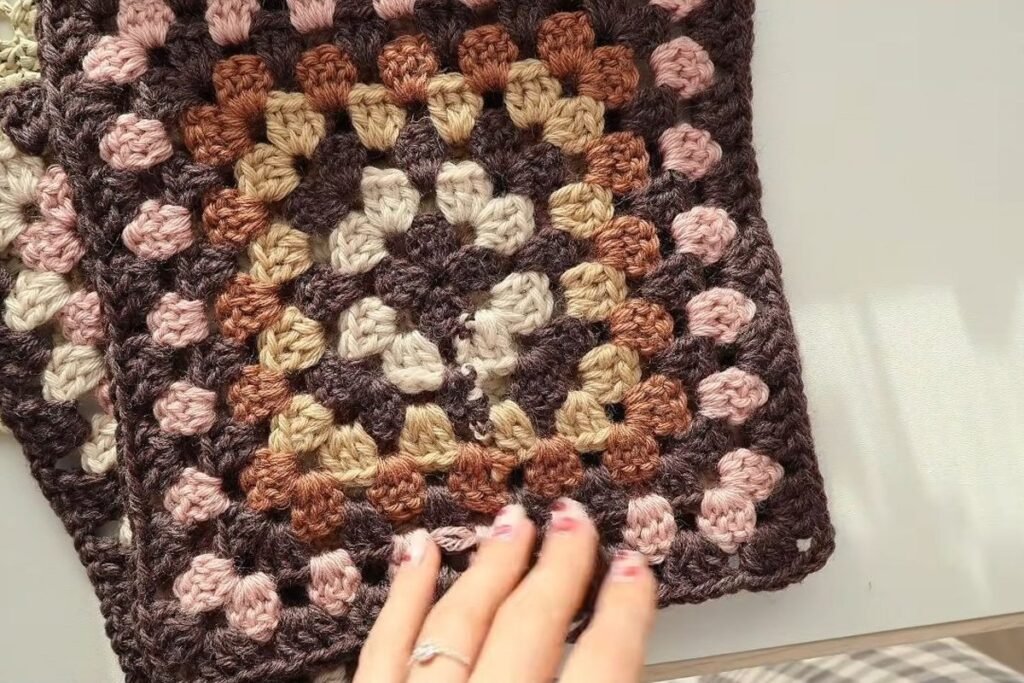
Step 10: Lay out the cardigan
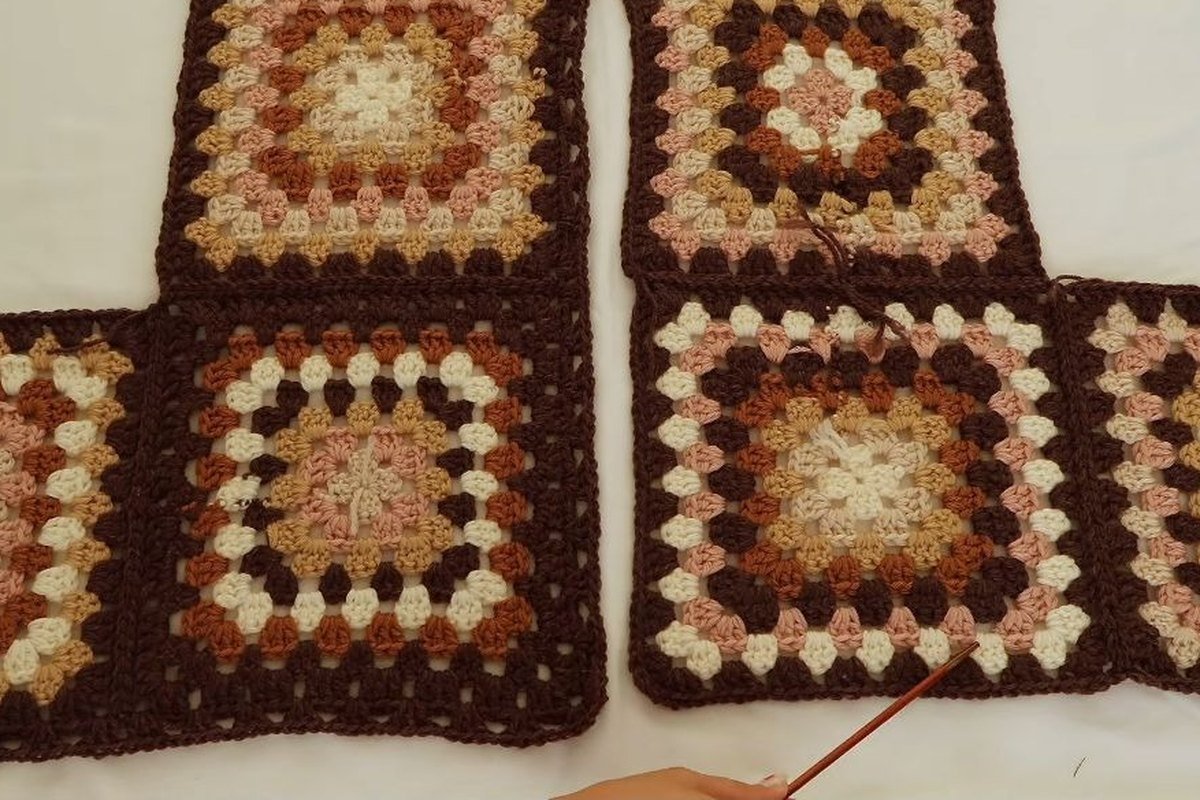
Lay the squares out in the shape of your crochet granny square cardigan: 4 for the back, 4 for the fronts, 4 for each sleeve. Decide now which square goes where. Leave a 2 cm gap down the centre back for the extra row in Step 13.
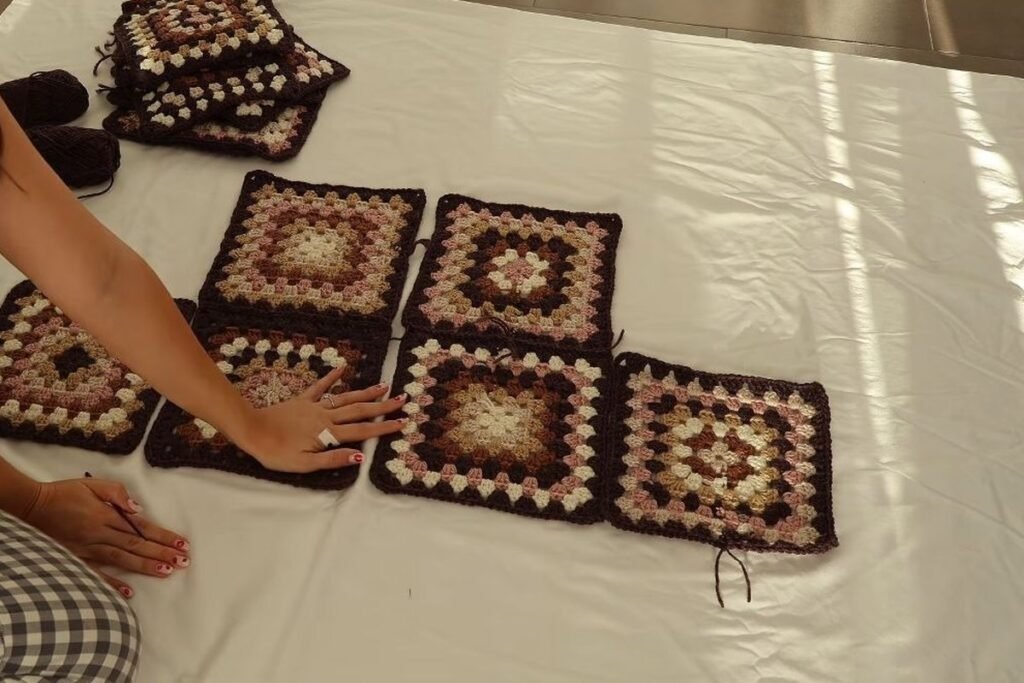
Step 11: Join with slip stitches through the front and back loops
Start with one back half: join 2 back squares, then 1 front square onto the top back square. Place the squares right sides together. Insert the hook into the front loop of the square facing you and the back loop of the other square, pull up a loop and slip stitch. At a corner, go into the middle chain of the corner.
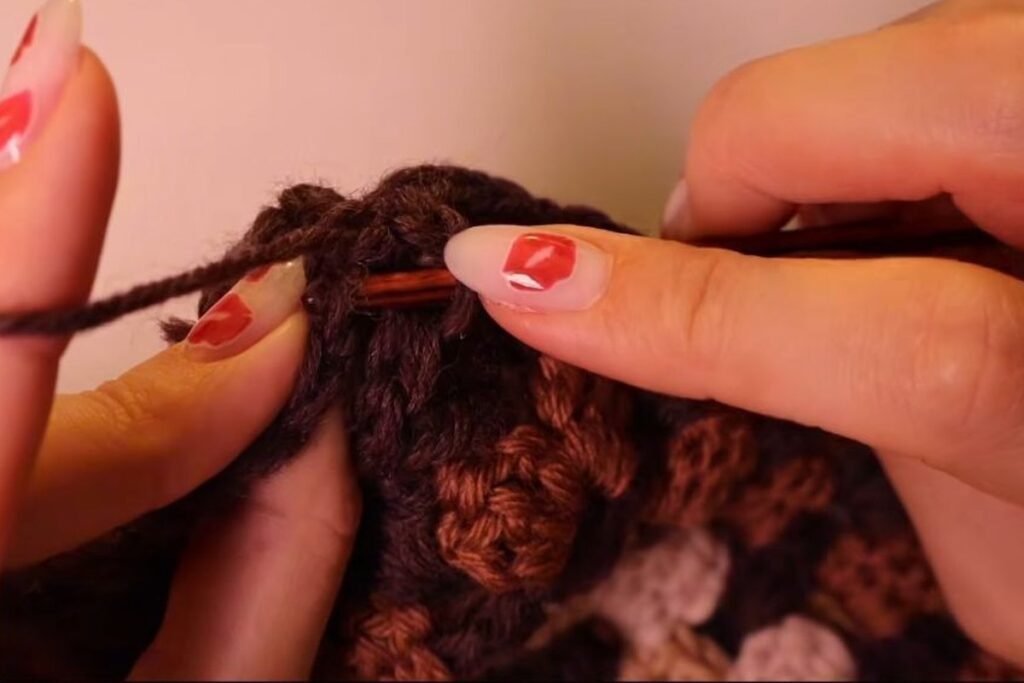
Step 12: Check the seam from the right side
Turn the work over. On the right side the seam is a neat flat line in the main colour; the ridge sits on the wrong side. If you see a ridge on the right side, the squares were joined wrong sides together.
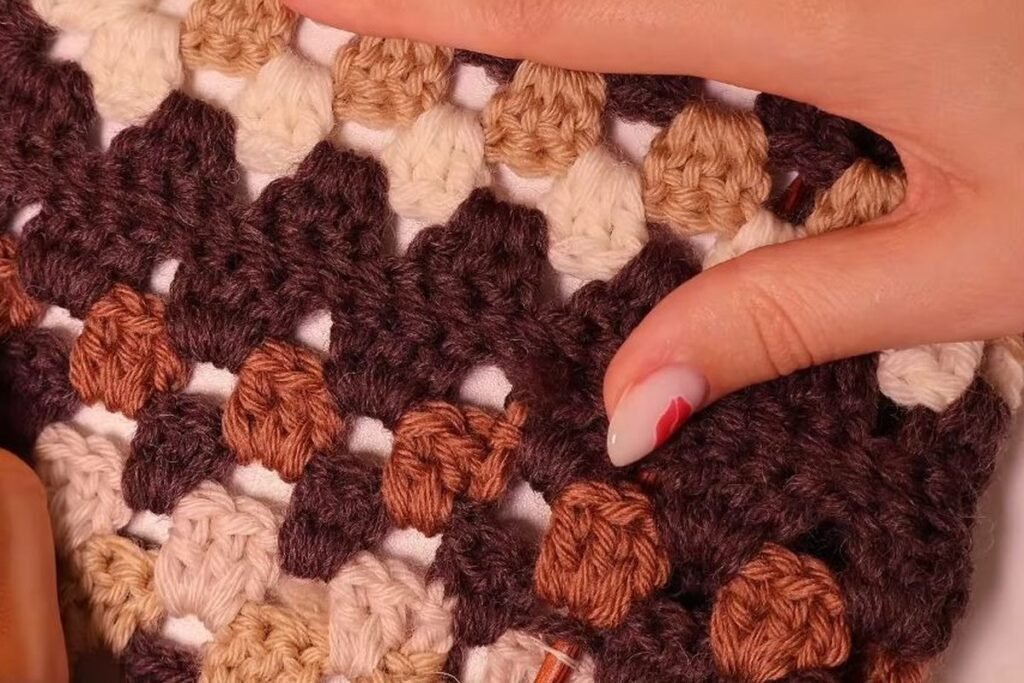
Step 13: Add the extra row to each back half
Join the yarn at the bottom corner: ch 3, 2 dc, then 3 dc and ch 1 in every space. At the seam between squares, skip the ch 1. At the corner work 3 dc, ch 3, 3 dc and go on to the top. Repeat on the other half with the wrong side facing, so the halves mirror.
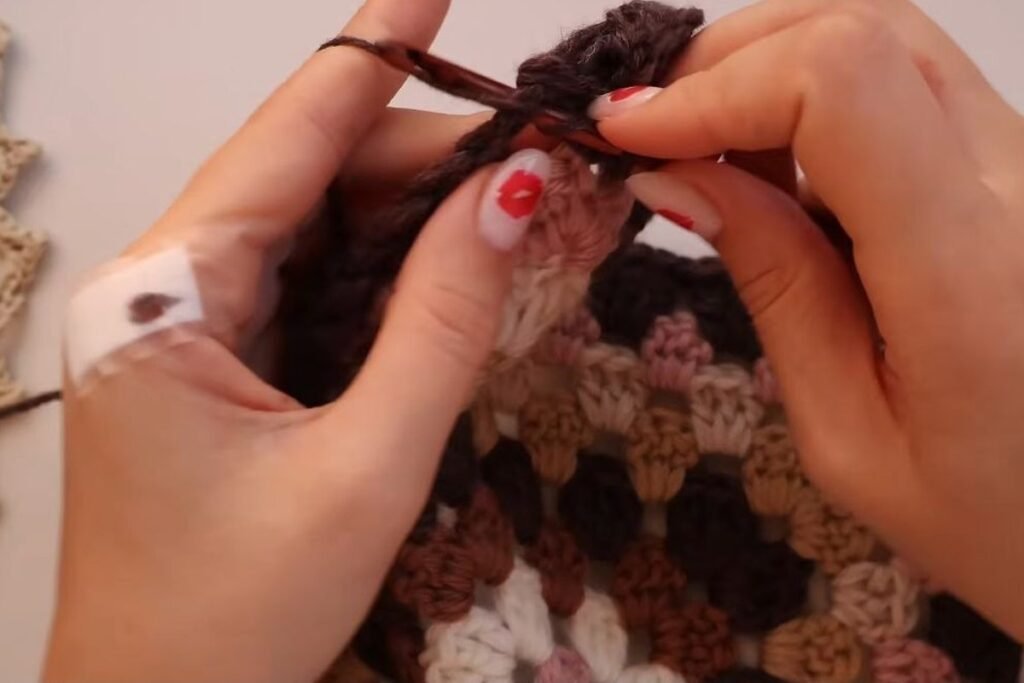
Step 14: Join the back and attach the fronts
Put the two back halves right sides together and join them with slip stitches from bottom to top. Do not cut the yarn. Place each front square right side to right side against the back and join it the same way, then turn the piece so the seams are inside.
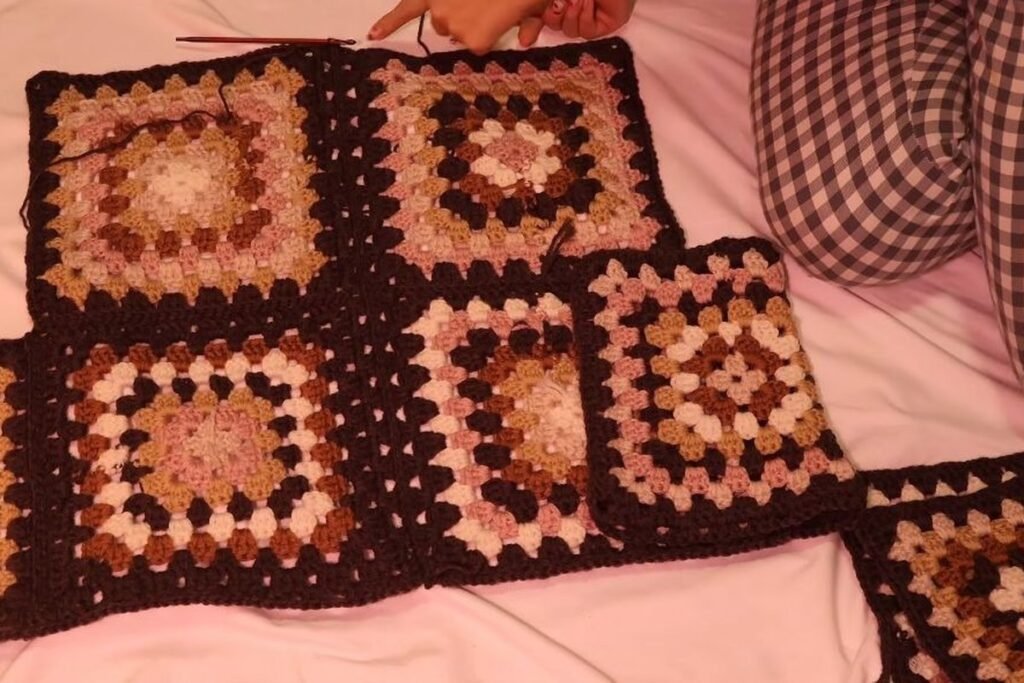
Step 15: Join the sleeve squares
Attach the first sleeve square to the body, then join the two front squares without cutting the yarn. Add a second square to that sleeve square, and join the remaining two sleeve squares to each other separately. Then attach that pair to the body, always right sides together.
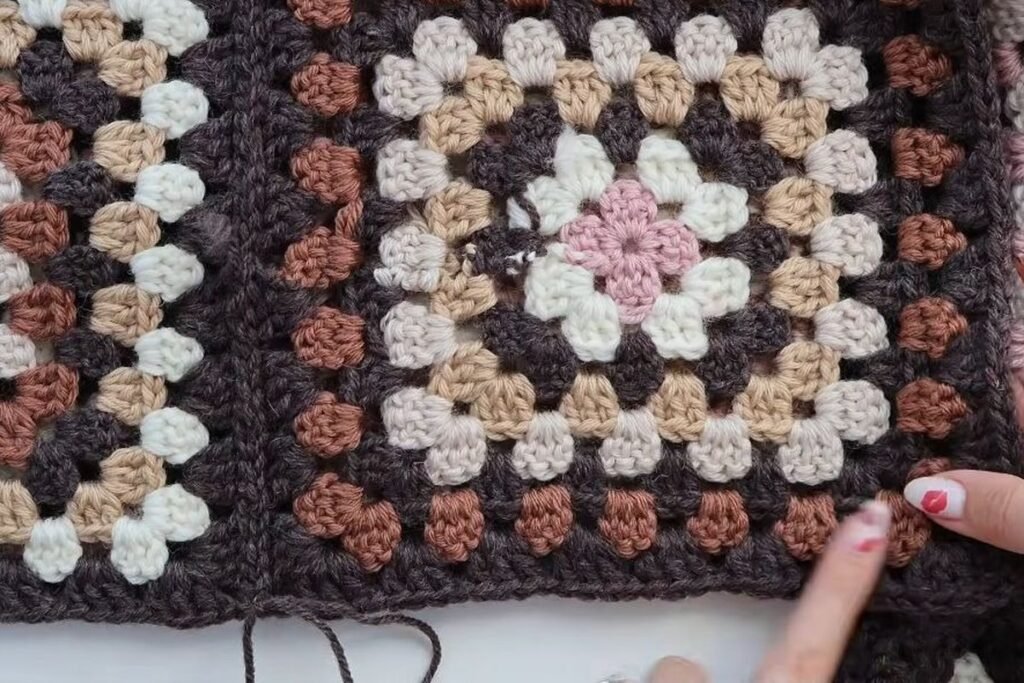
Step 16: Close the sleeve
Without cutting the yarn, fold the sleeve so the right sides face each other and join the underarm seam stitch by stitch. Turn it inside out to work the last seam. You can add one extra round of dc at the cuff if you want a longer sleeve. Repeat for the second sleeve.
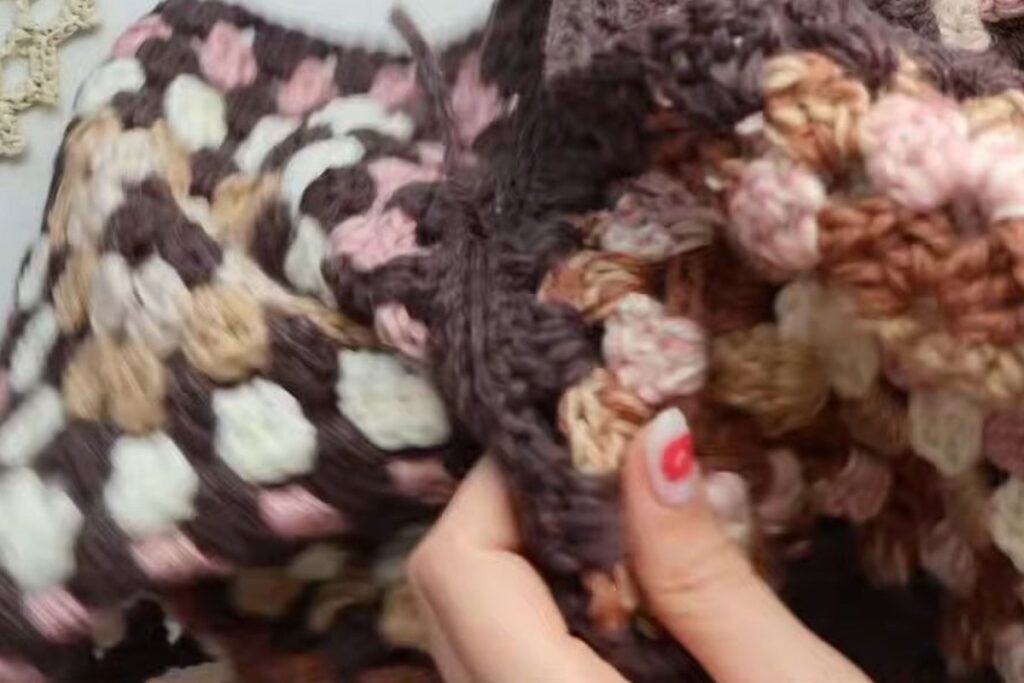
Step 17: Crochet the ties
Fold about 1 m of yarn and pull the fold through where the front squares meet. Yarn over with one strand, pull through with the other, and repeat to the length you want. Work both strands together, knot, and weave the end into the tie. Repeat on the other front.
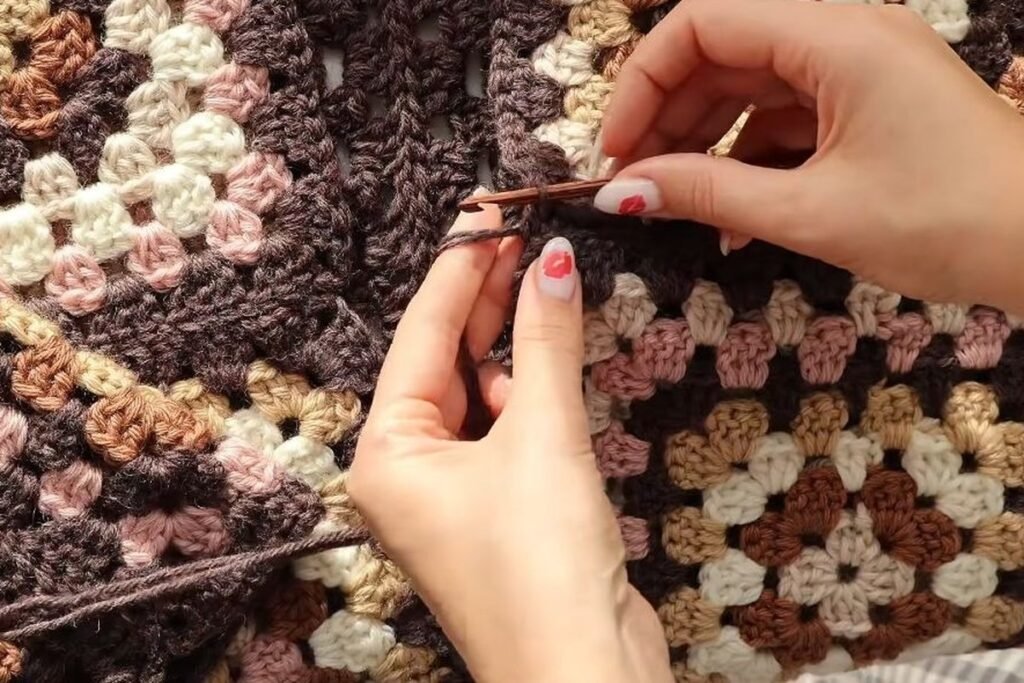
Step 18: Wash or block once more
The seams, the extra back row and the ties were added after the first blocking, so a final gentle wash and flat dry evens everything out. Your crochet granny square cardigan is finished.
Where Does a Crochet Granny Square Cardigan Go Wrong?
Three mistakes cause most of the trouble, and all three show up at the joining stage, when fixing them is slow.
- Squares that do not match. Six colours and 20 hours let tension drift, and one short square puts a step in the hem. Measure each square and block all 16 first.
- A ridge on the outside. The loop join only lies flat with right sides together. Check after the first seam, not the last.
- A back that is too narrow. Skip the extra row and the 2 cm gap stays, so the cardigan pulls across the shoulders.
The tail method leaves knots on the wrong side, but the right side shows no colour changes: 16 squares times 7 changes is 112 joins with no ends to weave.
What Hook Size Works for a Crochet Granny Square Cardigan?
The video uses a 4.5 mm hook with wool at about 110 m per 50 g. That sits at the bottom of the Craft Yarn Council hook range for light yarn, 4.5 to 5.5 mm, which gives a soft fabric that still holds the squares’ shape.
The designers we checked use 4.0 to 6.5 mm, three of them outside the standard range on purpose. Briana K Designs uses 4.0 mm and Dublin Bay Crochet 4.5 to 5 mm with worsted, below its 5.5 to 6.5 mm range, for dense fabric. Mama In A Stitch uses 6.0 mm with light bamboo, above 4.5 to 5.5 mm, for drape. Follow the pattern’s hook, not the label.
Only Airie prints a gauge: 14 stitches and 8 rows over 4 in on 6.5 mm. The others, like the video, give a square size instead. If your square misses it, change the hook.
How Much Yarn Does a Crochet Granny Square Cardigan Take?
About 1 kg for size S to M in the video. At about 110 m per 50 g that is 20 balls, roughly 2,200 m or about 2,406 yd. Spread over 16 squares, that is at most about 62.5 g, or 137.5 m, per square, and that figure also covers the seams, the extra back row and the ties.
| Pattern | Squares | Yarn printed | Hook |
|---|---|---|---|
| This video | 16 of 26 cm | About 1 kg (S to M) | 4.5 mm |
| Briana K Designs | Counted per colour | 1,450 yd (XS) to 3,000 yd (5X) | 4.0 mm |
| Clove Cardi | 37 | About 1,980 yd (11 skeins) | 3.75 to 6.0 mm |
| Wildflower | 45 / 60 / 91 | 460 / 612 / 930 g, no yardage printed | 6.0 mm |
| Airie | 60 / 82 / 97 / 124 | No total in the pattern text | 6.5 mm |
| Daisy Dreams | 38 plus 16 rectangles (XS) to 89 (XXL) | Metres per colour only, no total | 4.5 to 5 mm |
Buy by weight or length, not ball count. For a bigger crochet granny square cardigan, add rounds to each square and more yarn. Buy all the main colour in one dye lot.
Five More Free Granny Square Cardigan Patterns
These five free patterns use small squares and printed size ranges, each on the designer’s own page.
- Crochet Granny Square Cardigan, Briana K Designs: 9 sizes from XS to 5X, 3.5 or 3.75 in squares.
- The Clove Cardi, Meghan Makes Do: 37 squares, sized by hook from 6.0 in to 7 in squares.
- Wildflower Granny Square Cardigan, Mama In A Stitch: puff-stitch flower squares in light bamboo yarn.
- Airie Granny Square Cardigan, Off The Beaten Hook: 4 in squares in merino, 4 sizes.
- Daisy Dreams Cardigan, Dublin Bay Crochet: daisy squares, 11 or 12 cm, 6 sizes.
Crochet Granny Square Cardigan FAQ
How many granny squares do you need for a cardigan?
It depends on the square size. This cardigan uses 16 squares of 26 cm. Free patterns with small squares use 37 to 124.
How big should the squares be for a granny square cardigan?
In this method, half of the finished length. A 52 cm cardigan needs 26 cm squares. Small-square patterns use squares of about 3.5 to 4 in.
Is a crochet granny square cardigan good for beginners?
Yes, if you can make a granny square. The only stitches are chain, double crochet and slip stitch, and with 16 squares there are few seams to join.
How long does a granny square cardigan take to make?
The one in the video took about 20 hours, including 16 squares, joining, the extra back row and the ties.
How much yarn do I need for a granny square cardigan?
About 1 kg of wool at about 110 m per 50 g for size S to M. One worsted pattern lists 1,450 yd at XS up to 3,000 yd at 5X.
Do I have to weave in all the ends?
No. Each new colour is knotted to the old one and the tails are worked under the next round, so there are no ends to weave in. The knots show only on the wrong side.
Where to Go Next
- Crochet clothes for women, including the free crochet head scarf pattern.
- Stitches and squares, with the pumpkin granny square and Halloween granny squares for more motifs.
- Crochet accessories, such as the free crochet shoulder bag pattern.
Sources
- Granny Square Cardigan, Crochet Tutorial for Beginners (video)
- Craft Yarn Council, Standard Yarn Weight System
- Briana K Designs, Crochet Granny Square Cardigan
- Meghan Makes Do, The Clove Cardi
- Mama In A Stitch, Wildflower Granny Square Cardigan
- Off The Beaten Hook, Airie Granny Square Cardigan
- Dublin Bay Crochet, Daisy Dreams Cardigan
Video credit: The steps in this crochet granny square cardigan guide are retold in our own words from the video tutorial Granny Square Cardigan, Crochet Tutorial for Beginners by Nora Moon – handmade clothes with love on YouTube, and the step photos are frames from that video, cropped to show the work only. We did not make the cardigan ourselves. Watch the video for the full demonstration and support the creator.