Crochet Pullover Sweater Pattern: Free Bead Stitch, 6 Sizes
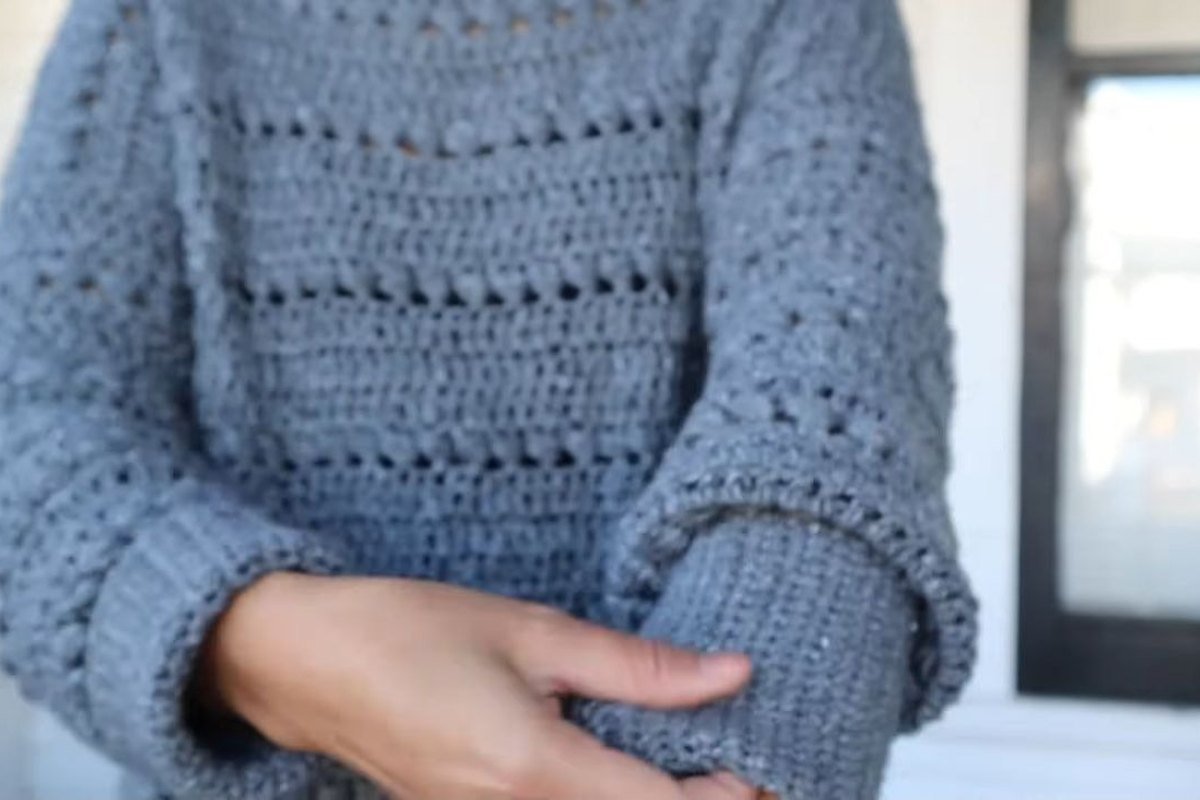
This crochet pullover sweater pattern is made from four flat rectangles: two identical body panels and two sleeves, sewn together at the end, so there is no shaping and no counting in the round. For size Small it takes 960 yards of medium weight yarn and a 6 mm hook, and the finished panel is 21.66 in wide by 19.83 in long after blocking.
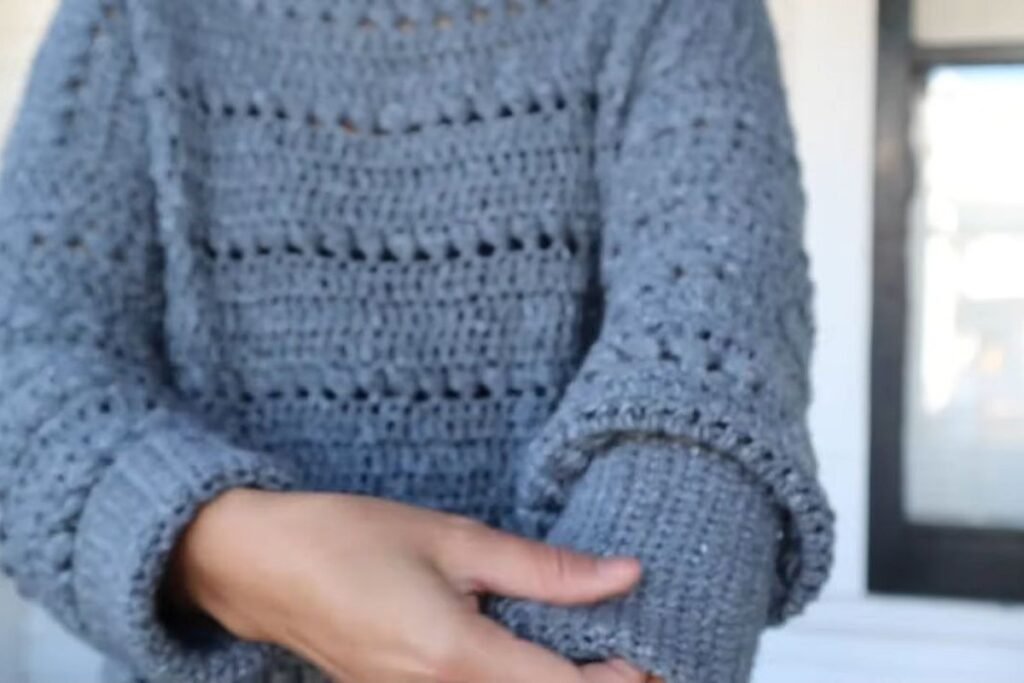
One count is easy to get wrong. The written version lists 25 rows for size Small, but the shoulder row that leaves the neck open is row 26, and only 26 rows of double crochet plus the ribbing reach the stated 19.83 in length. Count 26 and your sweater will match the measurements.
Below you get the materials, the measurements and yardage for all six sizes, the bead stitch explained slowly, 18 photo steps taken from the video tutorial, three ways this sweater goes wrong, and five more free patterns to try next.
- What you need
- Sizes, measurements and yardage
- Stitches and the stitch multiple
- Step by step in 18 photos
- Where it goes wrong
- Why two hook sizes
- How much yarn
- Five more free patterns
- FAQ
- Where to go next
- Sources
What You Need for This Crochet Pullover Sweater Pattern
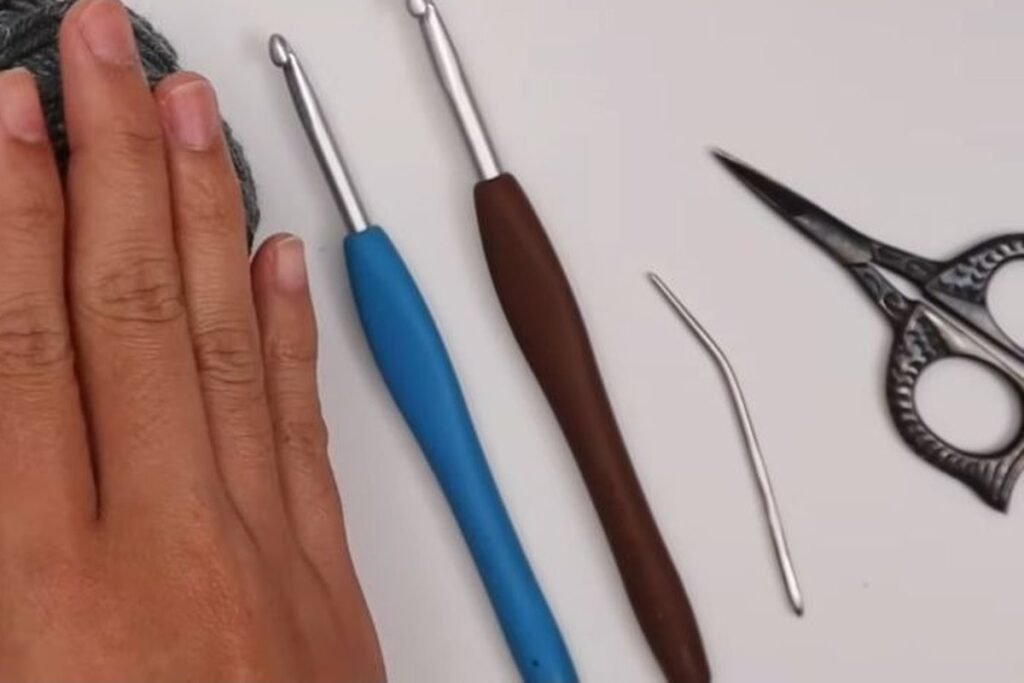
You need about 960 yards of medium weight yarn for size Small, a 6 mm hook for the body and a 5 mm hook for the cuffs. Everything else is a yarn needle, scissors and four stitch markers.
| Item | What to use |
|---|---|
| Yarn | Medium weight (category 4). The video uses Lion Brand Jeans in the shade Vintage |
| Yardage, size S | 960 yd (878 m) |
| Hooks | 6 mm for the ribbing and body, 5 mm for the sleeve cuffs |
| Gauge | 12 dc and 6 rows = 4 in, blocked |
| Finished panel, size S | 21.66 in wide x 19.83 in long |
| Pieces | 4: front, back and two sleeves |
| Tools | Yarn needle, scissors, 4 stitch markers |
Crochet Pullover Sweater Pattern Sizes, Measurements and Yardage
The sweater comes in six sizes, XS to XXL, and every size is a stitch count divided by 3, because the gauge is 3 double crochet stitches per inch. The video demonstrates size Small. The numbers below come from the designer’s free written page; the metres are our conversion.
| Size | Panel width | Length | Yarn | Metres | Balls of 246 yd |
|---|---|---|---|---|---|
| XS | 19.66 in | 19.83 in | 910 yd | 832 m | 4 |
| S | 21.66 in | 19.83 in | 960 yd | 878 m | 4 |
| M | 23.66 in | 19.83 in | 1,010 yd | 924 m | 5 |
| L | 25.66 in | 22.5 in | 1,110 yd | 1,015 m | 5 |
| XL | 27.66 in | 22.5 in | 1,160 yd | 1,061 m | 5 |
| XXL | 29.66 in | 22.5 in | 1,210 yd | 1,106 m | 5 |
Each size step adds 6 stitches, which is 2 in per panel and 4 in around the body. Sizes L to XXL add one more 4-row repeat, which is why the length jumps from 19.83 in to 22.5 in.
To pick a size, measure your bust. The Craft Yarn Council body chart puts size S at a 32 to 34 in bust. Two Small panels make 43.3 in around, so this is a relaxed sweater with roughly 9 to 11 in of positive ease. If you want a closer fit, go down one size.
Stitches and the Stitch Multiple
This crochet pullover sweater pattern uses only chains, single crochet, double crochet and the bead stitch. Crochet has two naming conventions, and we give both names so nothing gets lost.
| Name used here | Other convention | Where it is used |
|---|---|---|
| Chain (ch) | Chain | Foundations and turning chains |
| Single crochet (sc) | Double crochet | Waist ribbing and cuffs |
| Double crochet (dc) | Treble crochet | All plain body and sleeve rows |
| Bead stitch | Bead stitch (built on a treble) | Every fourth row |
| Skip | Miss | The row after each bead row |
The bead stitch. Work 1 dc. Then, 3 times, yarn over, put the hook behind the post of that same dc, yarn over and pull up a loop. You now have 7 loops on the hook. Yarn over and pull through 6 loops, then yarn over and pull through the last 2.
The stitch multiple. Each panel needs an odd count: 2 stitches per bead plus 1. Size S has 65 stitches in the body (32 beads) and 35 in the sleeve (17 beads). The pattern repeats over 4 rows: one bead row, one dc row with a skip at the end, and two plain dc rows.
Crochet Pullover Sweater Pattern Step by Step in 18 Photos
These steps follow size Small of the crochet pullover sweater pattern, as shown in the video. The designer’s page has the counts for the other five sizes.
Step 1: Gather the yarn and hooks
Get both hooks, four markers and a yarn needle ready. The video uses 246 yd balls, so size S needs 4.
Step 2: Understand the four-piece layout
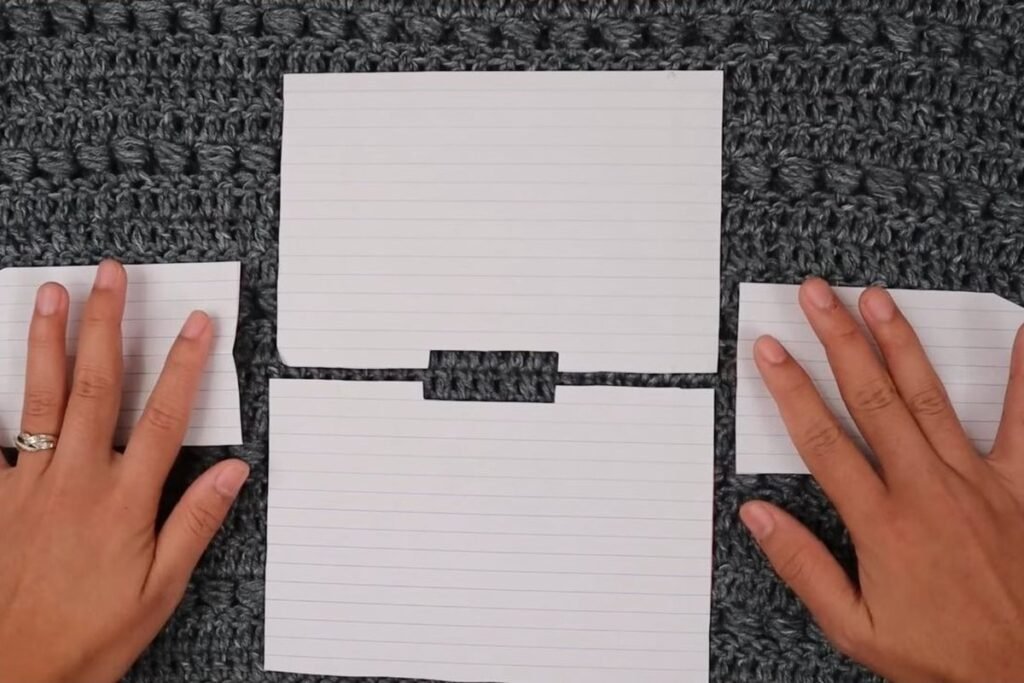
You make two identical body rectangles and two identical sleeve rectangles. The sleeves are sewn to the side edges at the shoulder line, then the sweater is folded and each side is sewn from hem to cuff in one pass.
Step 3: Chain 11 for the waist ribbing
With the 6 mm hook, chain 11 loosely. Single crochet in the second chain from the hook and in every chain after it, for 10 sc. Working into the back bump gives a neater edge.
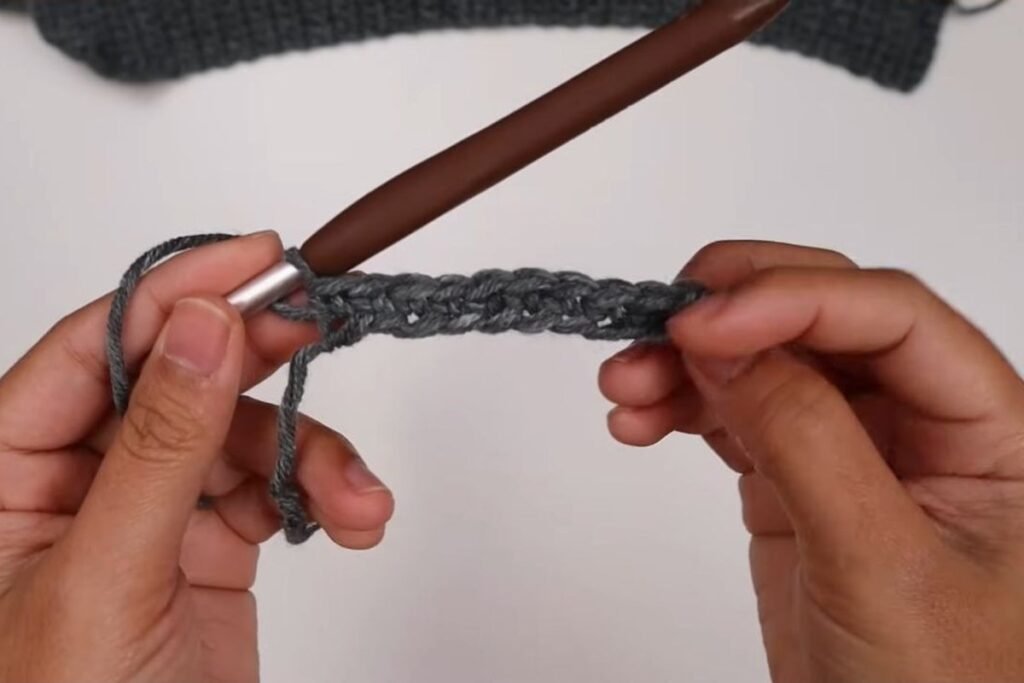
Step 4: Grow the ribbing strip to 65 rows
Chain 1, turn and single crochet across. Repeat until the strip has 65 rows of 10 sc. The rows, not the length, set the width of the panel, so count them.
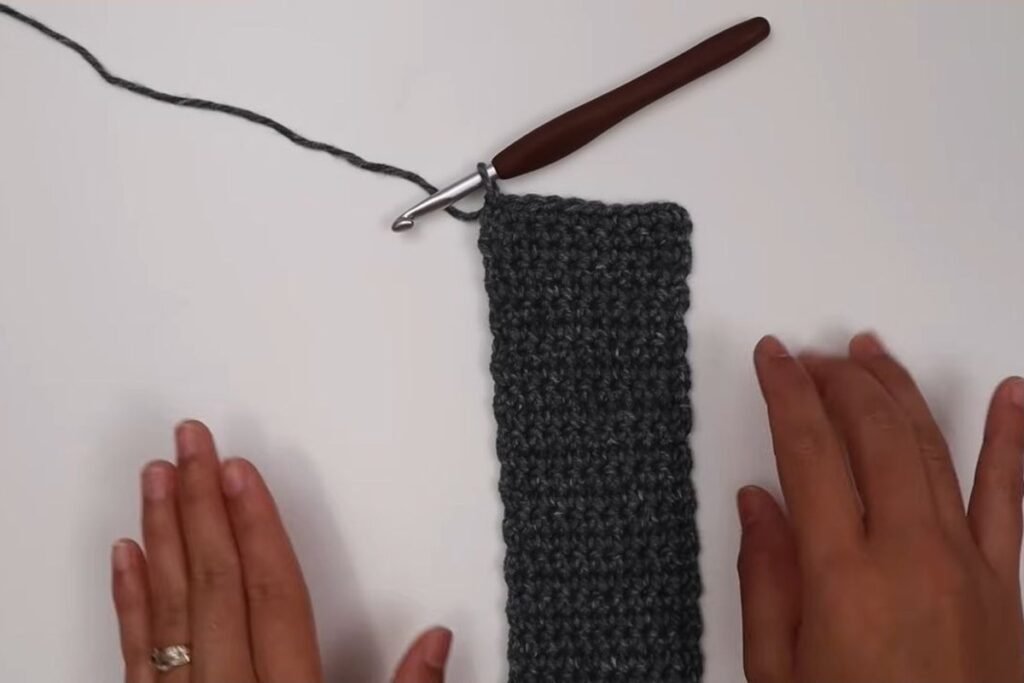
Step 5: Work row 1 into the row ends
Do not cut the yarn. Turn the strip on its side, chain 3 (it counts as a stitch) and work 1 dc into each row end. You end with 65 stitches. This row is the wrong side.
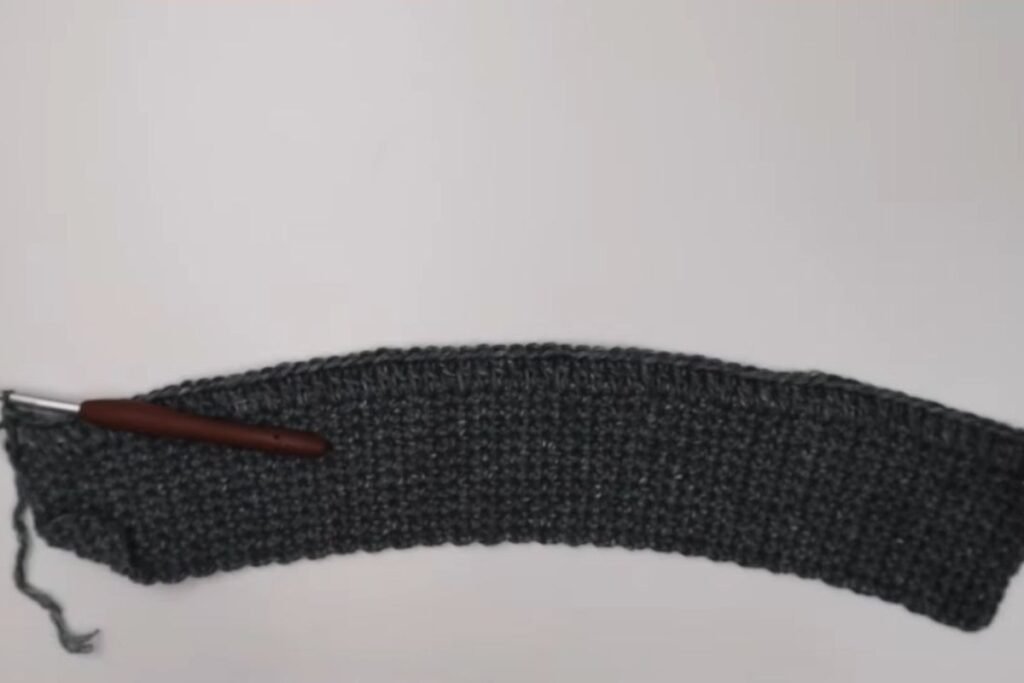
Step 6: Make the first bead stitch
Row 2: chain 3 and turn. In the next stitch, make a bead stitch: 1 dc, then pull up 3 loops around its post until 7 loops sit on the hook. Pinch the base of the loops with your thumb and middle finger and point the hook down while you pull through 6.
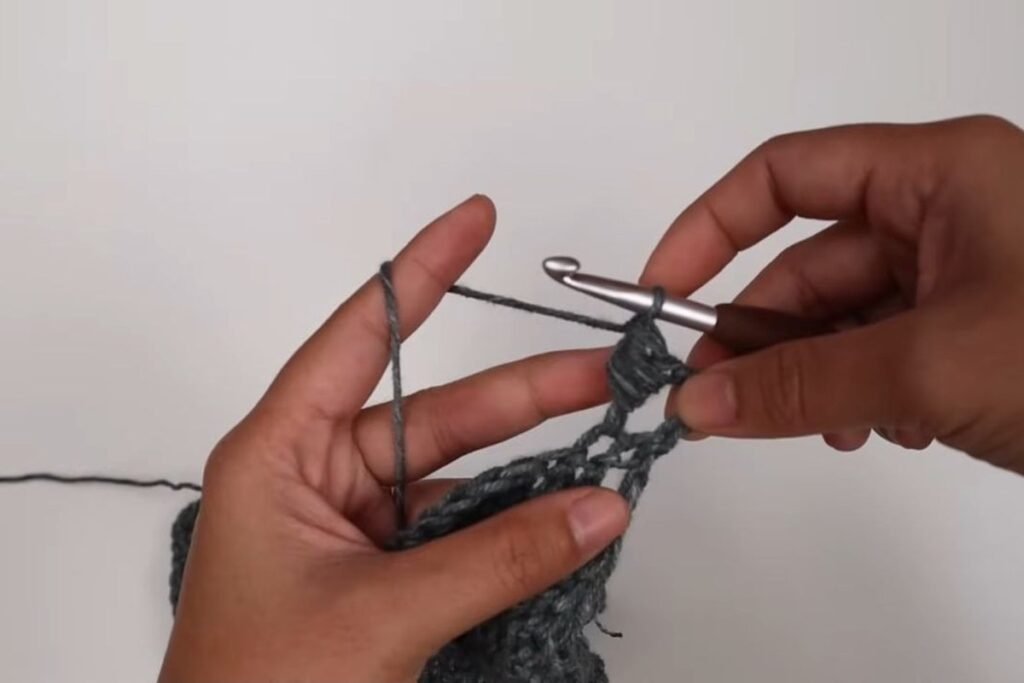
Step 7: Finish the bead row
Skip 1 stitch, bead stitch in the next, and repeat across. When 1 stitch is left, work a dc into the top of the turning chain. You should have 32 beads with 1 plain dc at each edge.
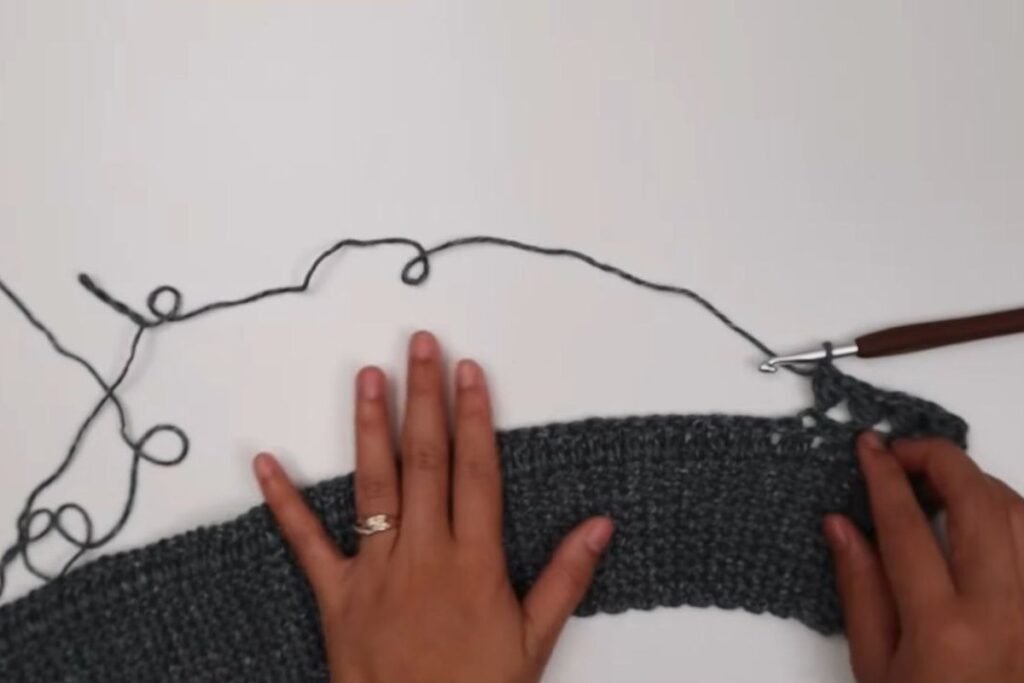
Step 8: Rows 3 to 5, with one skip
Row 3: chain 3, dc in each stitch until 2 remain, skip 1, dc into the turning chain. Each bead leaves 2 tops, so this skip brings the count back to 65. Rows 4 and 5 are plain dc across.
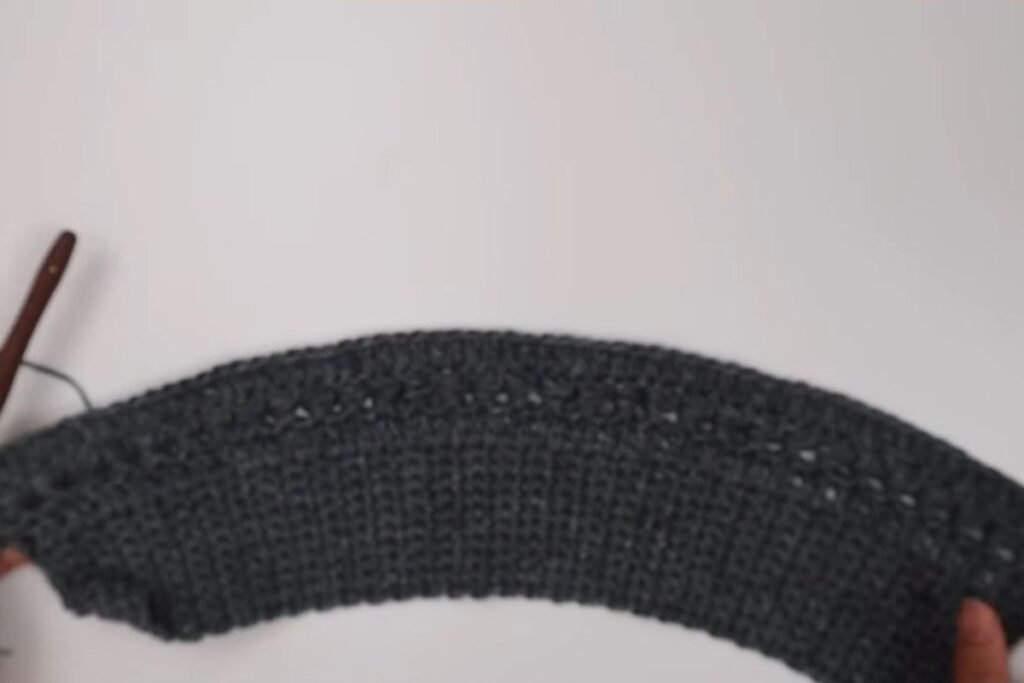
Step 9: Repeat the 4-row pattern
Rows 2 to 5 are the repeat. Work it 6 times in all, ending on row 25. The panel now shows 6 bead rows.
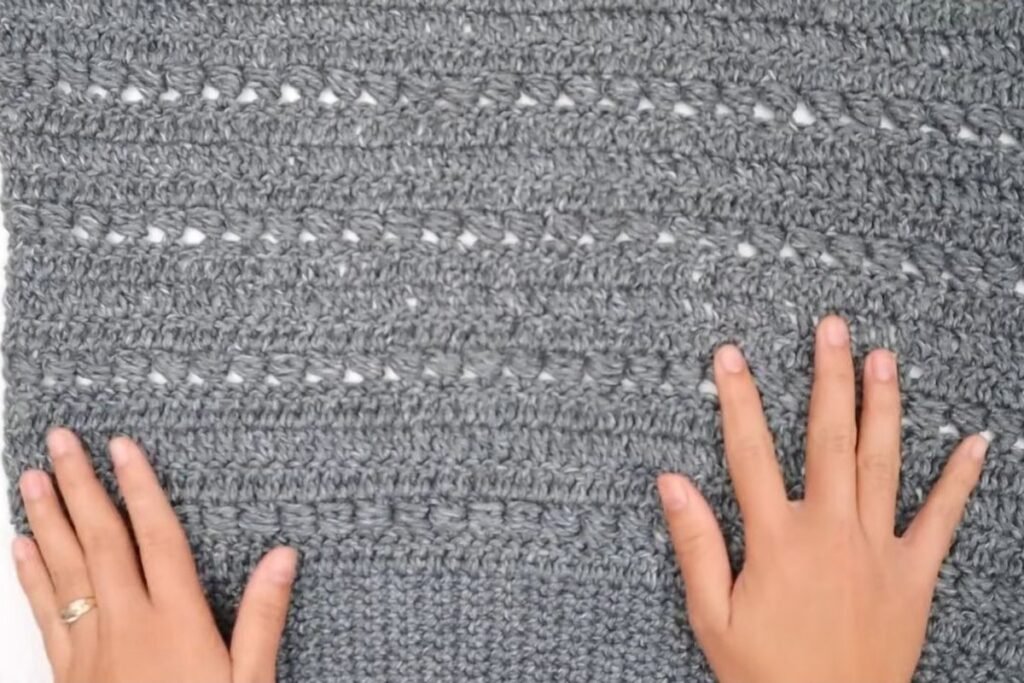
Step 10: Row 26 makes the shoulders and neck
Chain 3 and dc in the next 21, for 22 stitches, then cut the yarn. Skip 21 stitches for the neck, join the yarn again, chain 3 and dc to the end for another 22. Leave a 12 to 16 in tail for the shoulder seam. Make the second panel the same way.
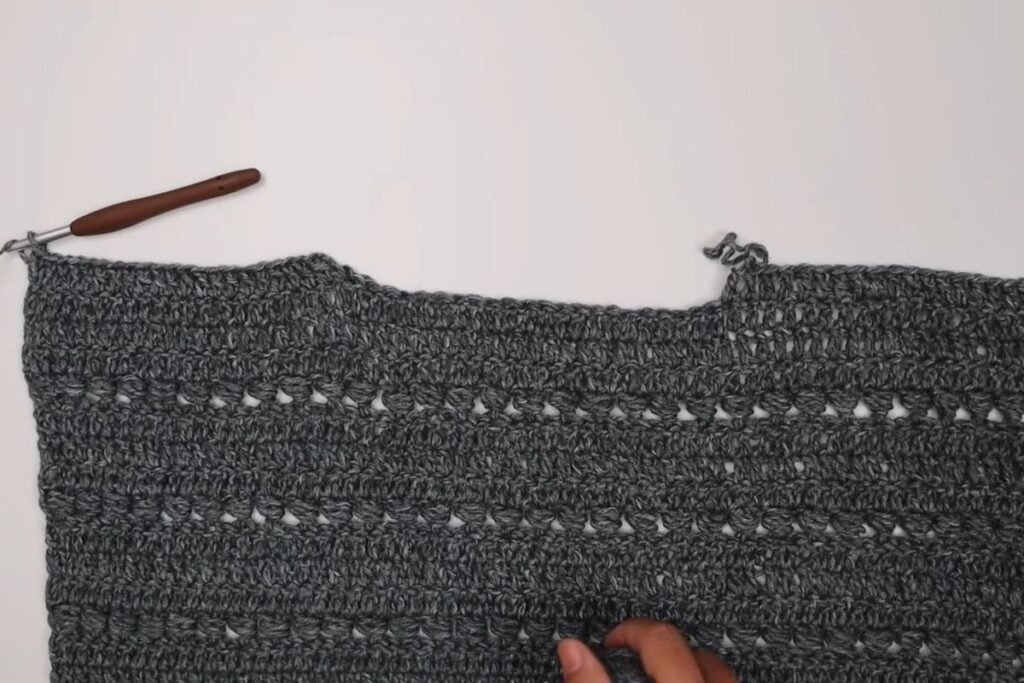
Step 11: Make the sleeve cuff
Switch to the 5 mm hook. Chain 21 and single crochet from the second chain for 20 sc. Work sc rows the same way as the waist ribbing until the cuff has 35 rows.
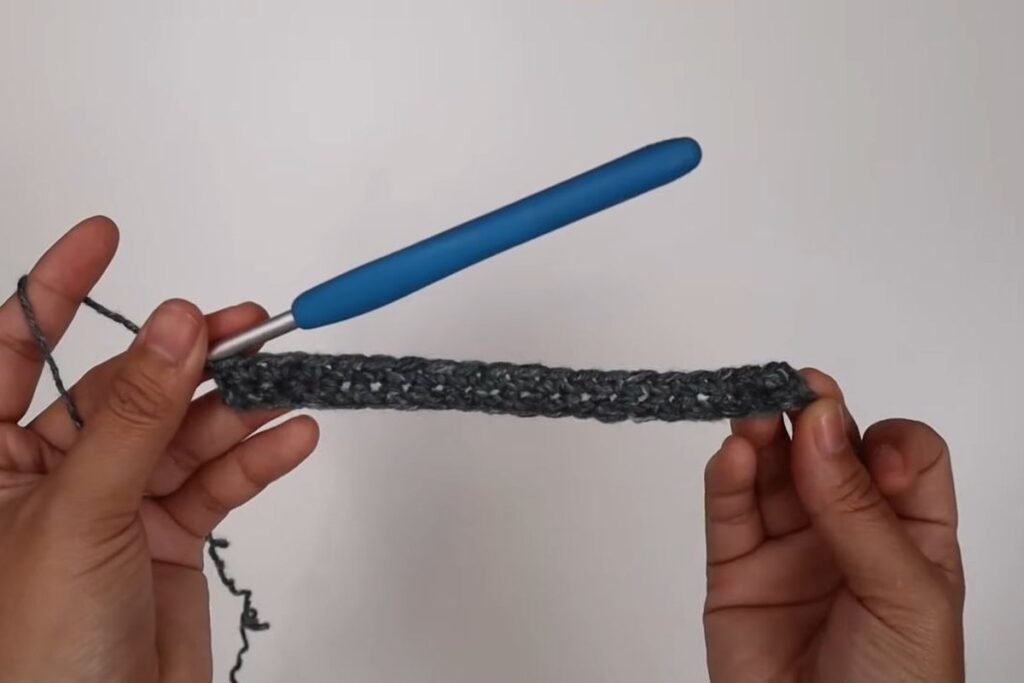
Step 12: Change to the 6 mm hook
Turn the cuff on its side and pick up the 6 mm hook. Chain 3 and work 1 dc into each row end, for 35 stitches. This row is the wrong side.
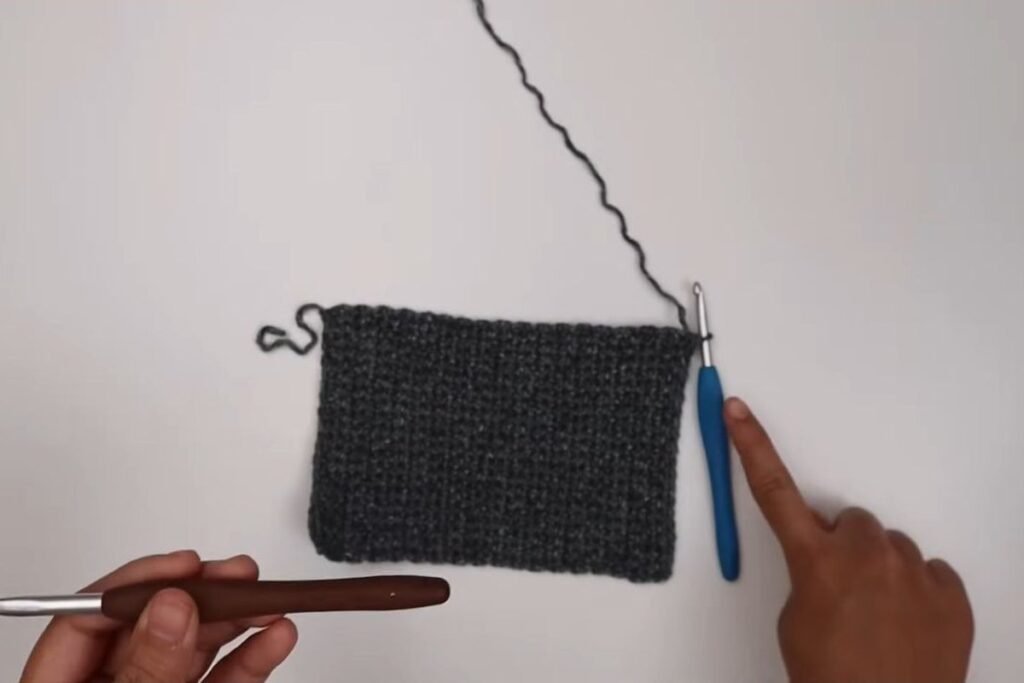
Step 13: Work the sleeve bead rows
Work the same 4-row repeat as the body. The bead row has 17 beads, and the skip on the next row brings you back to 35 stitches.
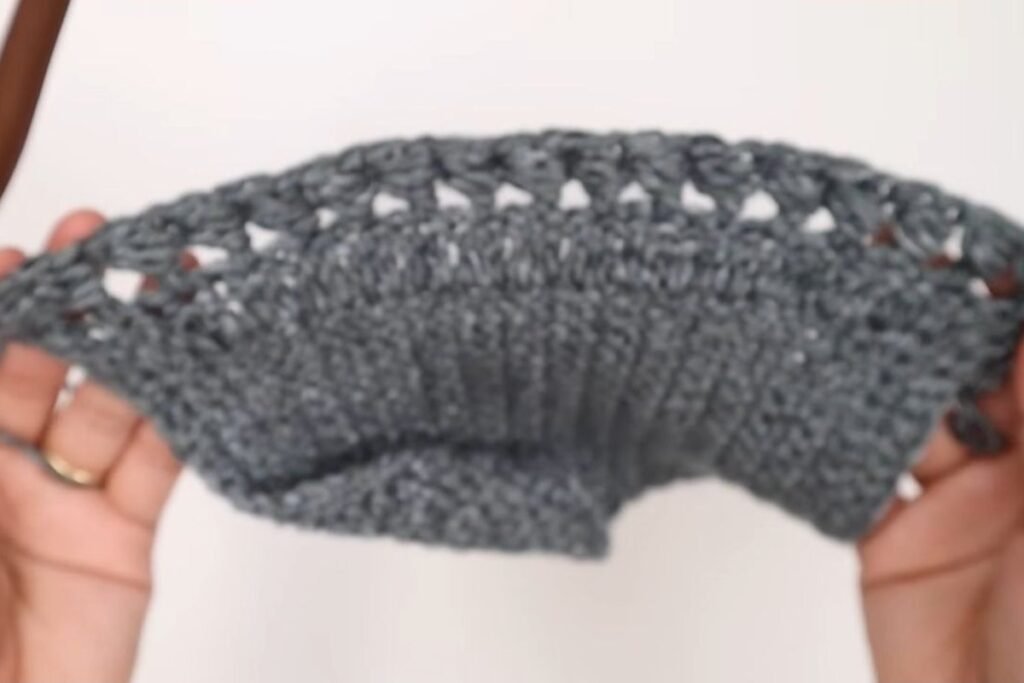
Step 14: Finish both sleeves
Repeat the 4 rows 5 times in all, for 21 rows above the cuff. Add or remove repeats to change the sleeve length. Leave a tail of 30 to 40 in for sewing, and make a second sleeve.
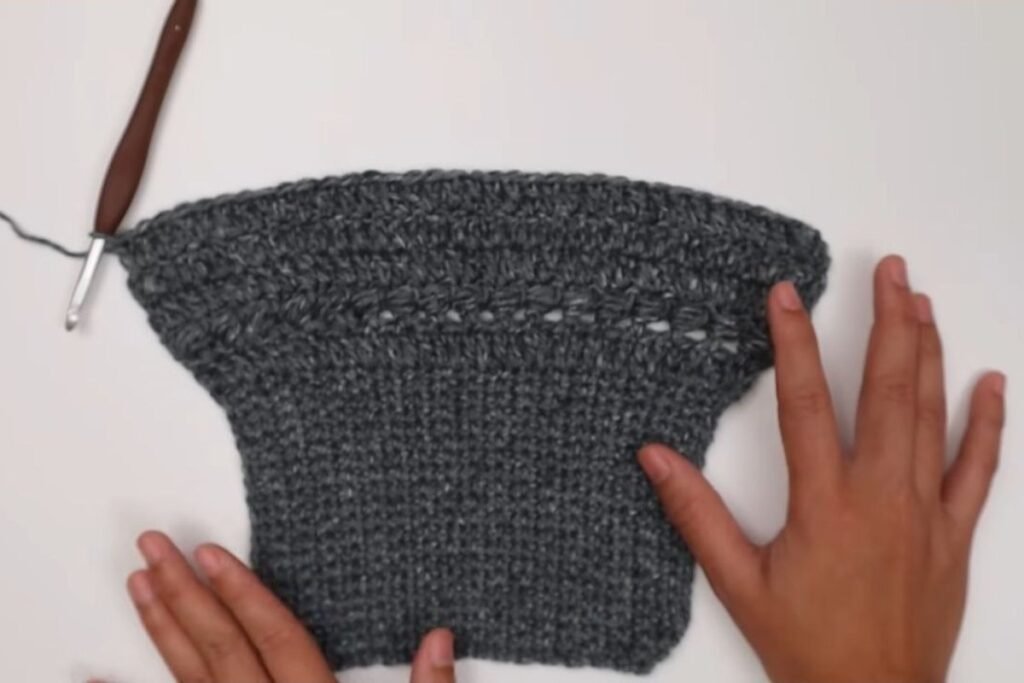
Step 15: Sew the shoulder seams
Lay both panels wrong side up with the shoulders touching. Use the shoulder tail to sew stitch to stitch through both loops, going into the first stitch twice to lock it. The 21 skipped stitches on each panel form the neck.
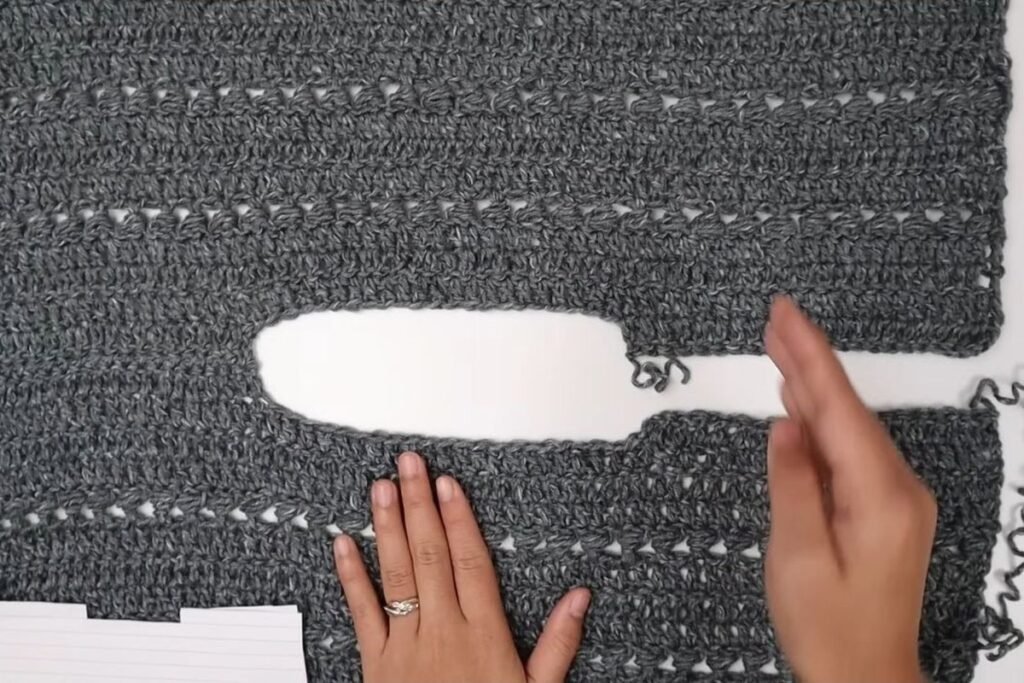
Step 16: Set in the sleeves
Split the sleeve top 17 + 1 + 17 and place the middle stitch on the shoulder seam. Mark 10 rows down from the shoulder on the front and on the back. Sew those 10 row ends to 17 sleeve stitches on each side.
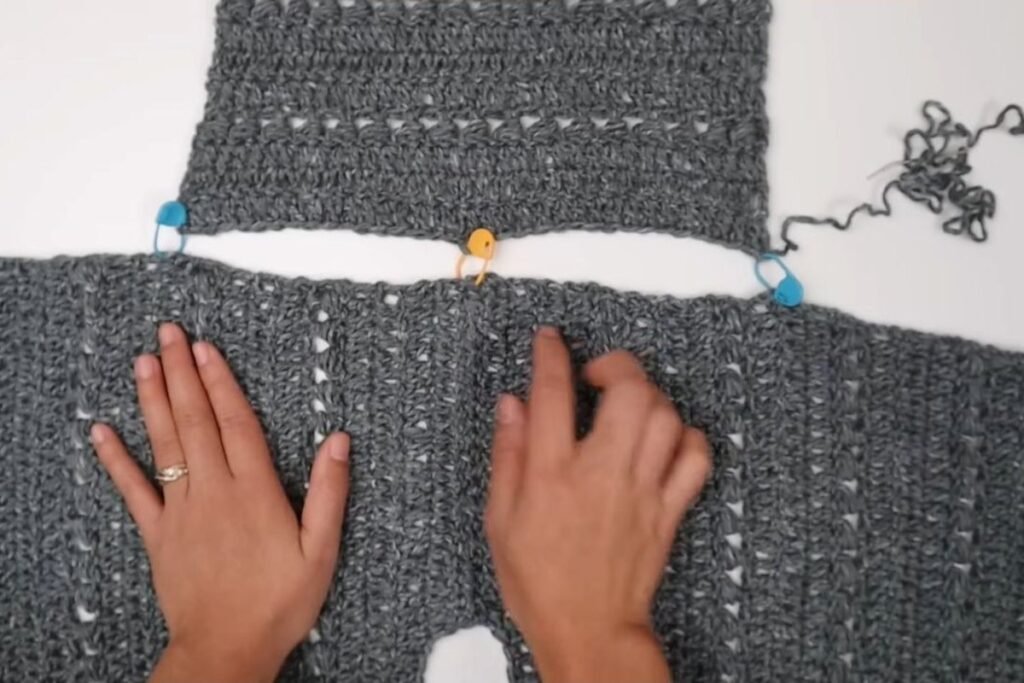
Step 17: Sew the side and sleeve seams
Fold the sweater right sides together. Sew from the hem up to the underarm, then down the sleeve to the cuff, in one pass. Cut a working length of 70 to 80 in for each side.
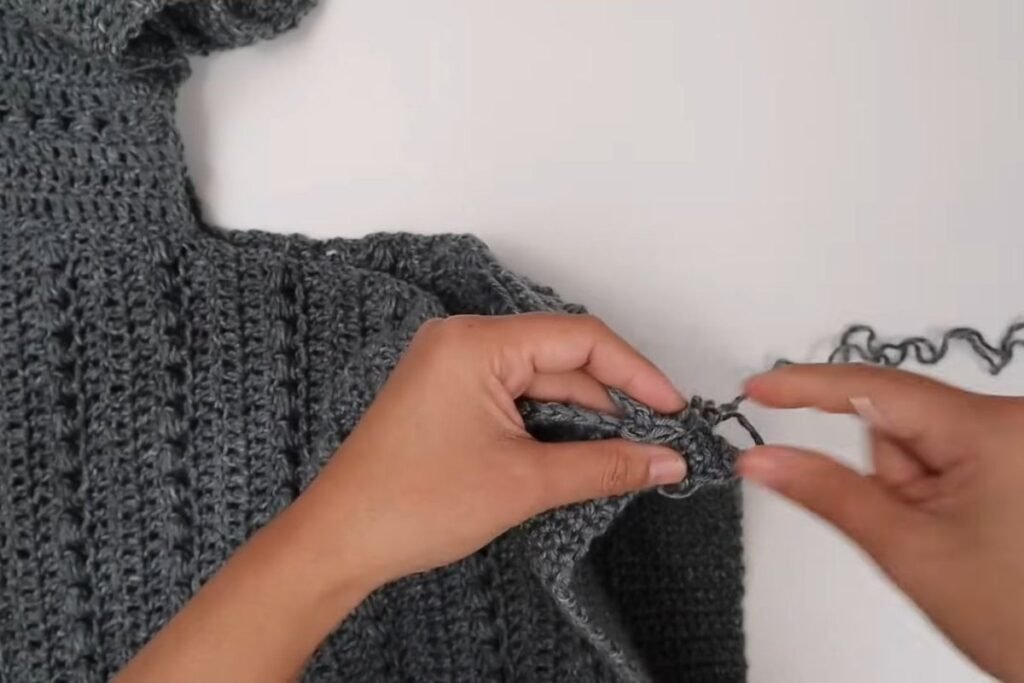
Step 18: Weave in ends and block
Weave in every end and turn the sweater right side out. The measurements are given blocked, but the video does not show blocking. Our general advice: wet the sweater, press out the water, lay it flat to the stated measurements and let it dry.
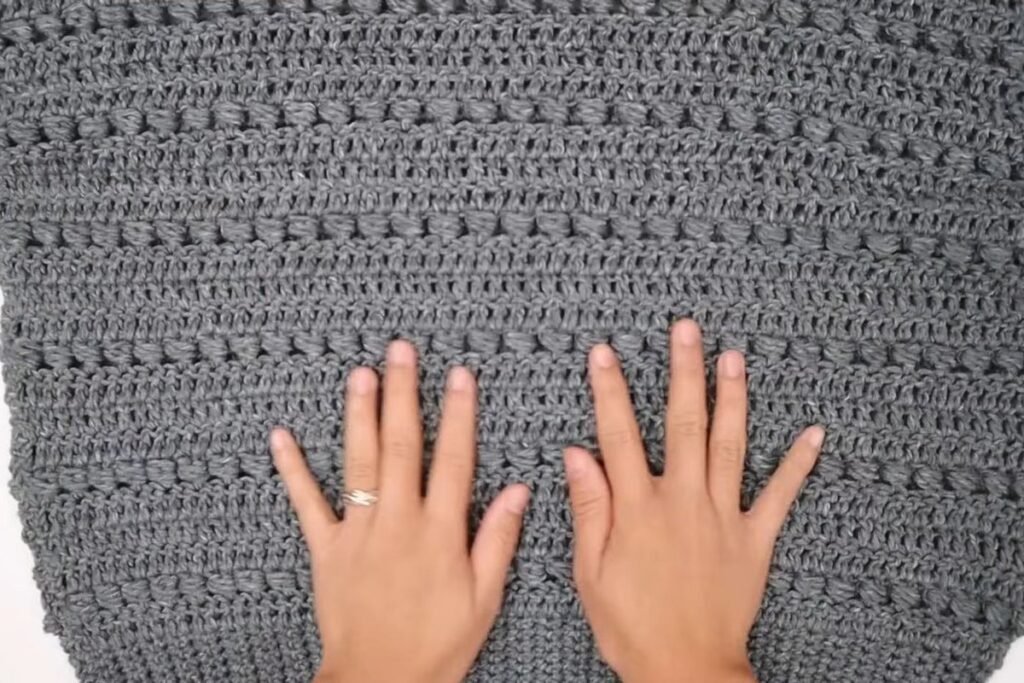
Where This Crochet Pullover Sweater Pattern Goes Wrong
Three mistakes cause most problems with this crochet pullover sweater pattern, and all three are easy to avoid.
1. The panel keeps getting wider. This happens when you forget the skip on the row after a bead row. Each bead leaves 2 tops, so a bead row ends with 66 stitches. Without the skip you add a stitch every repeat, and after 6 repeats the top of the panel is 6 stitches, or 2 in, wider than the bottom.
2. The width is off even though the rows are right. The ribbing sets the width, because you work 1 dc into each of its row ends. If you stop the strip when it “looks long enough” instead of counting 65 rows, the whole panel changes. Check your gauge too: at 12 dc per 4 in, 65 stitches give 21.67 in.
3. The sleeve seam puckers. The armhole is 10 rows front and back, about 6.67 in each side, but each half of the sleeve top is only 17 stitches, about 5.67 in. The body edge must be eased in. Spread the extra evenly with pins or markers instead of bunching it at the end.
Why This Crochet Pullover Sweater Pattern Uses Two Hook Sizes
The 6 mm hook makes the body and sleeves, and the 5 mm hook makes only the cuffs, so the cuffs are firmer and hug the wrist. The Craft Yarn Council range for medium weight yarn is 5.5 to 6.5 mm, so 6 mm sits in the middle and the 5 mm cuff is a deliberate step below it.
In any crochet pullover sweater pattern, your gauge matters more than the hook. If your swatch gives more than 12 dc per 4 in, go up a hook size. If it gives fewer, go down. One stitch per 4 in changes a Small panel by nearly 2 in.
How Much Yarn a Crochet Pullover Sweater Pattern Takes
Size Small takes 960 yd, which is 4 balls of the 246 yd yarn in the video, with 24 yd to spare. The yardage rises by about 50 yd per size, with a bigger jump from M to L because of the extra repeat. Buy all your balls from one dye lot.
Our count: size S takes 554 bead stitches, 384 across the two body panels and 170 across the two sleeves. We counted this from the stitch and row counts shown in the video (6 bead rows of 32 beads on each panel, 5 bead rows of 17 beads on each sleeve). The bead rows are the slow ones, so this tells you where your time goes.
The ball size comes from the video, not from the written page, so check the label of the yarn you buy before you work out how many balls you need.
Five More Free Crochet Pullover Sweater Patterns
Five other free crochet pullover sweater patterns are worth your time, each free on the designer’s own page. Yardage is for size S unless noted.
- Mt Rainier Tweed Sweater by Off the Beaten Hook: worked top down in rounds with no seams, 6 skeins of 200 yd (1,200 yd), 6 mm and 5 mm hooks, gauge 14 hdc and 10 rows = 4 in.
- The Haven Pullover by Cactus and Lace Designs: bottom up in the round, 950 to 1,000 yd, 6.5 mm hook, gauge 13 stitches and 6 rows = 4 in.
- Rochester Pullover by TL Yarn Crafts: separate panels seamed like this one, 6 balls of 207 yd (1,242 yd), 5 mm hook. That hook is below the usual 5.5 to 6.5 mm range for medium yarn; it is the designer’s choice to reach 17 stitches per 4 in, so match the gauge, not the hook.
- Double Bay Simple Crochet Sweater by Kiks and Jack Crochet: two rectangles plus sleeves, 5.5 mm hook, the sample used about 1,014 yd. The page gives no gauge because it is made to measure, so swatch and measure as you go.
- Autumn Wheat Crochet Sweater by Briana K Designs: worked cuff to cuff in a lighter category 3 yarn, 1,190 yd, 5 mm hook, rated advanced beginner.
Crochet Pullover Sweater Pattern FAQ
Is this crochet pullover sweater pattern good for beginners?
Yes. It is four rectangles with no shaping, and the only new stitch is the bead stitch. If you can work single crochet and double crochet in rows, you can make it.
How much yarn do I need for a crochet sweater in size Small?
This sweater takes 960 yd (878 m) of medium weight yarn in size Small. That is 4 balls of 246 yd. Other sizes run from 910 yd for XS to 1,210 yd for XXL.
What hook size does the sweater use?
A 6 mm hook for the ribbing, body and sleeves, and a 5 mm hook for the cuffs only. Change the hook if your gauge is not 12 dc and 6 rows to 4 in.
Why does my panel get wider after each bead row?
You are missing the skip on the next row. Each bead leaves 2 stitch tops, so skip 1 stitch before the last dc of that row to bring the count back to 65.
How do I make the sleeves longer or shorter?
Add or remove 4-row repeats after the cuff. Each repeat adds about 2.67 in at the pattern gauge. Remember that extra repeats also use extra yarn.
Which size should I make?
Measure your bust and compare it with twice the panel width. Size S is 43.3 in around, a relaxed fit for a 32 to 34 in bust. For a closer fit, choose one size down.
Where to Go Next
More free patterns to wear and carry after this crochet pullover sweater pattern:
- Crochet clothes for women, where this sweater lives.
- Crochet accessories, including the free crochet head scarf pattern and the free crochet shoulder bag pattern.
- Free crochet blanket patterns, if you want a bigger project in the same yarn.
Sources
- Bead Stitch Pullover, free written pattern, KnitcroAddict
- Standard Yarn Weight System, Craft Yarn Council
- Woman Size Chart, Craft Yarn Council
- Mt Rainier Tweed Sweater, Off the Beaten Hook
- The Haven Pullover, Cactus and Lace Designs
- Rochester Pullover, TL Yarn Crafts
- Double Bay Simple Crochet Sweater, Kiks and Jack Crochet
- Autumn Wheat Crochet Sweater, Briana K Designs
The crochet pullover sweater pattern above is retold in our own words from a video tutorial, and the step photos are frames from that video. We did not make this sweater ourselves for this article.
Video credit: The steps in this guide are retold in our own words from the video tutorial Crochet Bead Stitch Sweater Pattern / Learn to Crochet a Simple Sweater by KnitcroAddict on YouTube, and the step photos are frames from that video. Watch it for the full demonstration, find the other sizes on the designer’s free written page, and support the creator.